
-

- Built To Fit How You Ride
- SHIMANO expands the GRX gravel component family with new chainring sizes and shorter crank options, giving riders more control over gearing, fit, and performance across every gravel discipline.
- 28/05/2026
SELECT LOCATION AND LANGUAGES
GLOBAL
AMERICAS
-
BELGIUM
FRANÇAIS
-
BELGIUM
NEDERLANDS
-
NETHERLANDS
NEDERLANDS
-
SWITZERLAND
DEUTSCH
-
SWITZERLAND
FRANÇAIS
-
SWITZERLAND
ITALIANO
-
AUSTRIA
DEUTSCH
-
FRANCE
FRANÇAIS
-
GERMANY
DEUTSCH
-
ITALY
ITALIANO
-
SPAIN
ESPAÑOL
-
PORTUGAL
PORTUGUÊS
-
POLAND
POLSKI
-
UNITED KINGDOM
ENGLISH
-
SWEDEN
SVENSKA
-
DENMARK
DANSK
-
NORWAY
NORSK
-
FINLAND
SUOMI
EUROPE
ASIA
OCEANIA

SELF-POWERED Di2 AUTOMATIC SHIFTING
No Battery. No Charging. No Worries.
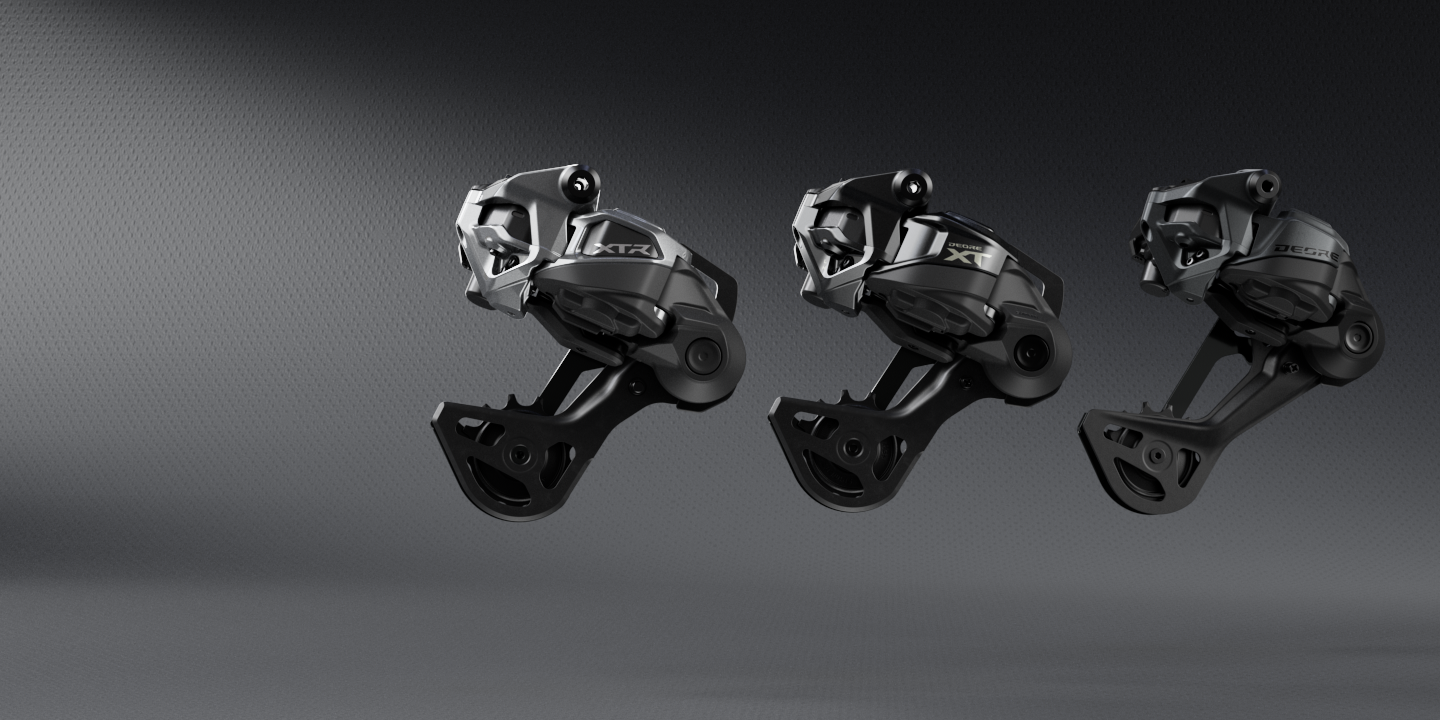
SHIMANO 12-Speed Di2 MTB Groups Deliver
XTR - DEORE XT - DEORE
STORIES
-
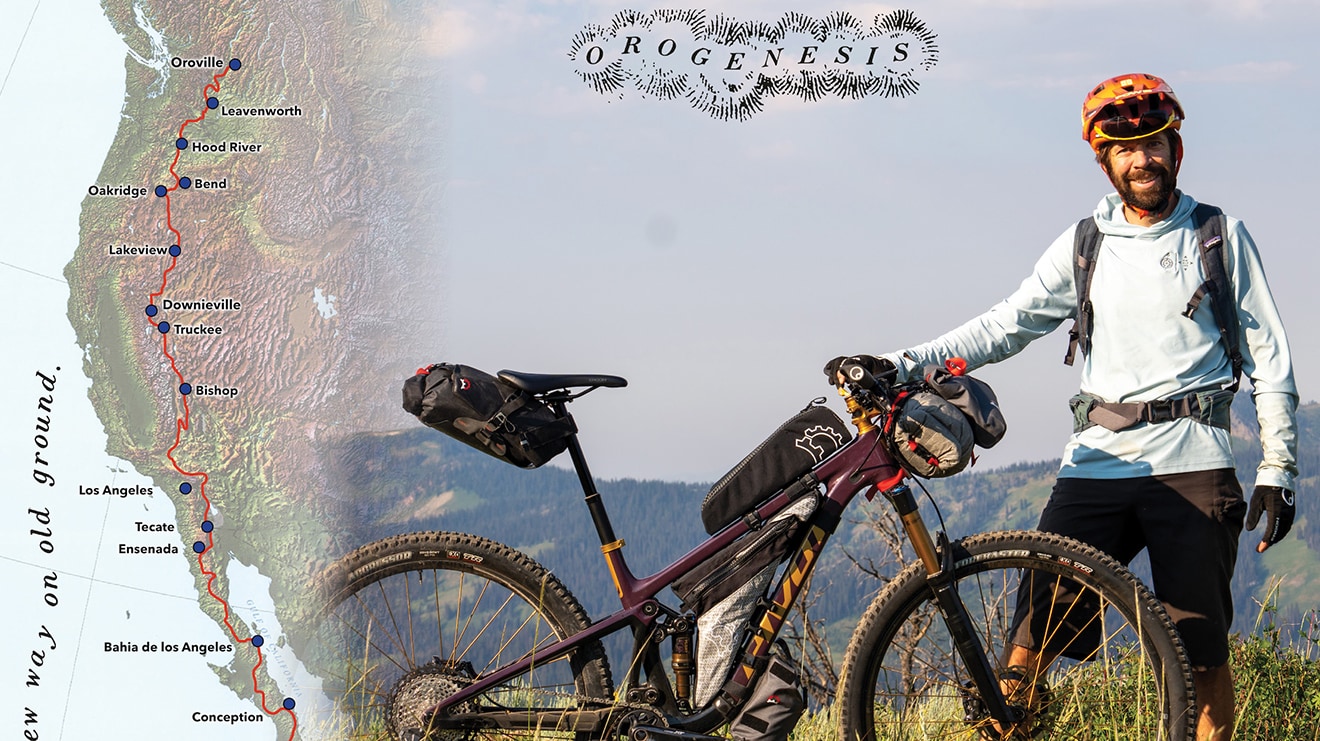
- XT Di2 on Orogenesis, The World's Longest MTB Trail
- Journey along with adventure rider Kurt Refsnider as he shares his experience doing the first thru-ride of the new Orogenesis route, dubbed the longest mountain bike trail in the world at nearly 5,000 miles long.
- 20/05/2026
-
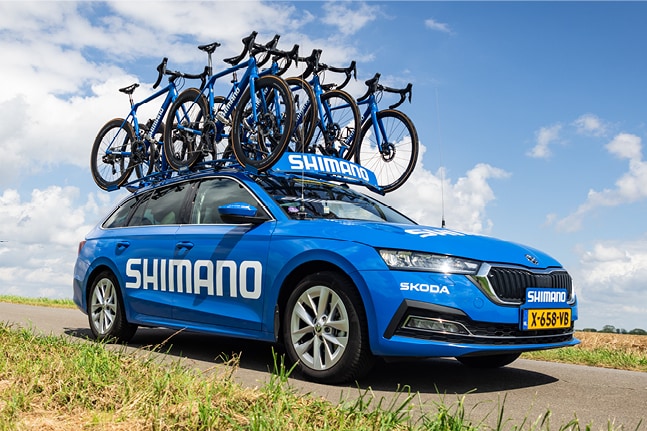
- Behind the Shimano Neutral Service
- Learn About our Blue Motorbikes and Cars with These Facts and Figures.
- 23/04/2026
-
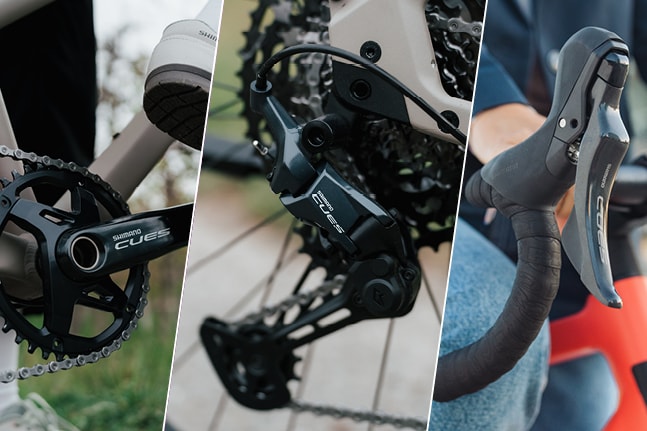
- Everything you need to know about SHIMANO CUES
- Long-lasting performance, smooth shifting, and simple ownership. That’s SHIMANO CUES.
- 21/04/2026
-
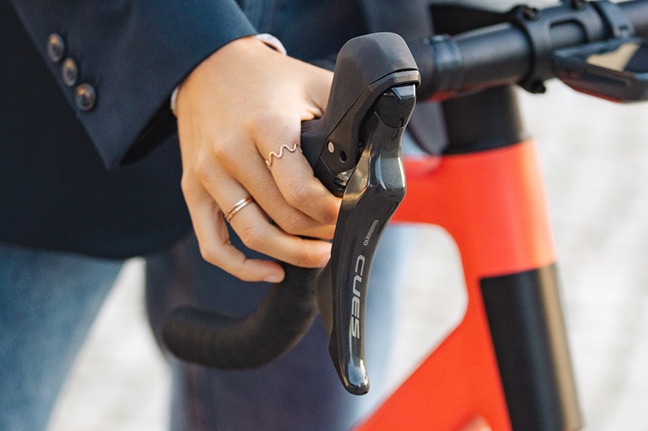
- SHIMANO CUES Drop Bar for Recreational Road and Gravel
- Enjoy the full potential of your bike with SHIMANO CUES Drop Bar for recreational road and gravel riding. The wide gear range is ideal for climbing.
- 15/04/2026