-
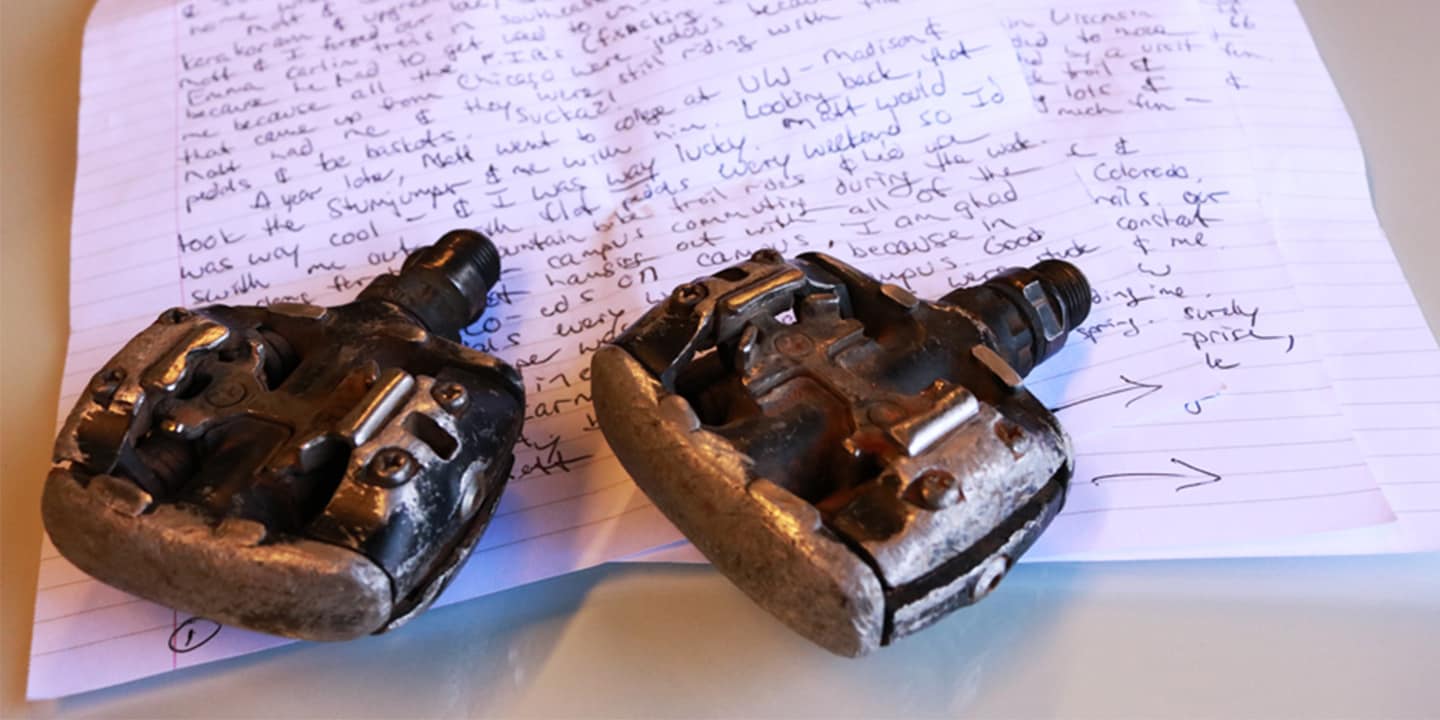
- Coming Home: A Letter From Matt's M737 Pedals
- This letter and pedals were sent to our North American Shimano headquarters in Southern California earlier this summer from Matt in Utah who wanted to share his story with us.
- 17/06/2026
SELECT LOCATION AND LANGUAGE
GLOBAL
AMERICAS
-
BELGIUM
FRANÇAIS
-
BELGIUM
NEDERLANDS
-
NETHERLANDS
NEDERLANDS
-
SWITZERLAND
DEUTSCH
-
SWITZERLAND
FRANÇAIS
-
SWITZERLAND
ITALIANO
-
AUSTRIA
DEUTSCH
-
FRANCE
FRANÇAIS
-
GERMANY
DEUTSCH
-
ITALY
ITALIANO
-
SPAIN
ESPAÑOL
-
PORTUGAL
PORTUGUÊS
-
POLAND
POLSKI
-
UNITED KINGDOM
ENGLISH
-
SWEDEN
SVENSKA
-
DENMARK
DANSK
-
NORWAY
NORSK
-
FINLAND
SUOMI
EUROPE
ASIA
OCEANIA
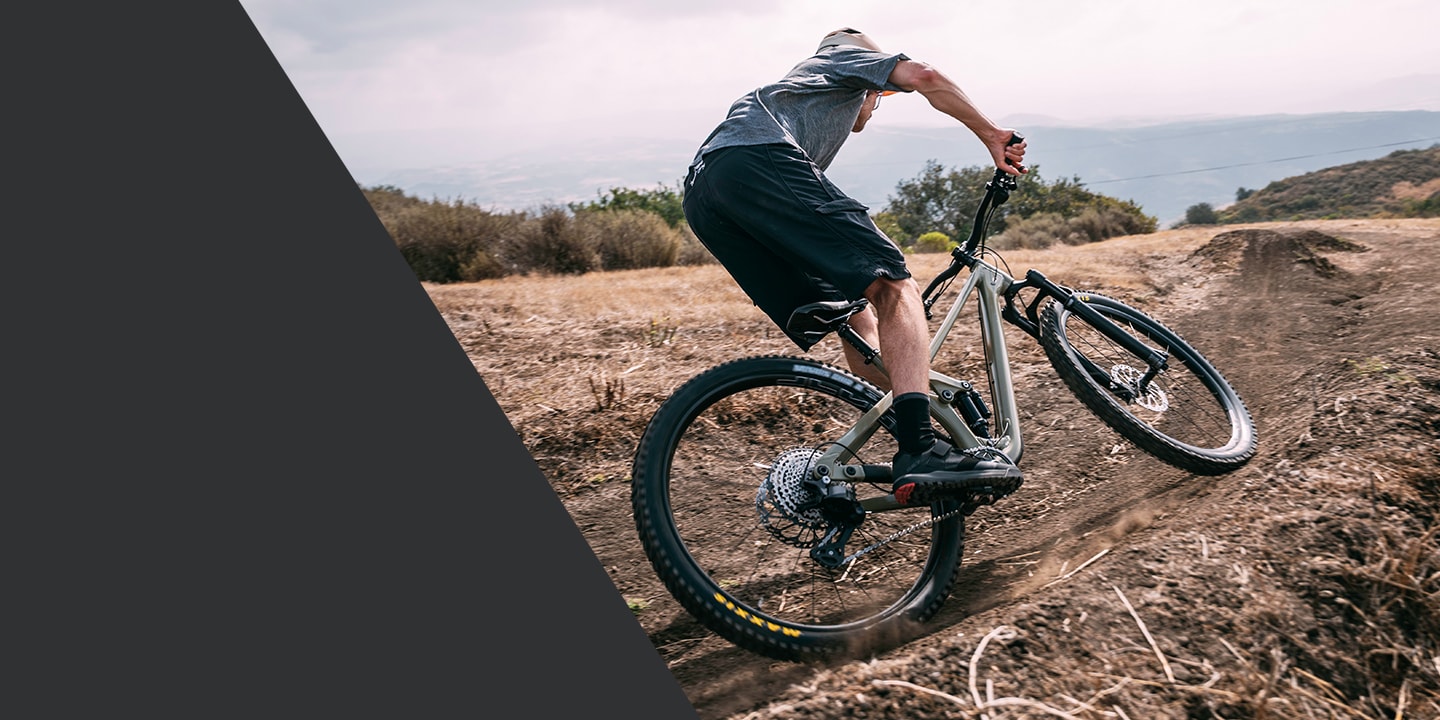
DEORE XT M8200
Confidence Redefined with DEORE XT Mechanical
SHIMANO's legendary drivetrain gets tougher, smoother, and more rider-focused
DEORE M6200
No Batteries. No Fuss. All Trail.
New SHIMANO DEORE Mechanical MTB Components

MTB Upgrade Kits
With the new XTR, DEORE XT, and DEORE Upgrade Kits, you can experience top-level braking and shifting to elevate your ride.
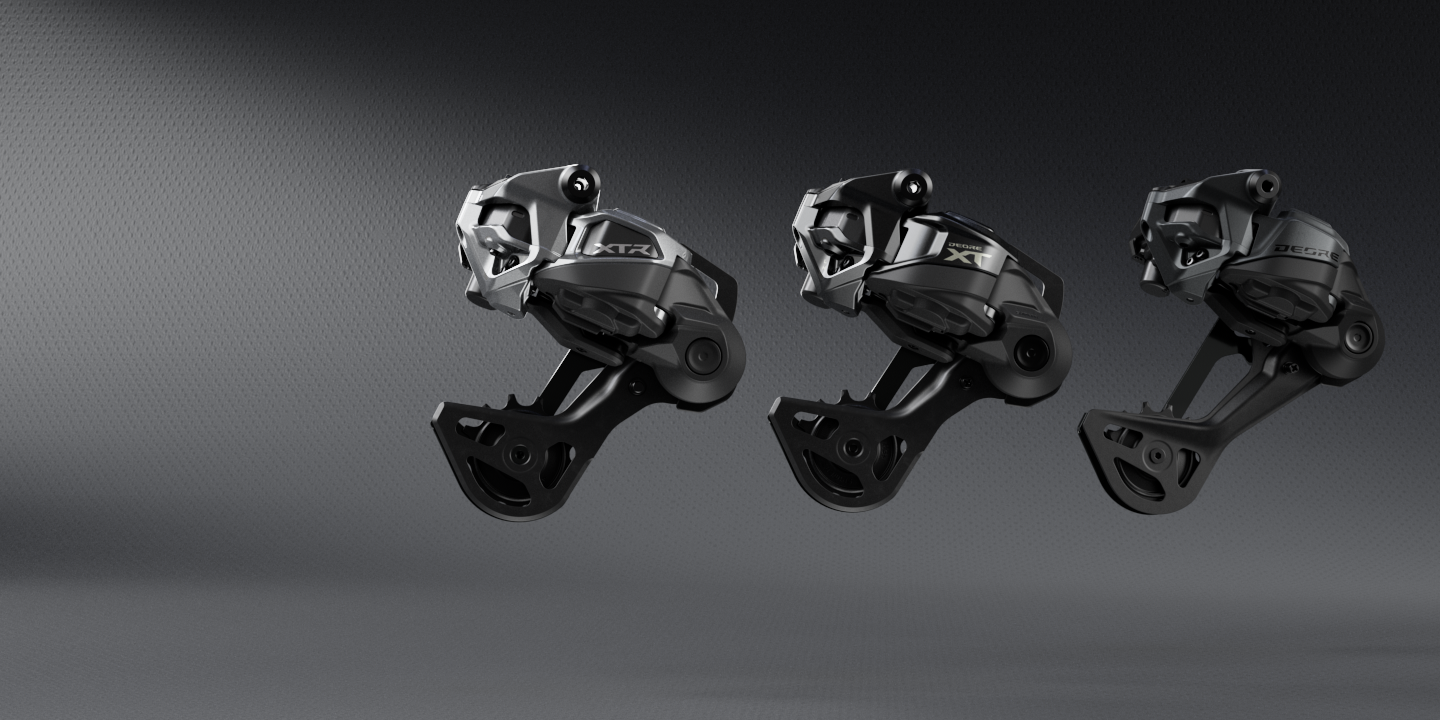
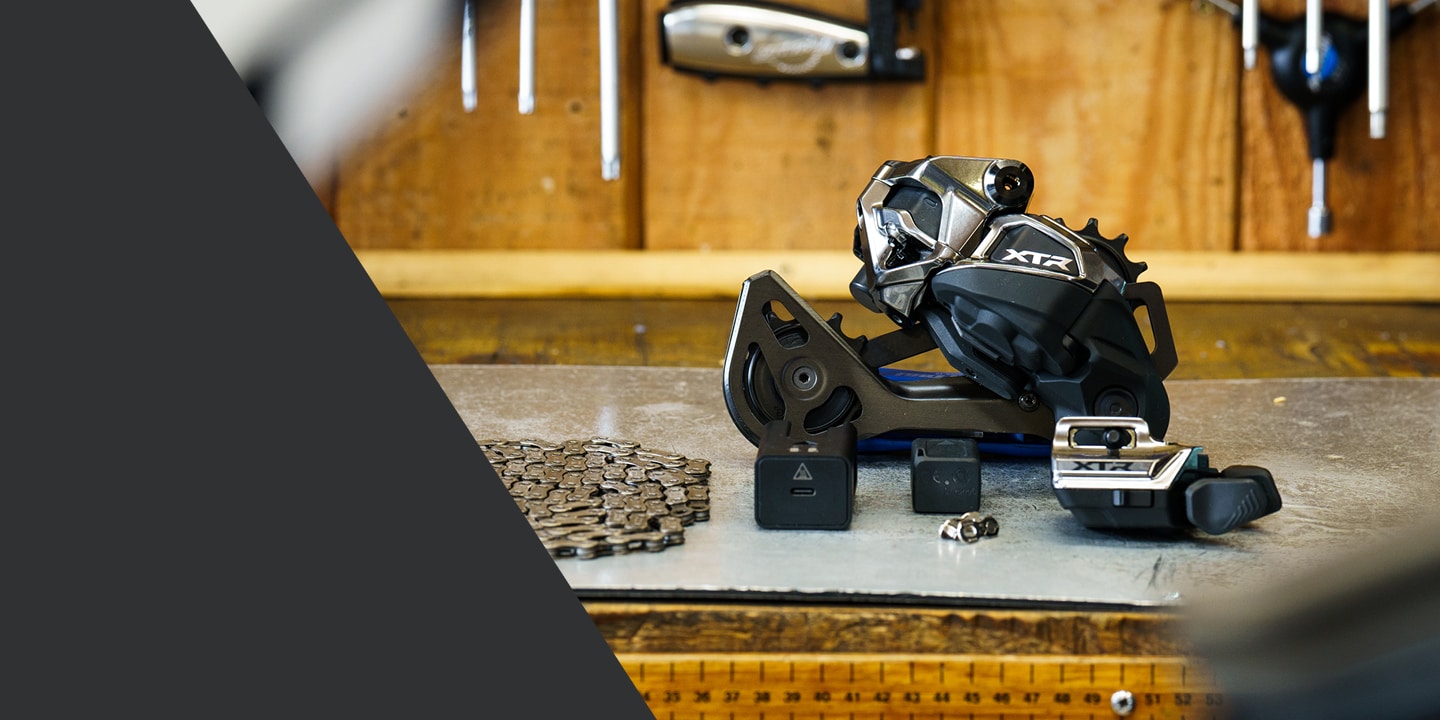
12-Speed Di2 MTB Groups Deliver
XTR - DEORE XT - DEORE
GRX RX827 1x12
Wireless, Robust, Single-Ring Option
SHIMANO marks it's debut in the fully wireless drop bar segment with the new 1 x 12-speed GRX Di2 components. Featuring robust MTB tech, GRX RX827 delivers performance, durability, and versatility.
DEORE XT M8200
Confidence Redefined with DEORE XT Mechanical
SHIMANO's legendary drivetrain gets tougher, smoother, and more rider-focused
LEARN MORE
DEORE M6200
No Batteries. No Fuss. All Trail.
New SHIMANO DEORE Mechanical MTB Components
LEARN MORE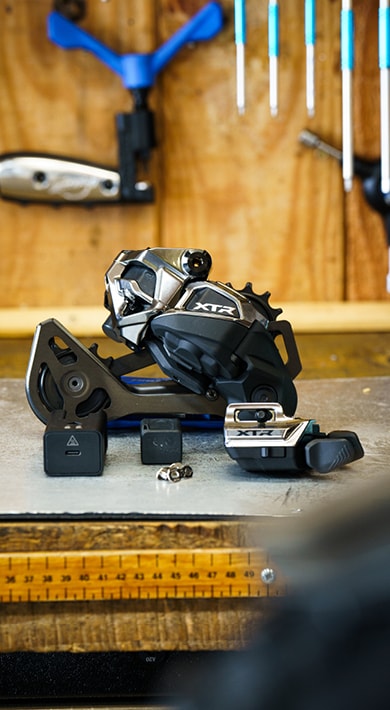
MTB Upgrade Kits
With the new XTR, DEORE XT, and DEORE Upgrade Kits, you can experience top-level braking and shifting to elevate your ride.
VIEW MORE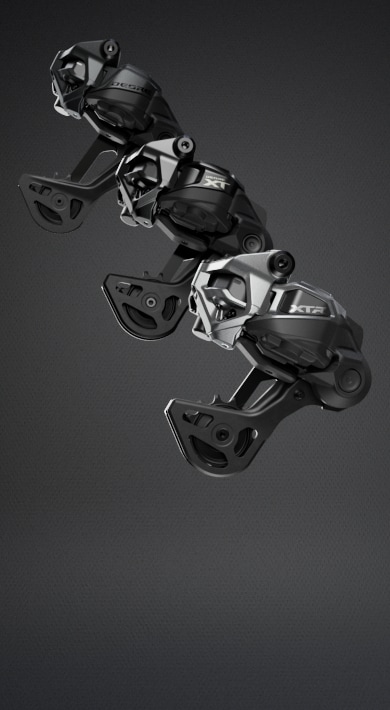
GRX RX827 1x12
Wireless, Robust, Single-Ring Option
SHIMANO marks it's debut in the fully wireless drop bar segment with the new 1 x 12-speed GRX Di2 components. Featuring robust MTB tech, GRX RX827 delivers performance, durability, and versatility.
VIEW MORESTORIES
-
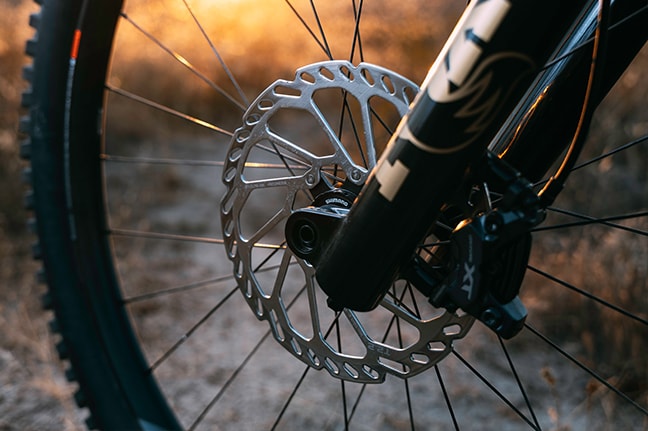
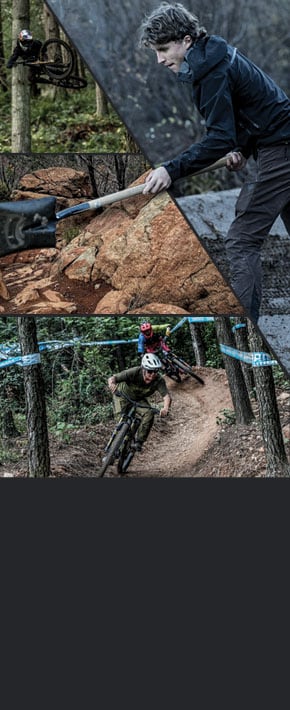
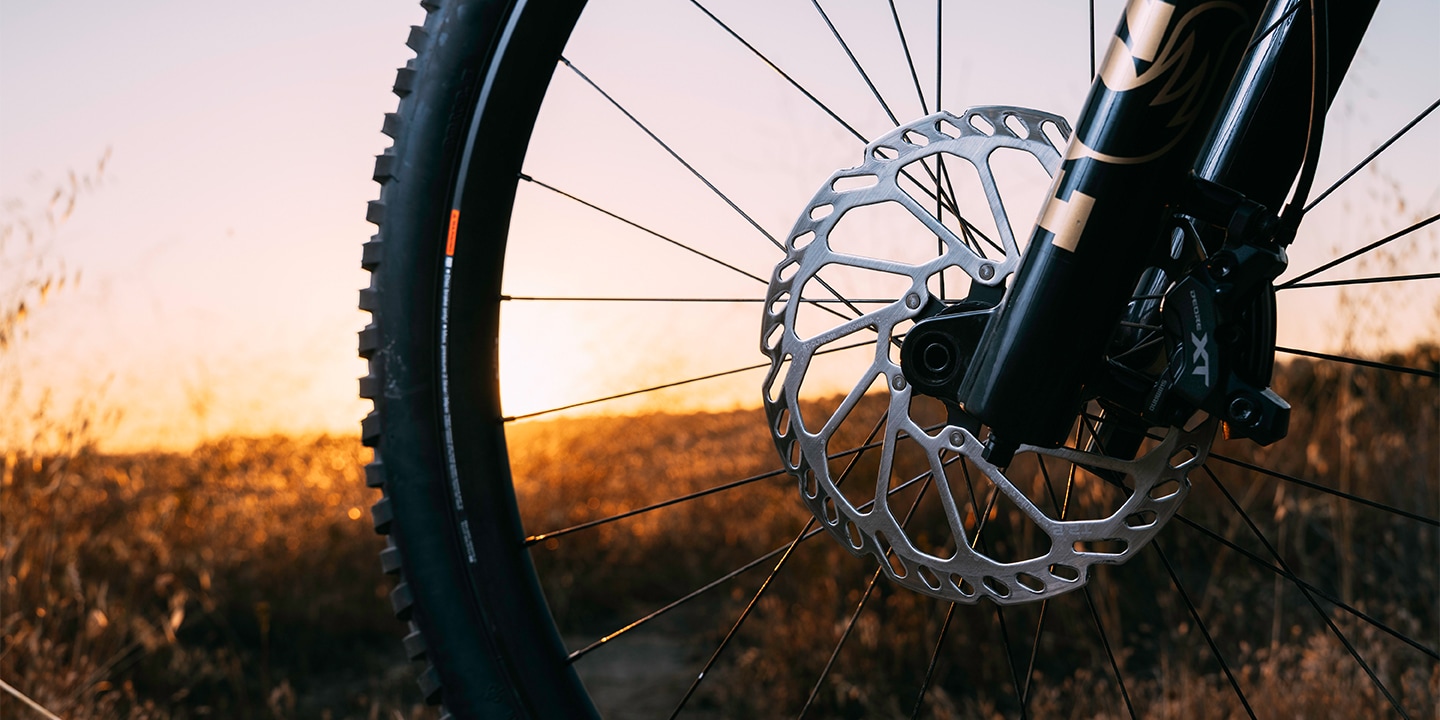
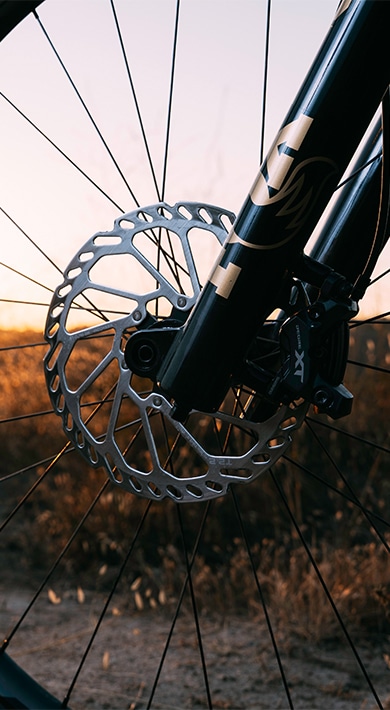
- Confidence Starts at the Brakes
- New SHIMANO Thick Rotors and DEORE Brakes
- 17/06/2026
-
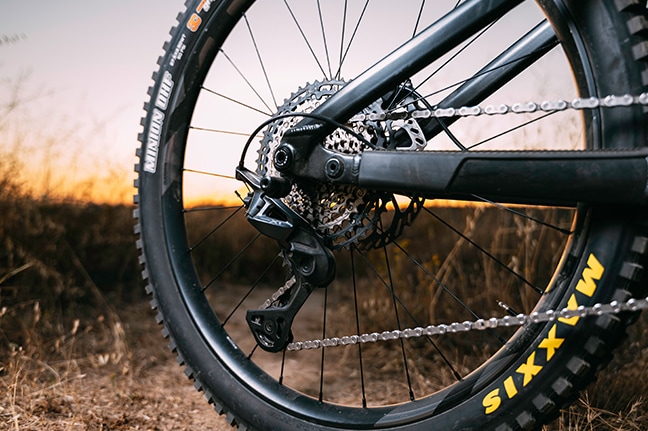
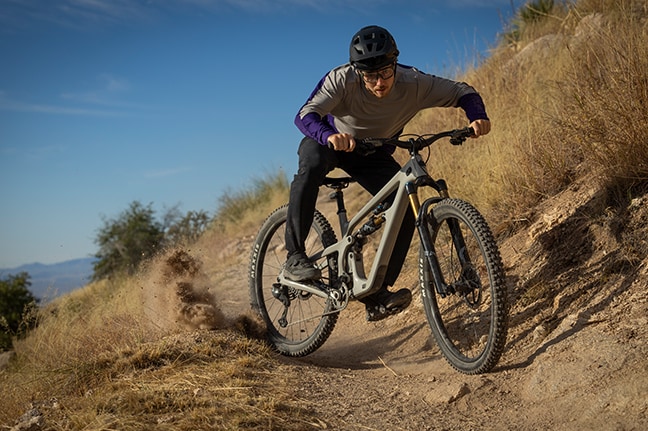
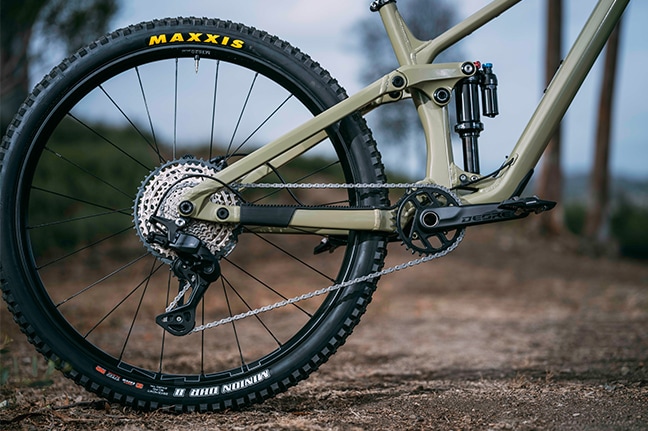
- Confidence Redefined with DEORE XT Mechanical
- SHIMANO's legendary drivetrain gets tougher, smoother, and more rider-focused.
- 17/06/2026
-
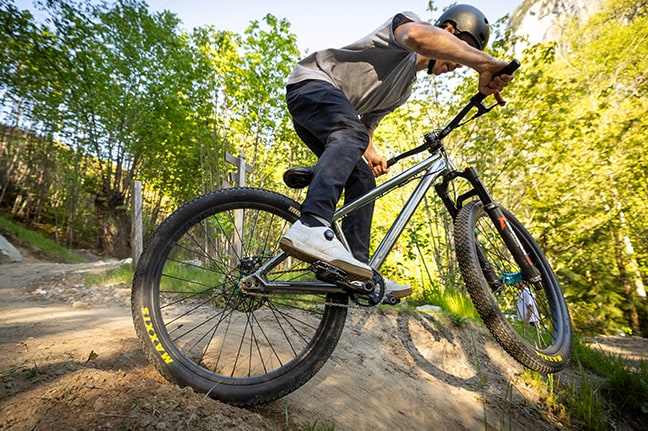
- No Batteries. No Fuss. All Trail.
- New SHIMANO DEORE Mechanical MTB Components
- 15/06/2026
-

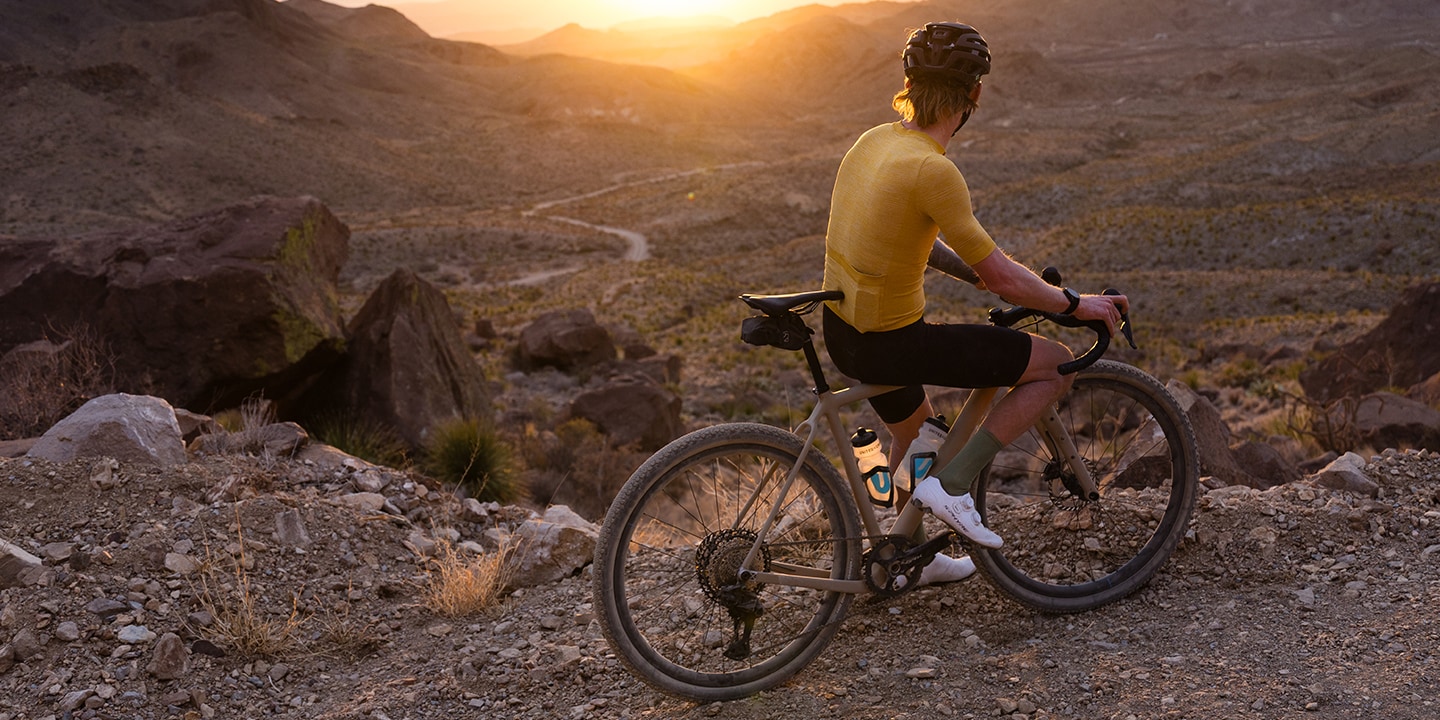
- Built To Fit How You Ride
- SHIMANO expands the GRX gravel component family with new chainring sizes and shorter crank options, giving riders more control over gearing, fit, and performance across every gravel discipline.
- 28/05/2026