-
- Guide des technologies de changement de vitesse SHIMANO
- Découvrez les technologies de changement de vitesse SHIMANO et comment nos transmissions conçues comme des systèmes intégrés offrent des performances précises et fiables sur chacune de vos sorties.
- 04/02/2026
SELECT LOCATION AND LANGUAGE
GLOBAL
AMERICAS
-
BELGIUM
FRANÇAIS
-
BELGIUM
NEDERLANDS
-
NETHERLANDS
NEDERLANDS
-
SWITZERLAND
DEUTSCH
-
SWITZERLAND
FRANÇAIS
-
SWITZERLAND
ITALIANO
-
AUSTRIA
DEUTSCH
-
FRANCE
FRANÇAIS
-
GERMANY
DEUTSCH
-
ITALY
ITALIANO
-
SPAIN
ESPAÑOL
-
PORTUGAL
PORTUGUÊS
-
POLAND
POLSKI
-
UNITED KINGDOM
ENGLISH
-
SWEDEN
SVENSKA
-
DENMARK
DANSK
-
NORWAY
NORSK
-
FINLAND
SUOMI
EUROPE
ASIA
OCEANIA
La méthode à utiliser pour déterminer la bonne longueur de chaîne fait l'objet de nombreuses discussions entre les mécaniciens ou les cyclistes de tous les jours. Certains affirment qu'il faut placer la chaîne sur le plus petit pignon sans qu'aucune partie ne pende, puis d'ajouter deux, trois, quatre ou cinq maillons. D'autres considèrent que la meilleure option consiste à placer la chaîne sur le plus grand plateau et le plus grand pignon, de tendre ou peut-être de ne pas tendre et de la laisser pendre en raison du fléchissement.
Il existe de nombreuses questions autour de la chaîne de votre vélo, mais nous avons pensé qu'il était grand temps de démystifier quelques-unes des idées reçues les plus importantes concernant sa longueur.
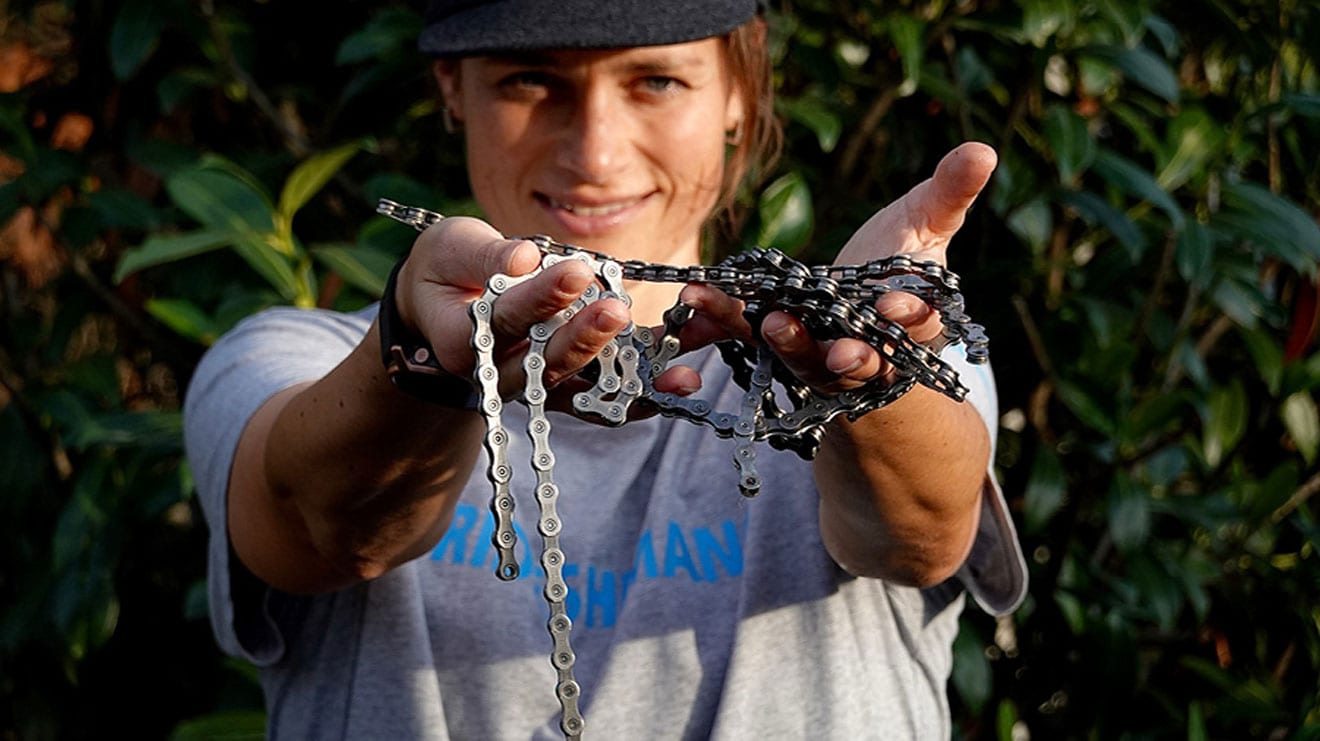
Nous allons vous expliquer dans cet article les rudiments de l'entretien adéquat d'une chaîne SHIMANO. Assembler un vélo depuis zéro est un véritable plaisir. Il s'agit toutefois d'une rare occasion. Dans la majorité des cas, l'ancienne chaîne est remplacée par une chaîne neuve. Et quand on parle de rouler durablement, il est bon de se demander quel est le bon moment pour remplacer une chaîne.
Détermination de l'usure de la chaîne
Vous vous demandez peut-être pourquoi il faut remplacer la chaîne. La chaîne, la cassette et les pignons font tous partie de la transmission. Une chaîne usée augmente également l'usure des deux autres composants. De ces trois composants, la chaîne est le maillon le plus faible, car elle est contient les éléments les plus fragiles : les maillons. L' outil de mesure d'usure de chaîne de SHIMANO vous aidera à déterminer si la chaîne est encore en bon état ou s'il est temps de la remplacer.
Conséquence de l'usure normale, la distance entre les maillons de la chaîne augmente et les pointes de l'outil de mesure de chaîne tombent entièrement dans la chaîne. Dans ce cas, il est temps de la remplacer. S'agissant des chaînes SHIMANO, il est important d'utiliser un outil de mesure de chaîne SHIMANO. De nombreux magasins de vélos utilisent des outils d'autres marques, ce qui entraîne souvent un remplacement prématuré de la chaîne.
Quand une chaîne est usée, il faut la remplacer pour éviter sa rupture, ce qui peut être très gênant sur le sentier et gâcher une journée qui aurait dû être remplie de divertissement. L'entretien adéquat de la chaîne permet de retarder son usure. Poursuivez votre lecture pour en savoir plus.
Comment déterminer la bonne longueur de chaîne
Malheureusement, il ne suffit pas de poser la nouvelle chaîne à côté de l'ancienne et de la raccourcir. Pourquoi ? Parce que la longueur de l'ancienne chaîne et de la nouvelle varie, car l'usure entraîne la création d'un jeu au niveau des maillons. Si l'ancienne chaîne possédait la longueur correct, vous pouvez compter les maillons et utiliser ce nombre pour ajuster la longueur de la nouvelle chaîne.
Si vous ne savez pas si la longueur de l'ancienne chaîne était correcte ou si vous avez des doutes, il faudra déterminer la longueur de la chaîne depuis zéro. Si tel est le cas, nous vous conseillons de suivre la méthode suivante.
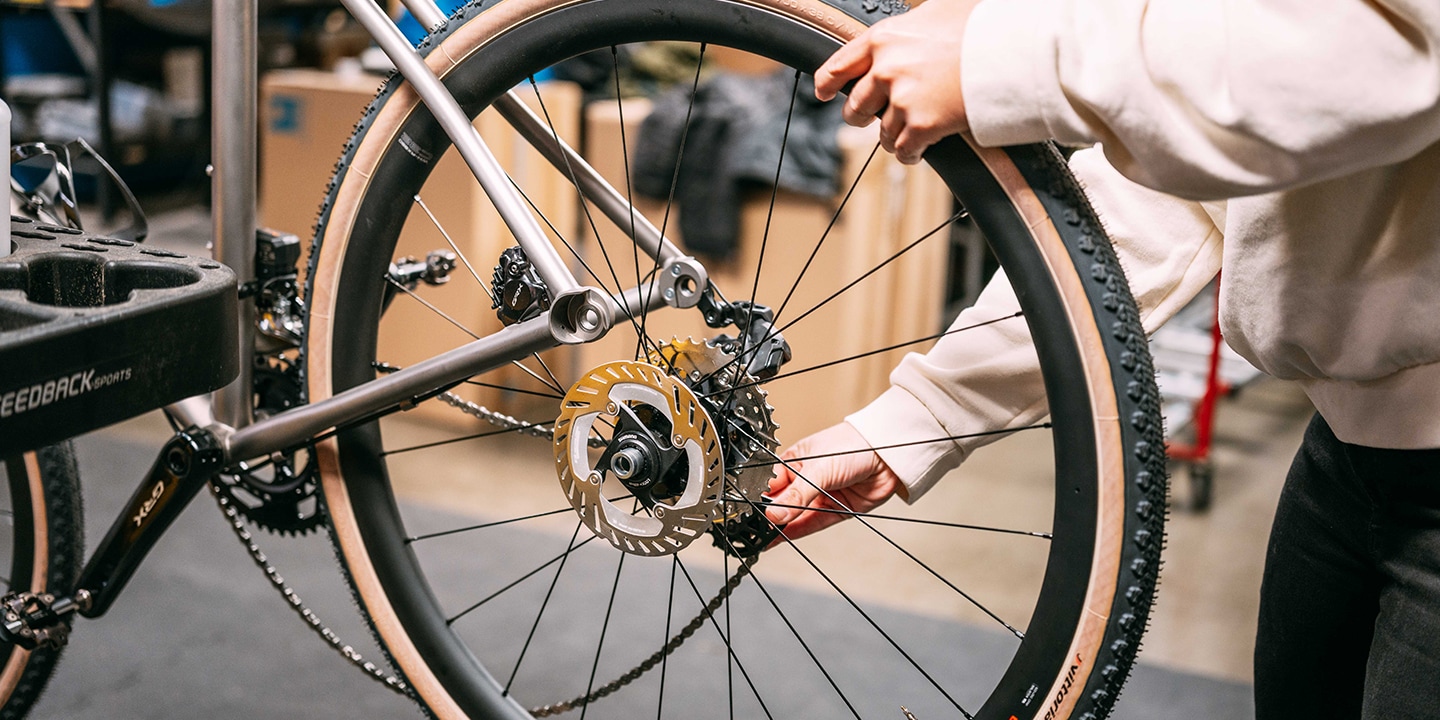
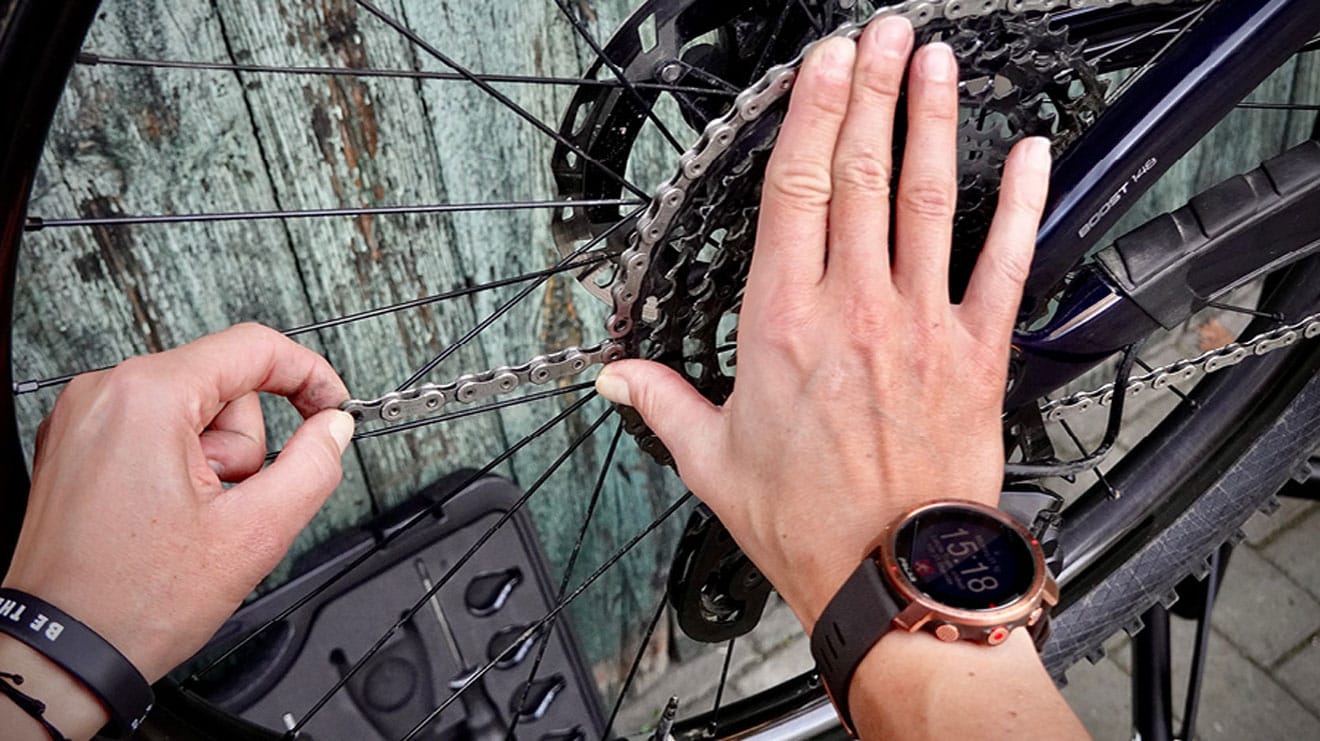
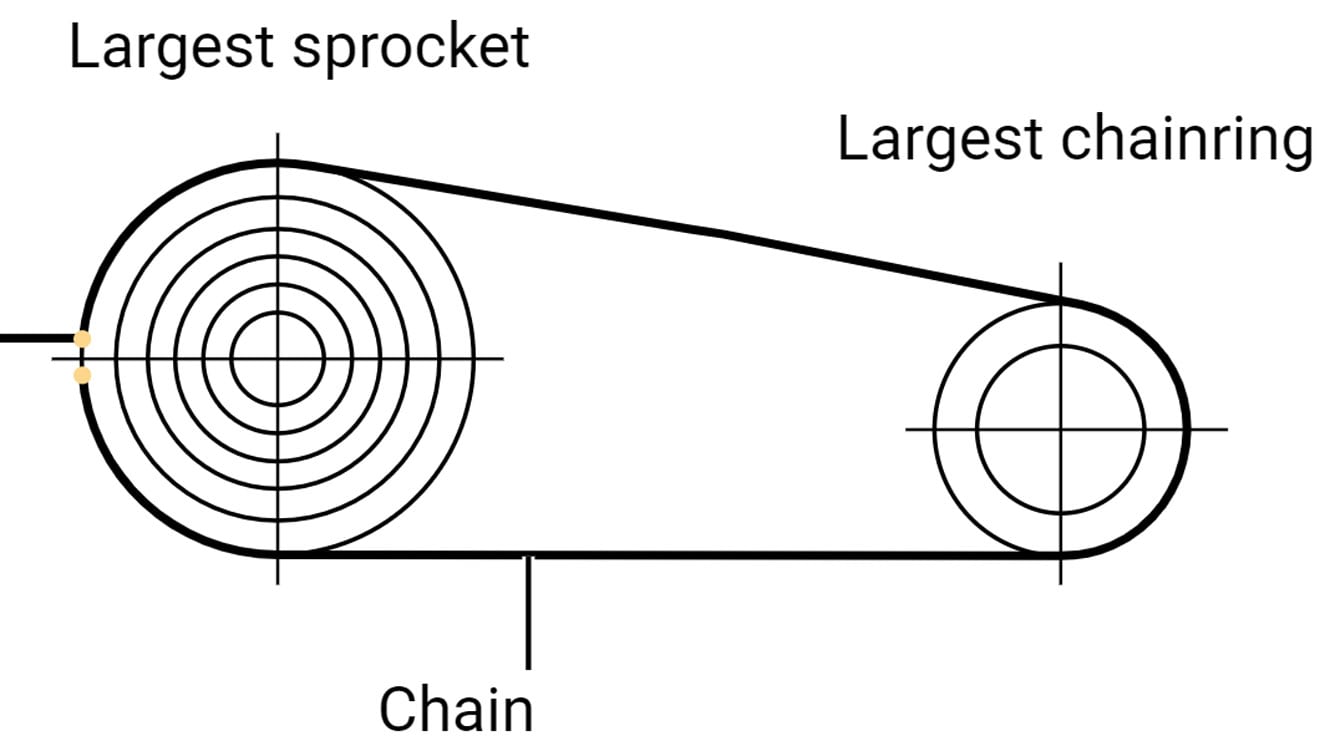
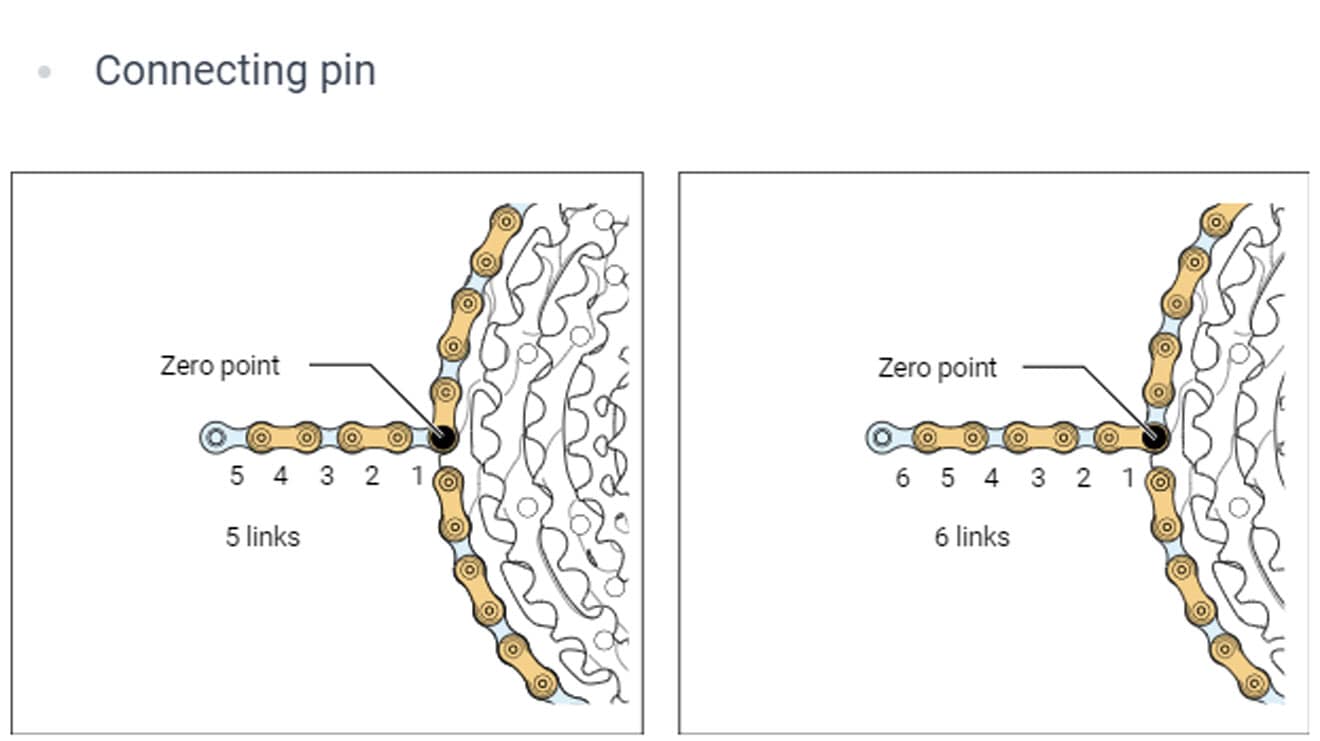
Poser la chaîne sur le plus grand plateau et sur le plus grand pignon, puis joignez les deux extrémités derrière le pignon de la cassette.
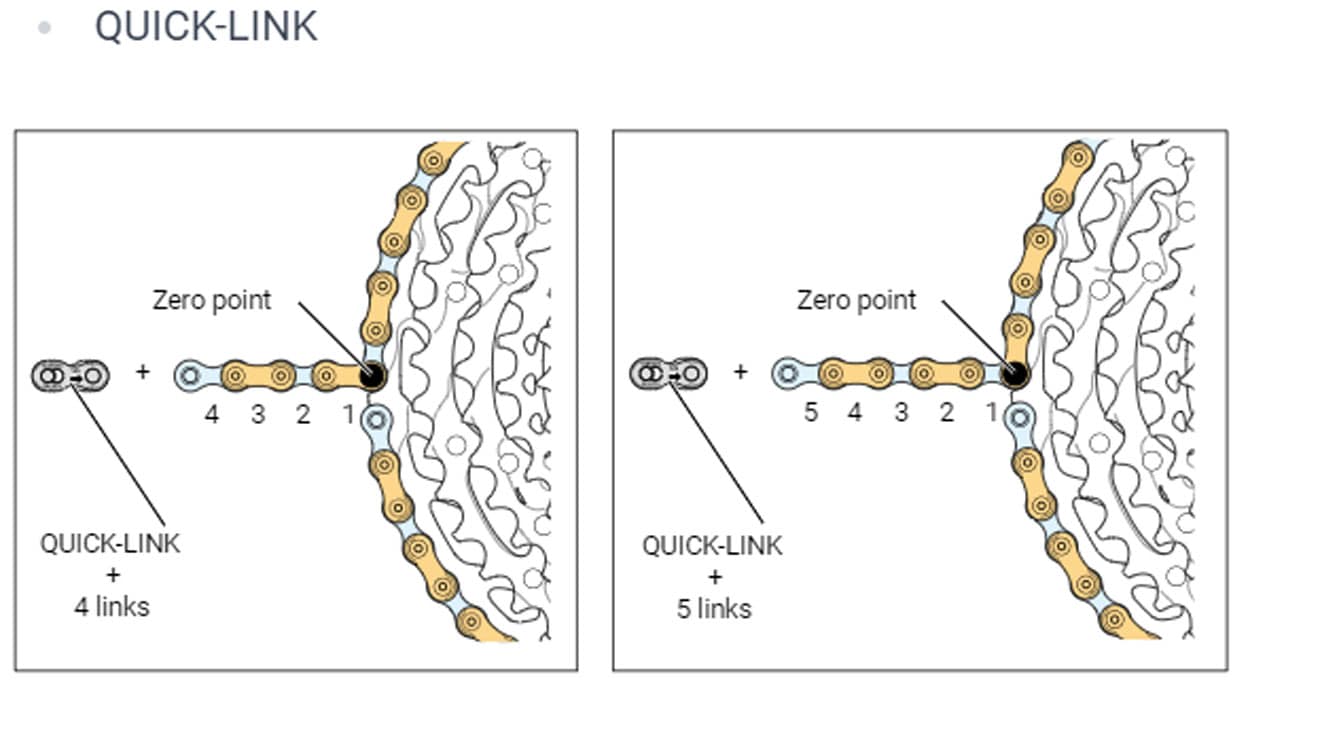
La position où les deux extrémités de la chaîne se chevauchent est la position zéro. Une fois que la position zéro de la chaîne a été identifiée sur l'arrière du pignon, vous pouvez déterminer la longueur finale de la chaîne. Pour ce faire, ajouter le nombre de maillons de la chaîne usée à la position zéro.
Le nombre de maillons à ajouter dépend des facteurs suivants :
Le vélo (semi-rigide ou tout supendu)
Le type de connexion de la chaîne (goupille de connexion ou QUICK-LINK)
Il faut également voir si la position 0 réunit deux maillons correspondant ou deux maillons différents (cf. tableau). C'est la raison pour laquelle il est impossible de fournir une valeur standard pour déterminer la longueur de chaîne.
Aperçu :
Vélo semi-rigide avec rivet + 5/6 maillons
Vélo semi-rigide avec QUICK-LINK + 4/5 maillons
Vélo tout suspendu avec rivet + 6/7 maillons
Vélo tout suspendu avec QUICK-LINK + 5/6 maillons
Avant de voir comment raccourcir une chaîne, arrêtons-nous un instant sur un élément important pour une pose correcte de la chaîne :
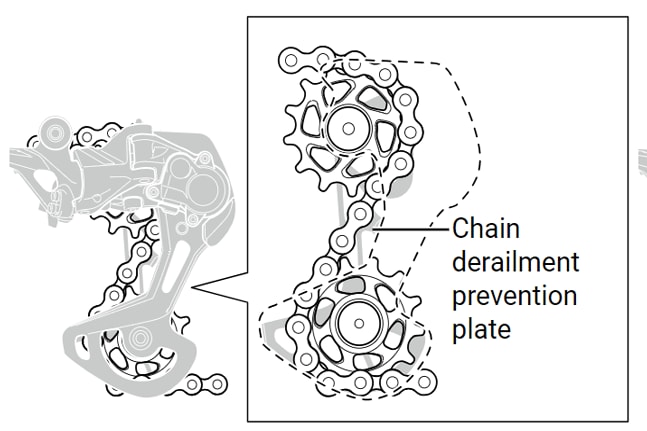
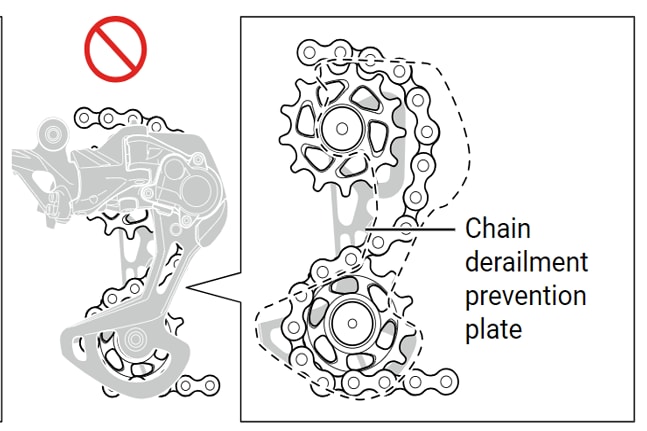
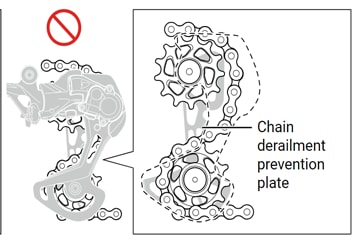
Veillez à acheminer correctement la chaîne dans le dérailleur arrière et confirmez que la partie marquée de la chaîne soit orientée vers vous à l'extérieur. En plus de la perte de temps que cela représente, il est frustrant de devoir recommencer parce que la chaîne n'est pas montée dans le bon sens. Une règle d'or consiste à vérifier deux fois avant de connecter la chaîne.
Important Si vous avez des doutes sur quoi que ce soit ou si vous avez besoin d'aide, rendez-vous chez votre revendeur qui, dans l'idéal, serait un SHIMANO SERVICE CENTER
Connecter et ouvrir une chaîne
Vous pouvez connecter et ouvrir ou raccourcir une chaîne de deux façons : à l'aide d'un rivet ou à l'aide d'un maillon QUICK-LINK. L'avantage du maillon QUICK-LINK est qu'il ne requiert aucun outil.
Axe de jonction
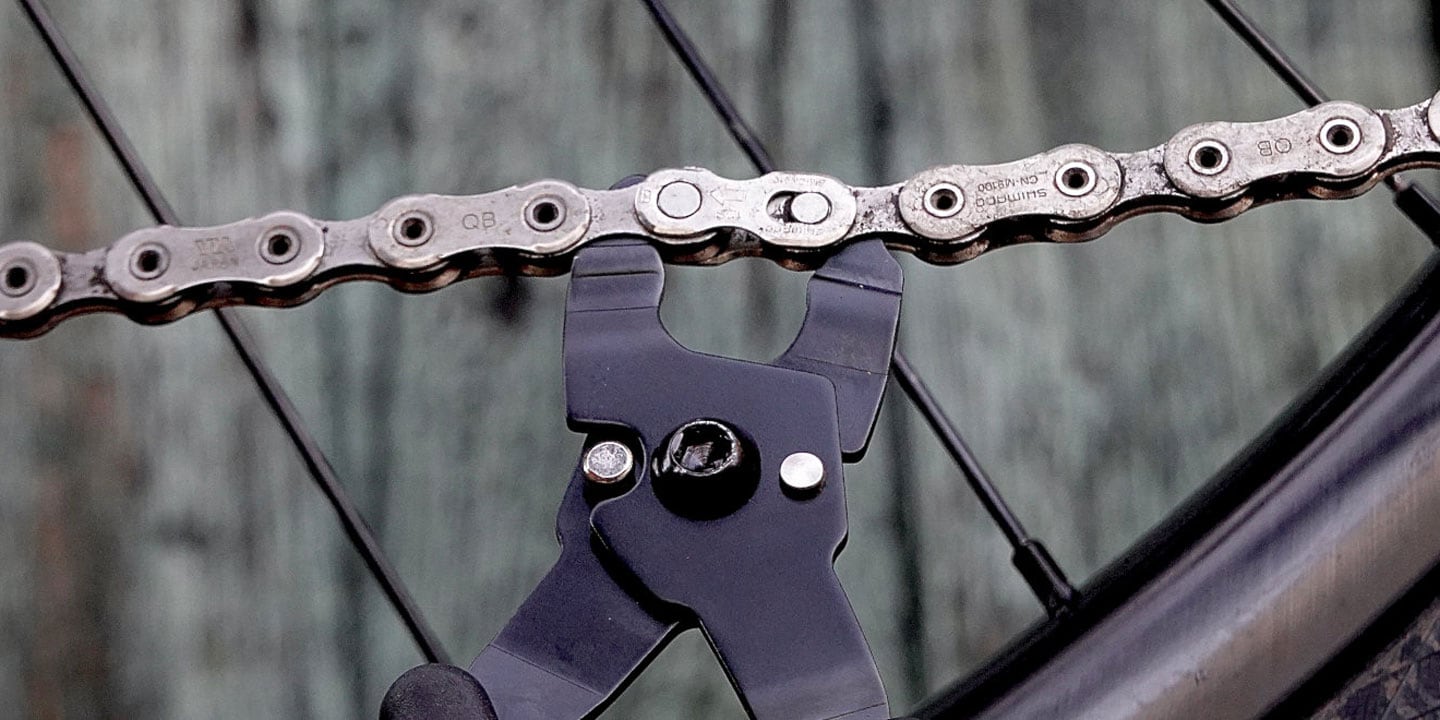
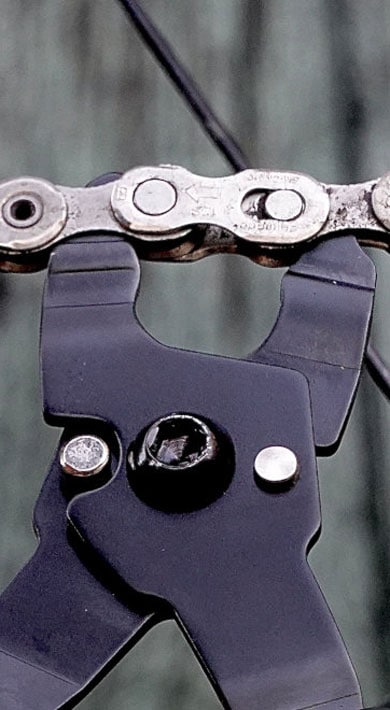
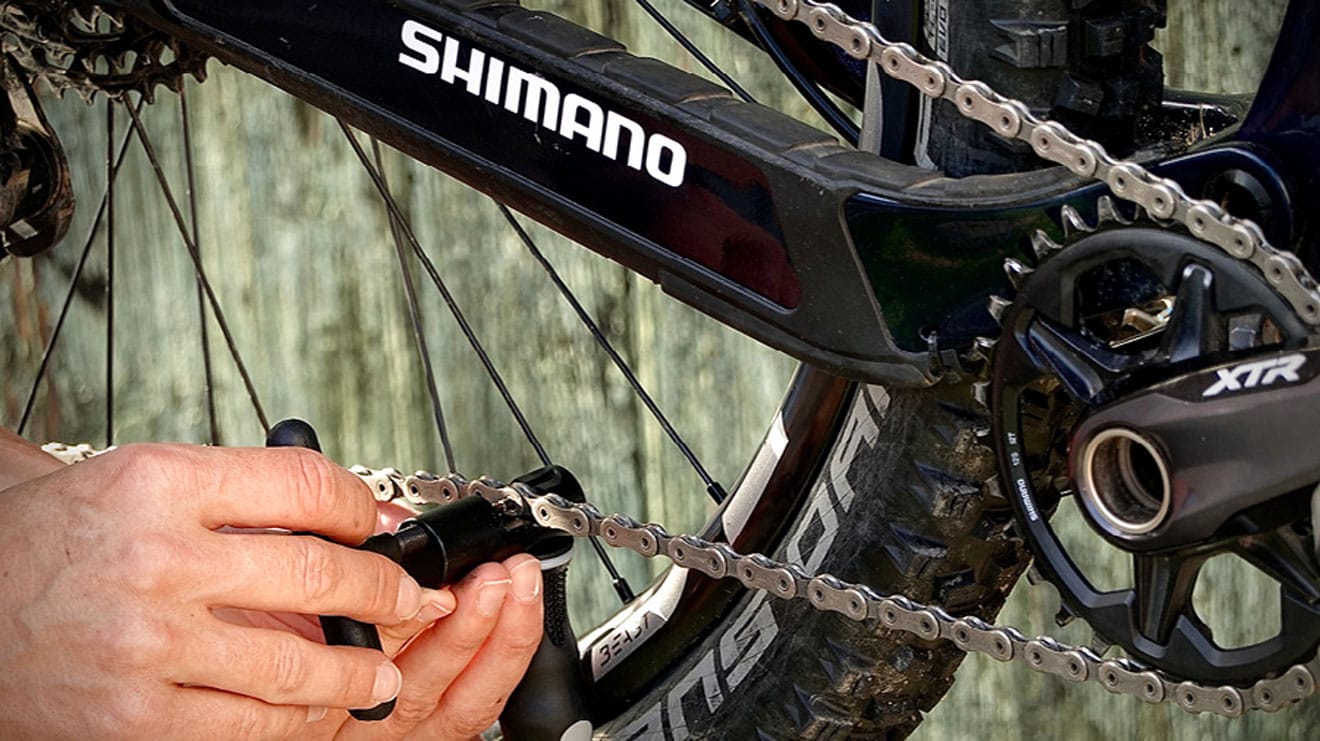
Au moment de raccourcir une chaîne à goupille, il est crucial de prendre le temps de positionner avec précision la chaîne dans le dérive-chaîne. Si la chaîne est inclinée dans le dérive-chaîne, cela pourrait endommager la plaque de positionnement de l'outil. Il faudra peut-être exercer un peu de force pour retirer un rivet du maillon. N'exagérez pas et maintenez la fluidité du mouvement.
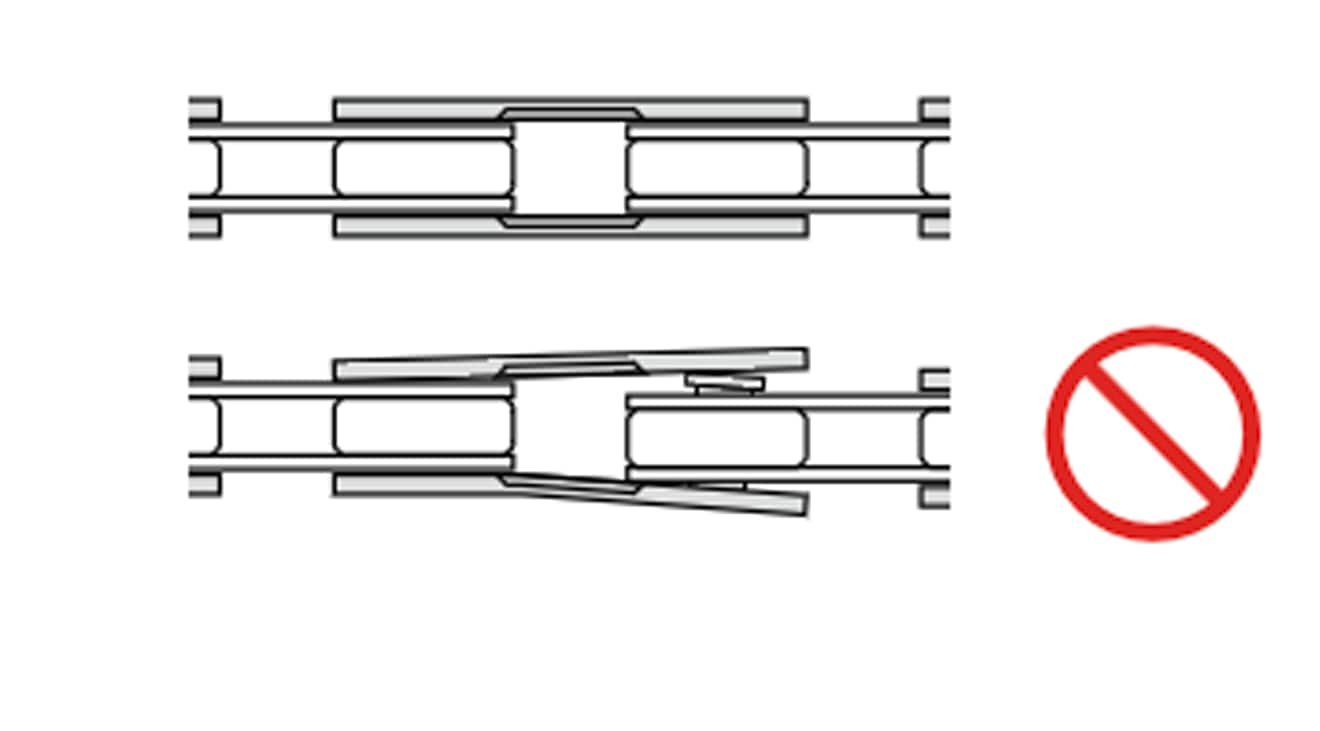
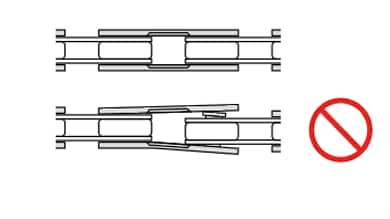
Enfoncez le rivet avec le dérive-chaîne de la même manière que pour la dépose. Tout est une question de précision. Assurez-vous que le rivet soit bien positionné au centre du maillon et qu'il ne dépasse d'aucun côté.
QUICK-LINK
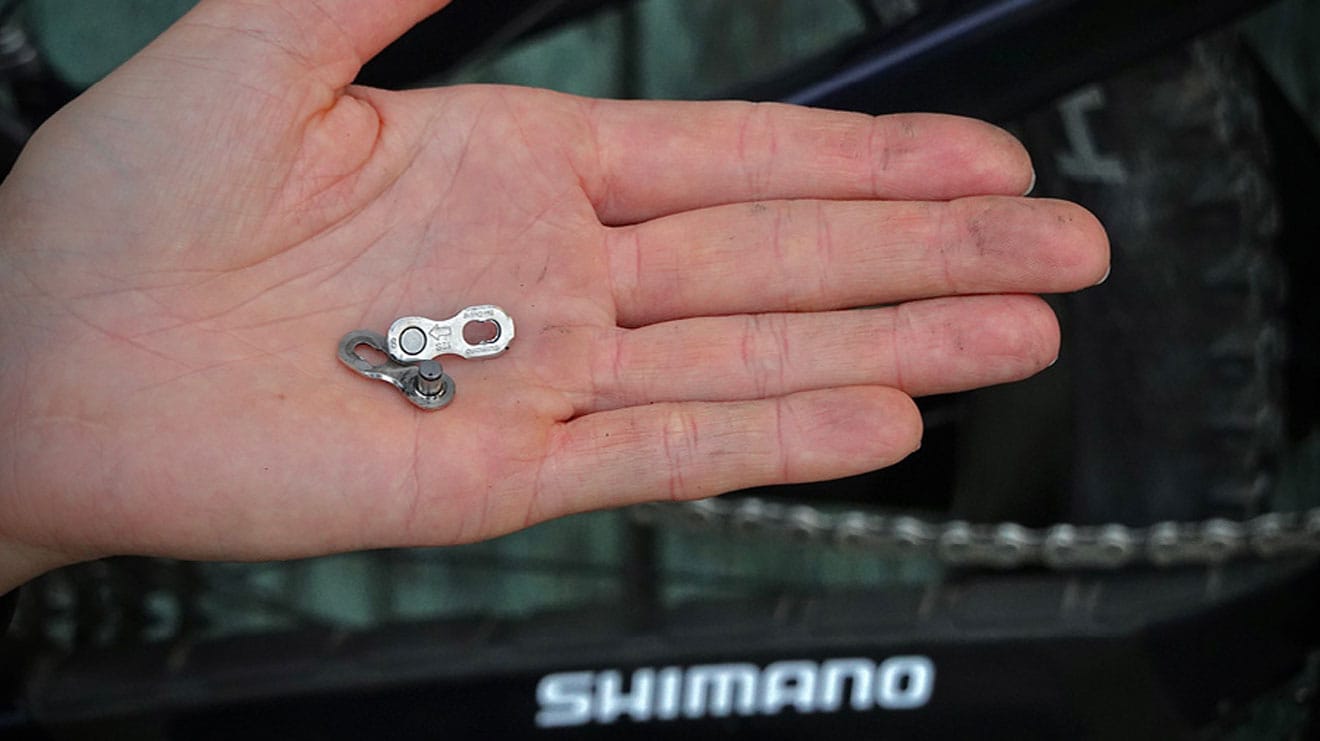
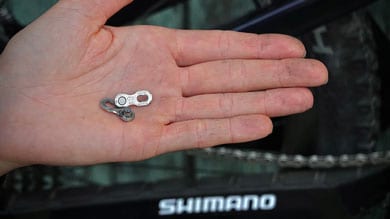
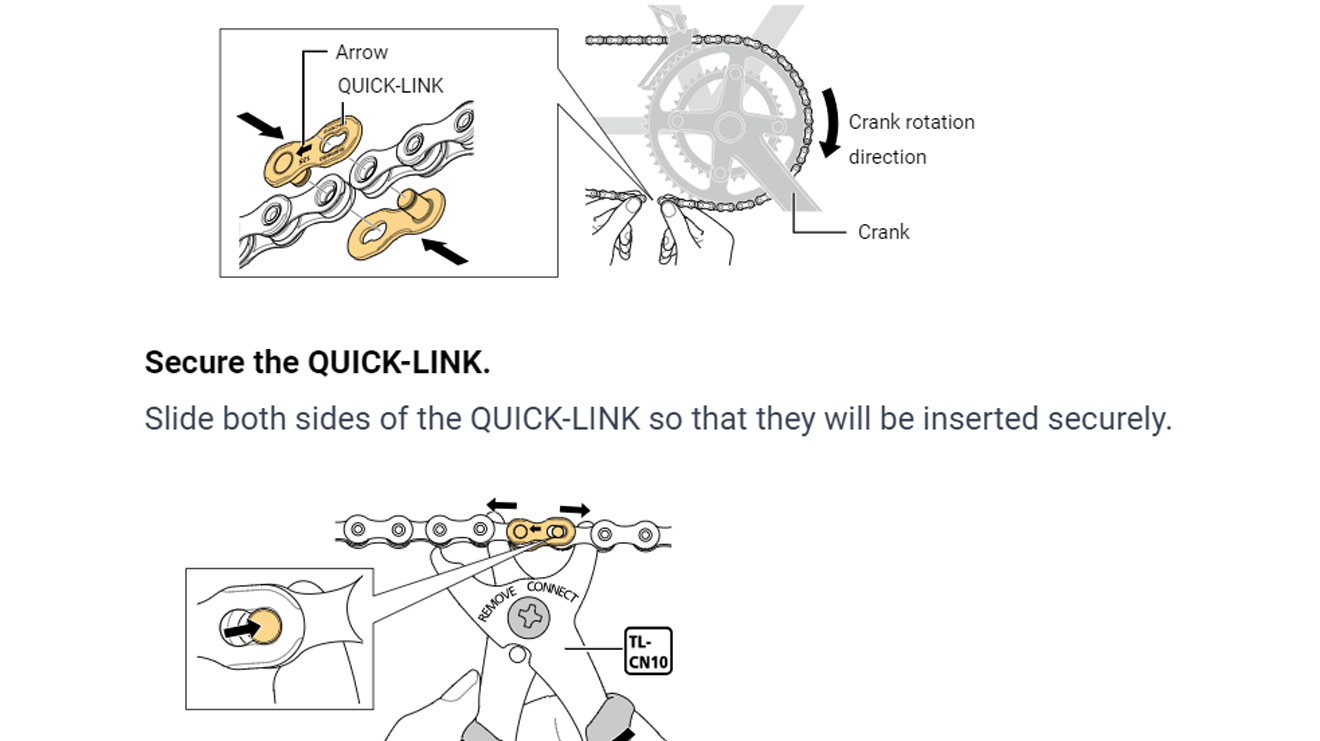
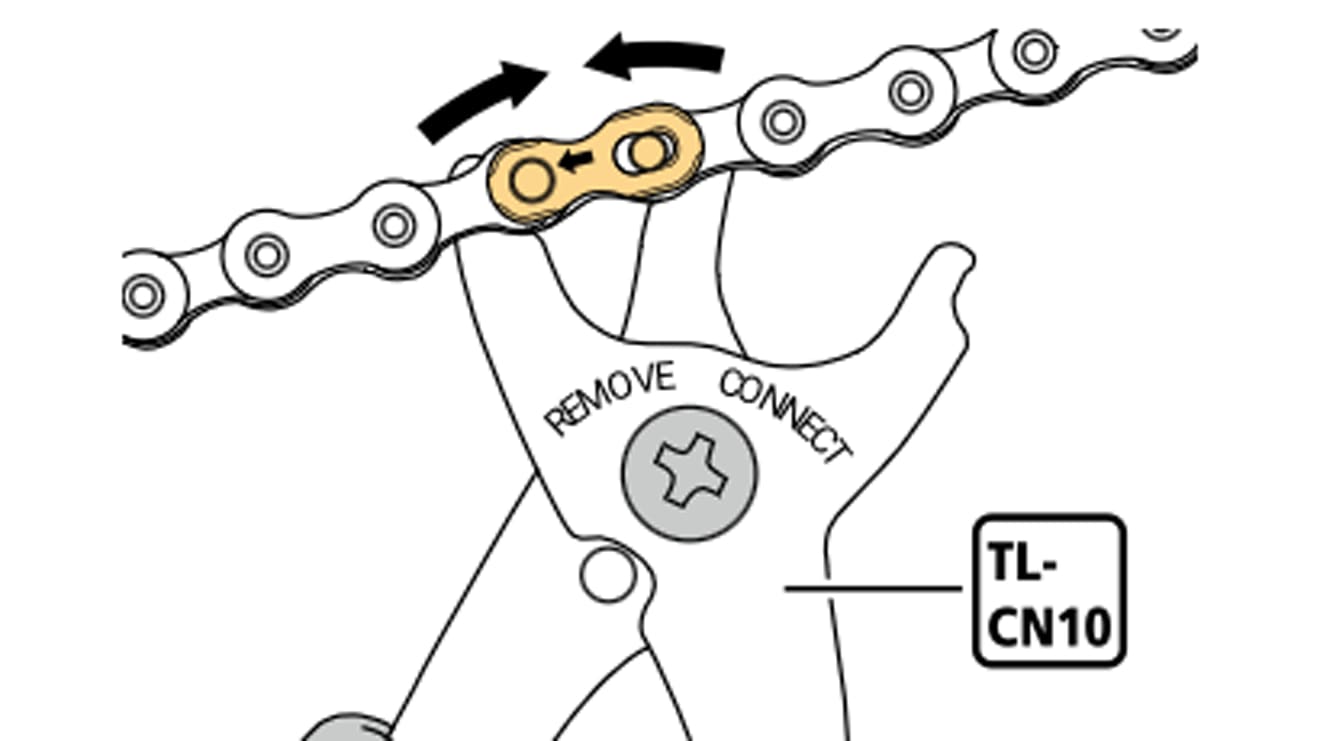
Pour poser un maillon QUICK-LINK, faites glisser les deux pièces individuelles des deux côtés entre les maillons intérieurs. Positionnez-le de telle sorte que la flèche sur la surface pointe dans le sens de rotation de la manivelle vue de l'avant. Veillez à utiliser l'outil SHIMANO TL-CN10 d'origine pour faire glisser les goupilles en position et les fixer.
Conseil : si vous n'avez aucun outil sous la main (par exemple, en cas de problème technique sur un sentier), vous pouvez attacher un maillon QUICK-LINK sur la ligne de chaîne supérieure et le laisser s'engager en appliquant une légère force avec la pédale.
Attention : ceci demande un peu de pratique et le positionnement parfait des deux attaches du QUICK-LINK. Soyez attentif et en cas de doute, adressez-vous un à revendeur de vélos. En cas de mauvaise manipulation, un QUICK-LINK de ce genre peut se briser.
Pour ouvrir un QUICK-LINK, il convient d'utiliser exclusivement l'outil TL-CN10 de SHIMANO.
Que se passe-t-il si la chaîne de vélo est trop longue ou trop courte ?
Une chaîne trop courte pourrait endommager le dérailleur. Vous ne pourrez plus utiliser toutes vos vitesses. Sur les plus grands pignons, il pourrait devenir difficile de pédaler et des bruits pourraient se faire entendre.
Avec une chaîne trop longue, le dérailleur arrière ne sera plus en mesure de réaliser des changements de vitesses précis. De plus, la chaîne se déplacera latéralement, ce qui provoquera un cognement.
Si vous ne savez pas si la longueur de votre chaîne est correcte, demandez à un mécanicien cycle chez un revendeur de vélos près de chez vous de vérifier.
Nettoyage régulier
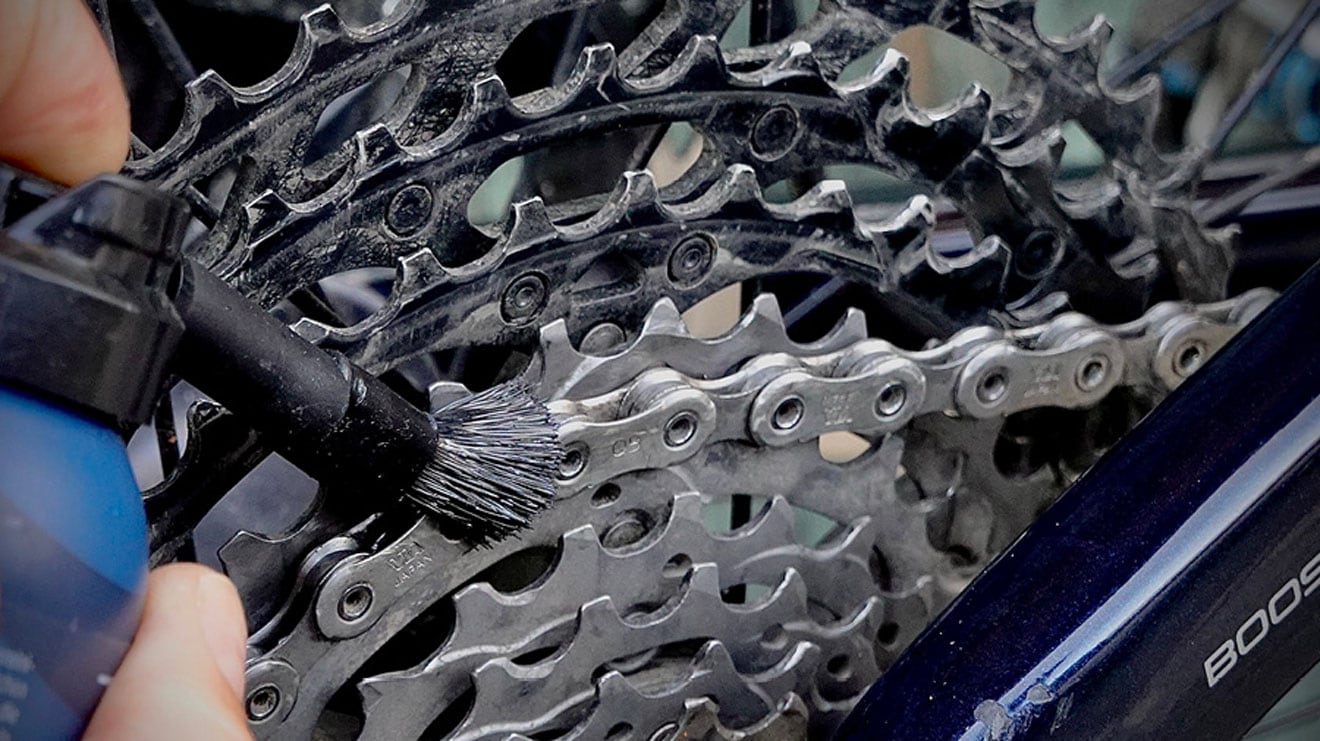
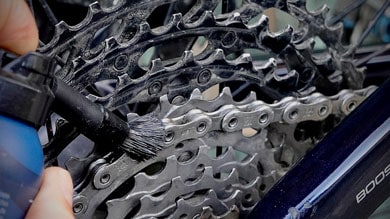
Une chaîne propre est une chaîne heureuse (et qui dure). Nettoyez la chaîne fréquemment et en profondeur. Je conseille de nettoyer la chaîne tous les deux lavages. Tout d'abord, éliminez toute la saleté sur la surface de la chaîne, puis utilisez un produit dégraissant. Pensez à protéger le sol ou à vous rendre dans un car wash, car il faut éviter que les huiles ne pénètrent dans le sol. Une fois que la chaîne a été complètement dégraissée, séchez-la, puis appliquez un lubrifiant.
Il faut veiller à ce que le lubrifiant atteigne tous les maillons de la chaîne. Pour ce faire, maintenez l'ouverture de la bouteille de lubrifiant contre l'intérieur de la chaîne et faites tourner le pédalier jusqu'à ce que tous les maillons ont été lubrifiés. Essuyez ensuite la chaîne à l'aide d'un chiffon pour éliminer l'excès de lubrifiant. Dans le cas contraire, les saletés s'accumuleront à nouveau rapidement, ce qui accélérera l'usure.
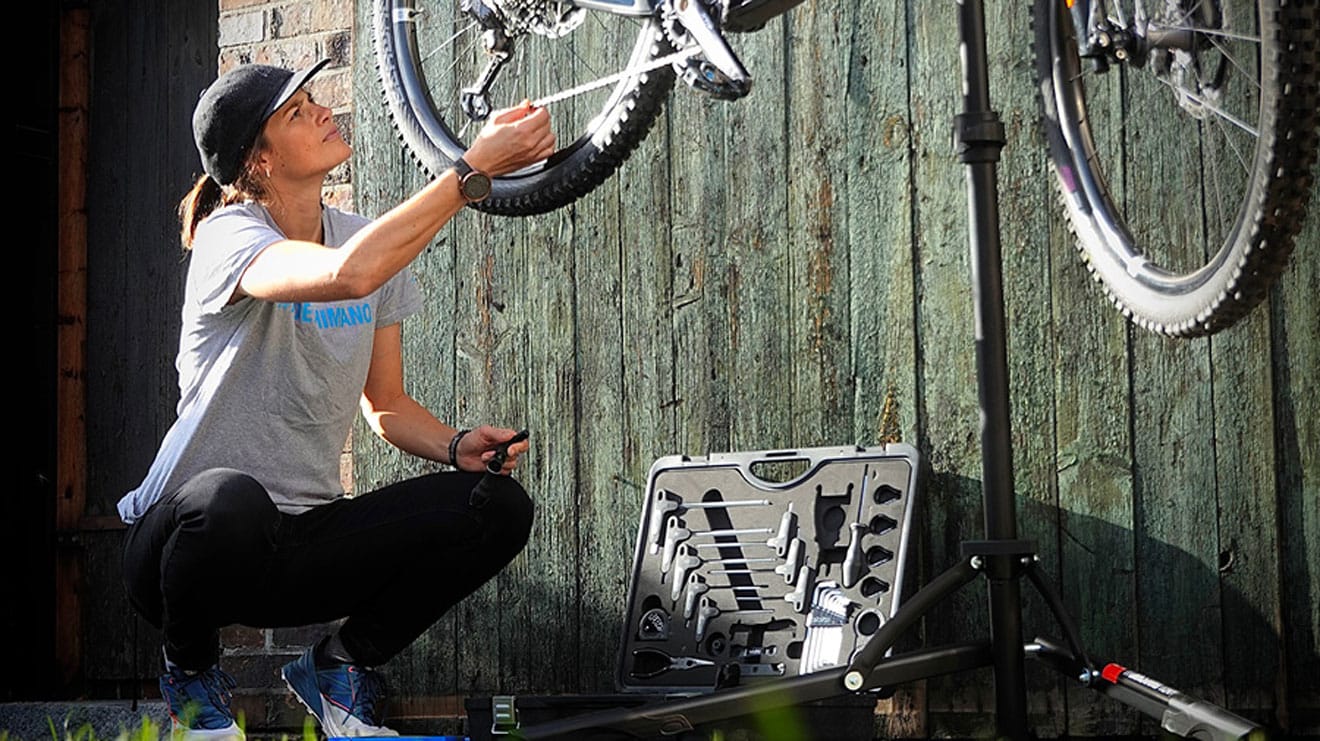
Quel est l'outillage requis pour remplacer une chaîne ?
Si vous utilisez une goupille de connexion :
- Un dérive-chaîne
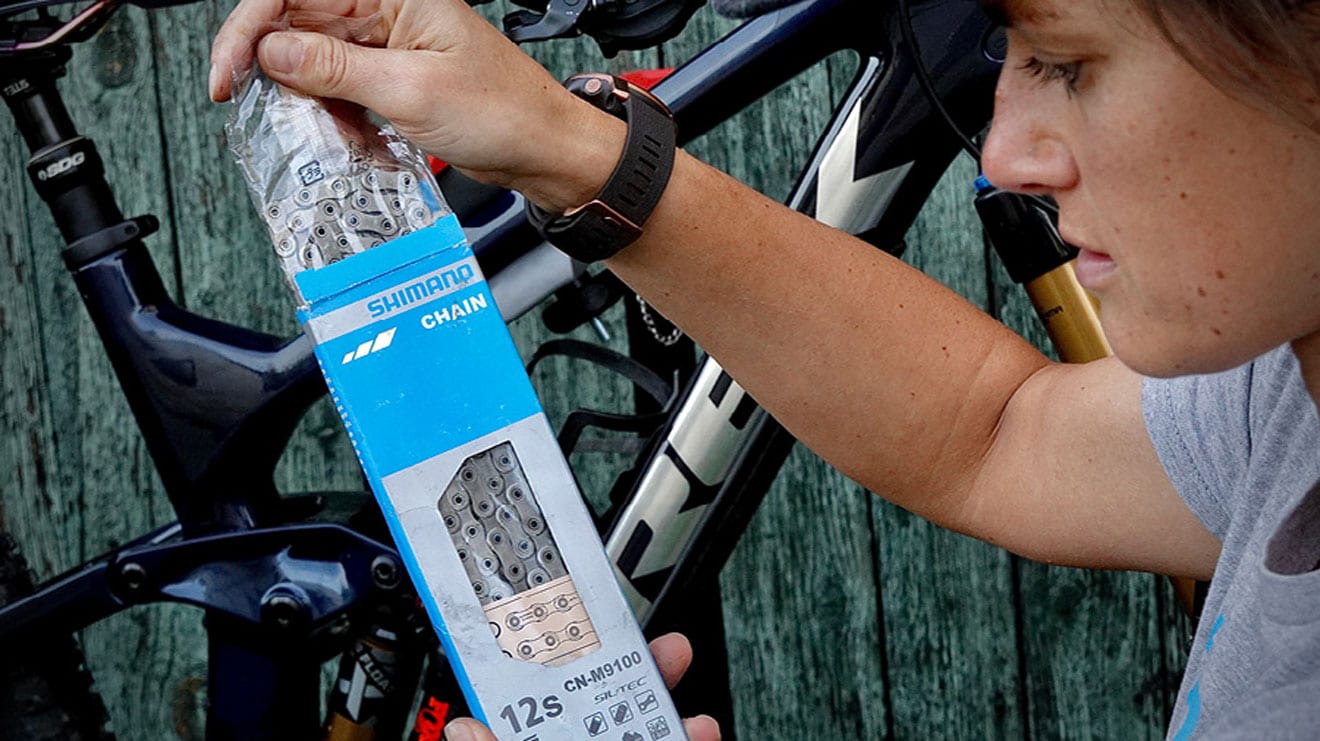
- Une chaîne de vélo neuve de la bonne longueur pour la transmission adéquate (9, 10, 11 ou 12 vitesses)
- Un rivet (normalement livrée avec les chaînes SHIMANO)
- Un multi-outil à emporter
Si vous utilisez un maillon QUICK-LINK :
- Une chaîne de vélo avec QUICK-LINK
- L'outil d'origine SHIMANO TL-CN10
Conseil : un maillon QUICK-LINK peut vous sauver la vie lors d'une sortie (par exemple, le SM-CN900). Un maillon QUICK LINK est plus facile à installer qu'un rivet en cas de bris de chaîne.
























.jpg)

