


-
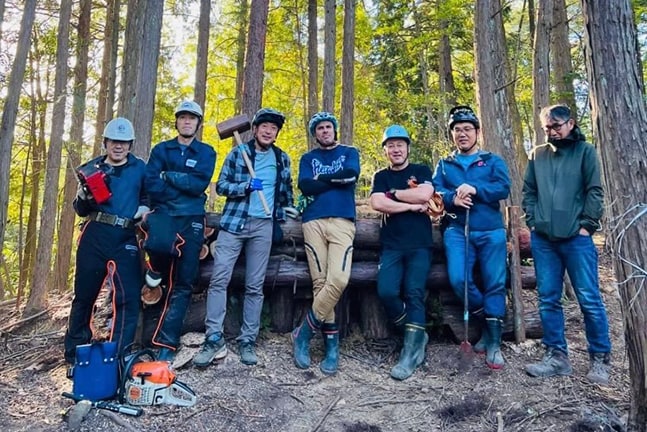
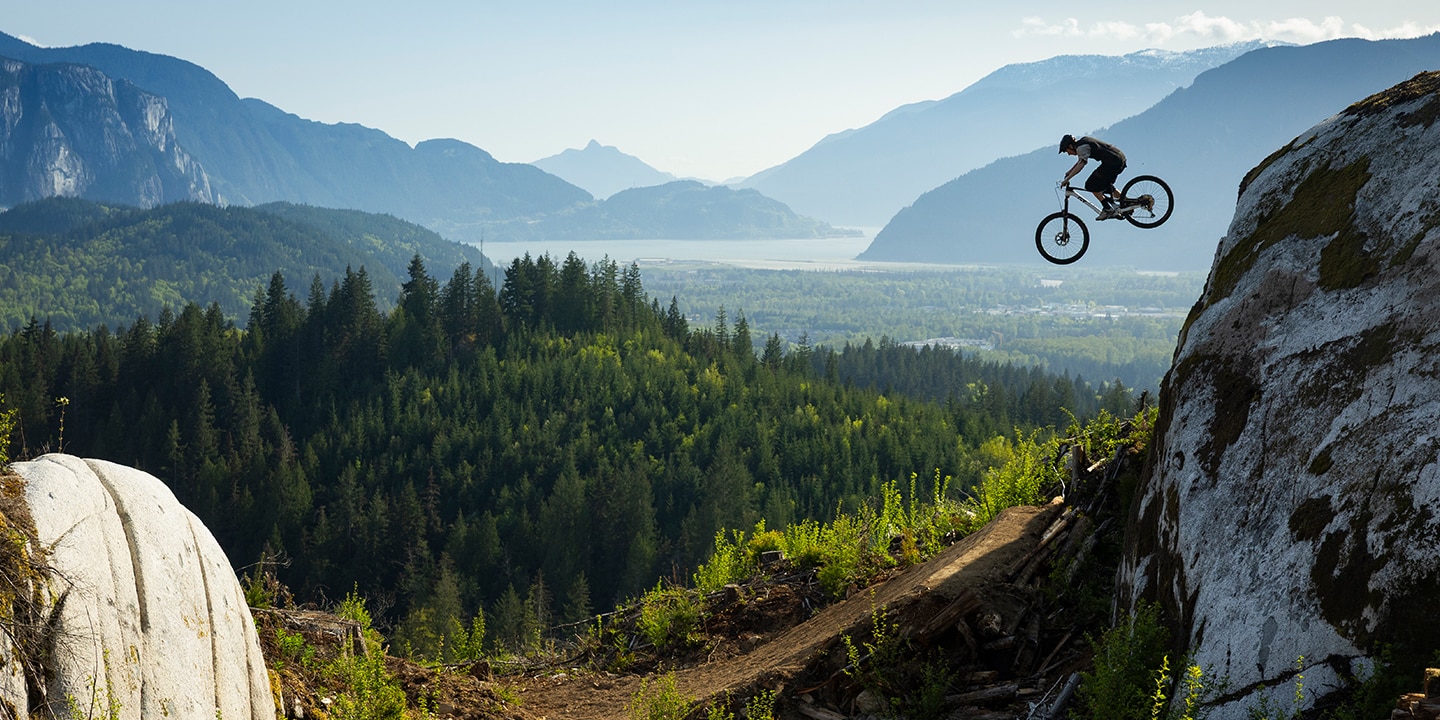
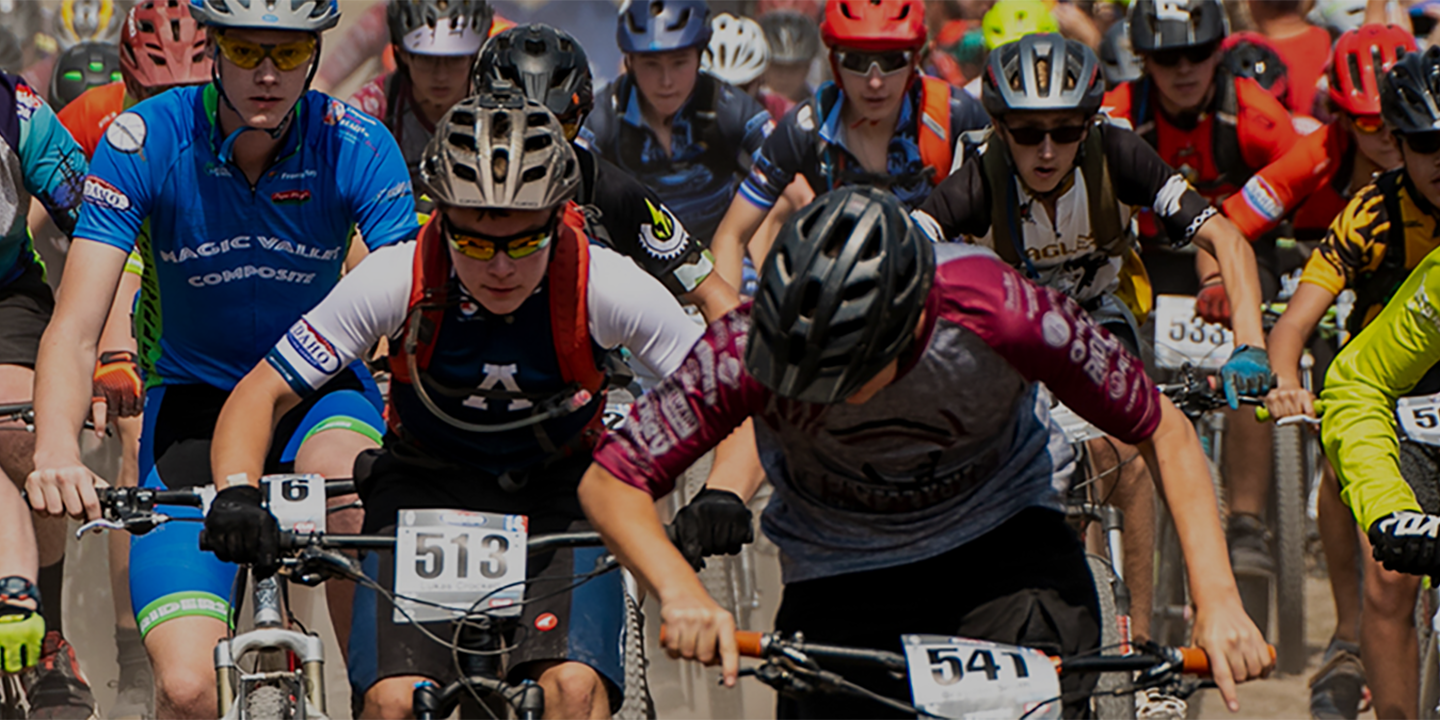
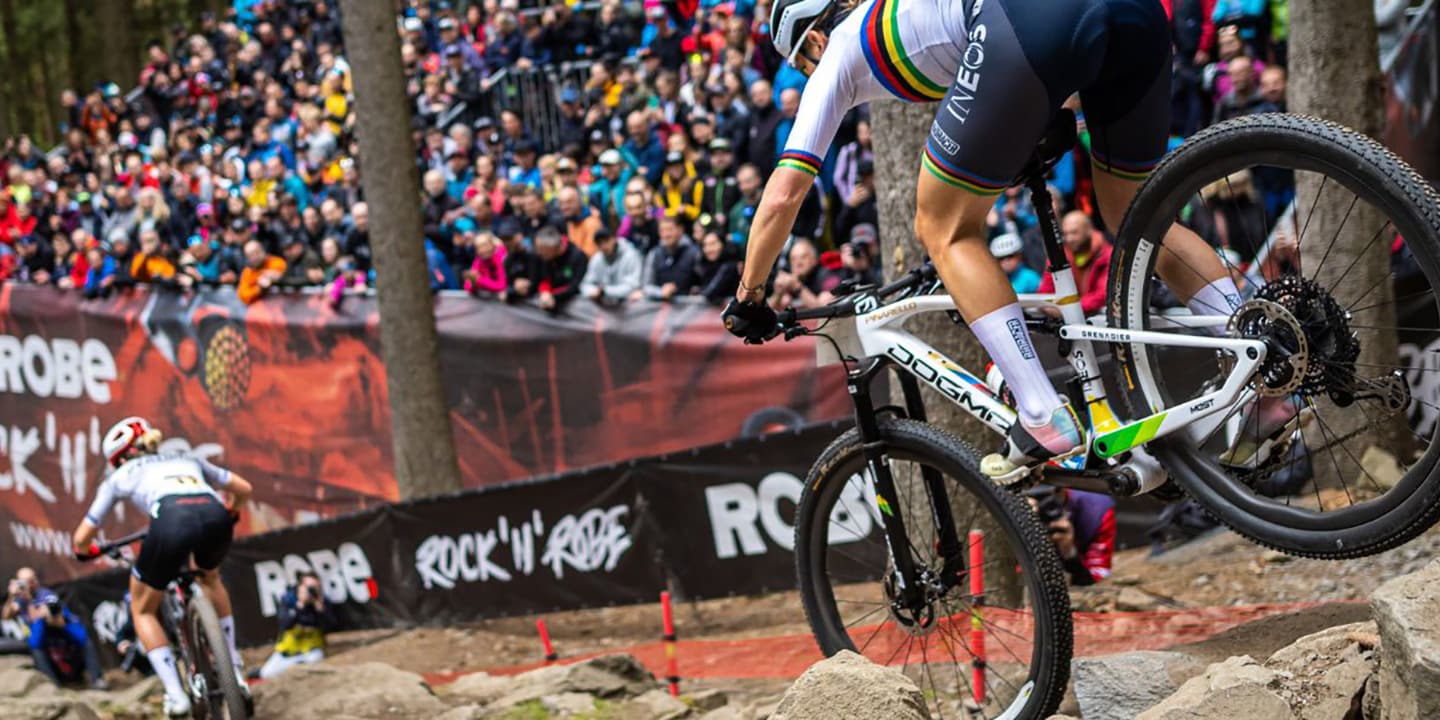
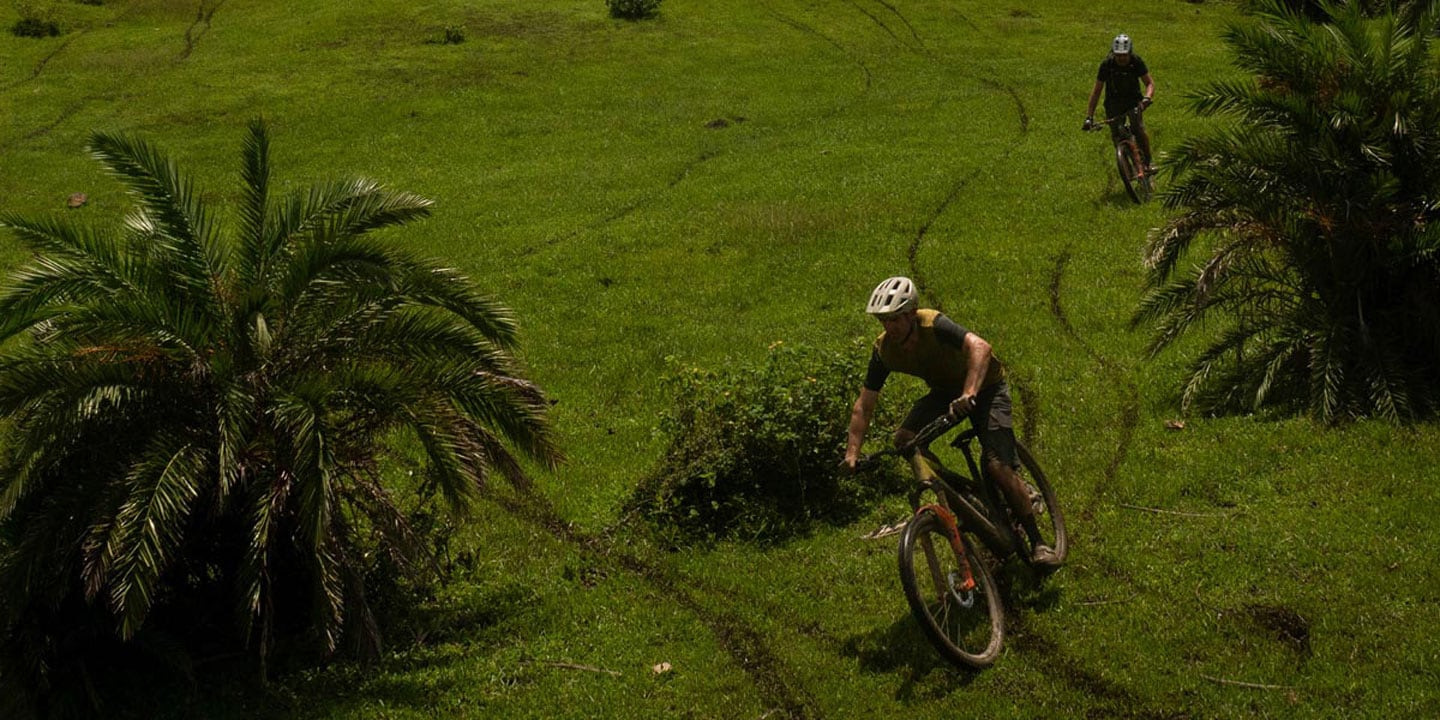
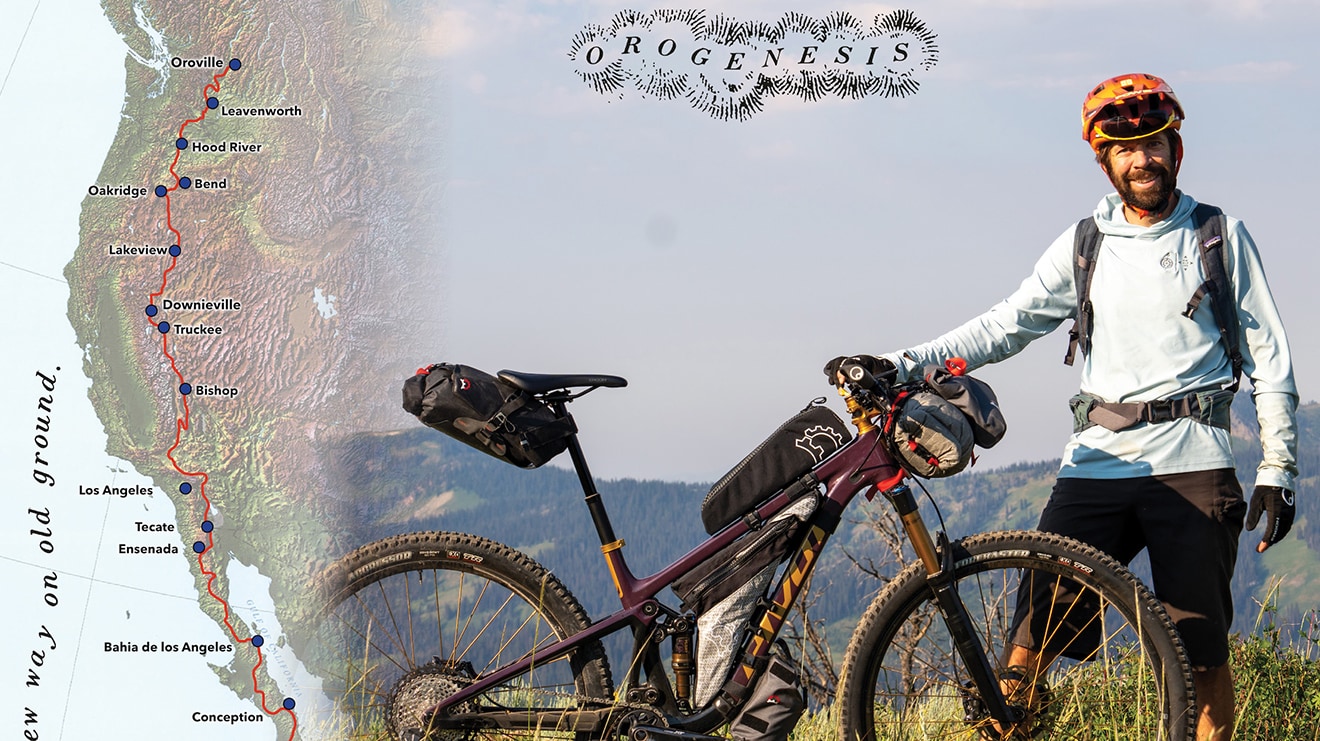
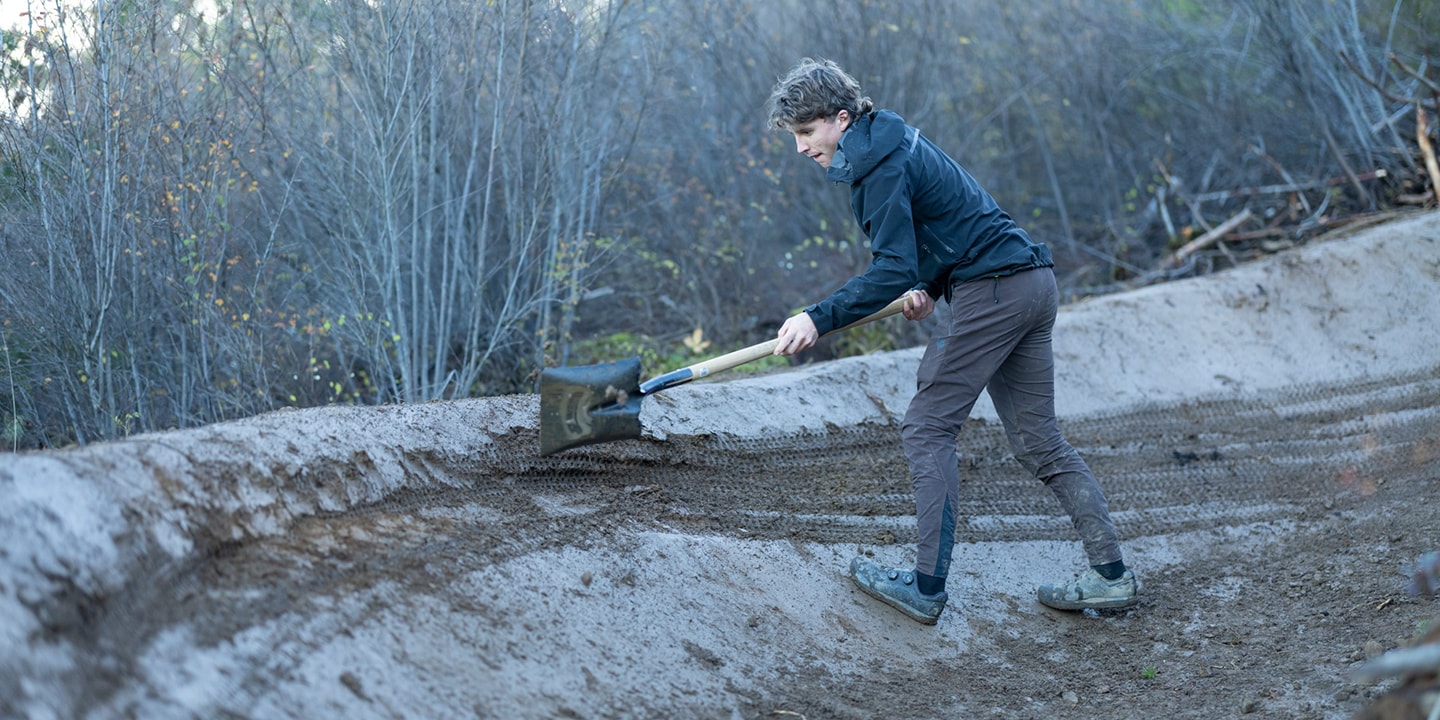
- Building a Mountain Bike Community in Minoh, Osaka
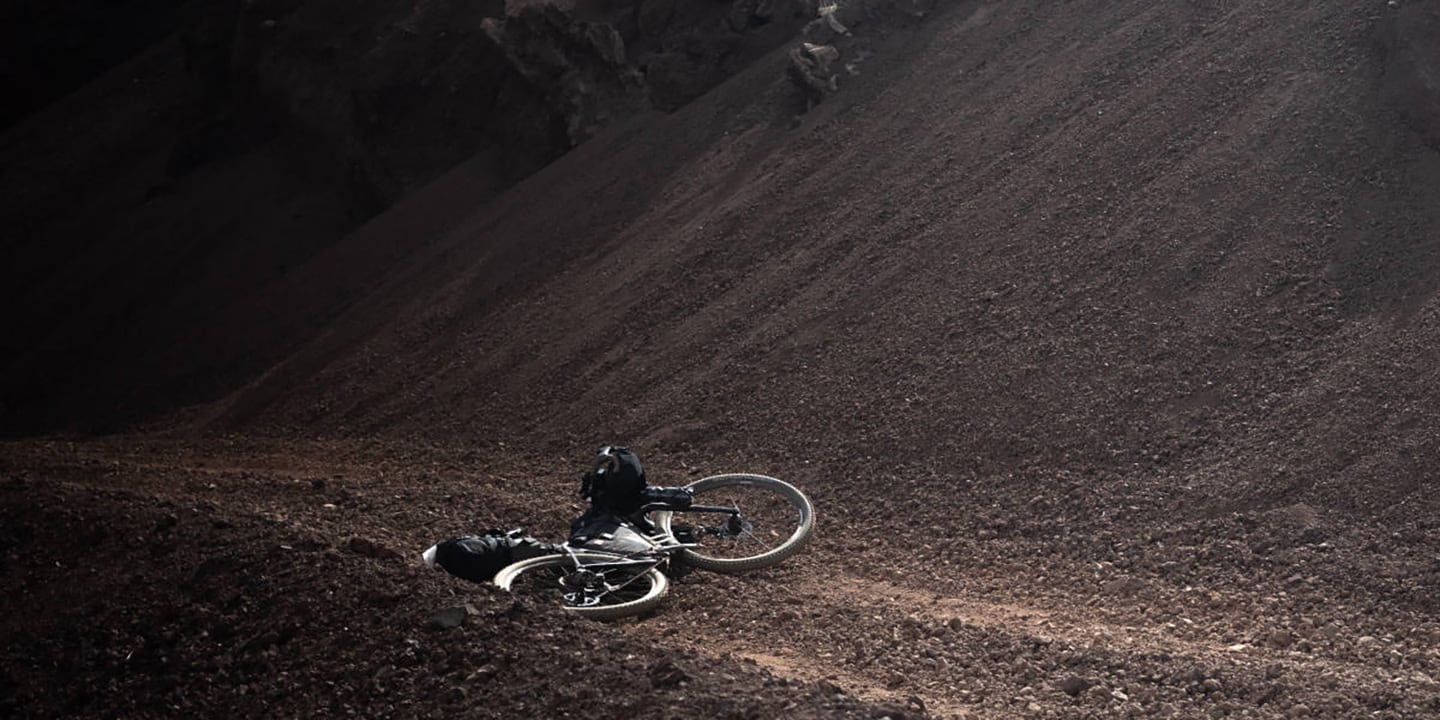
- Every trail has a story. In Minoh, Osaka, riders, volunteers, and local residents have spent years building connections that help mountain biking thrive.
- 26/07/2026
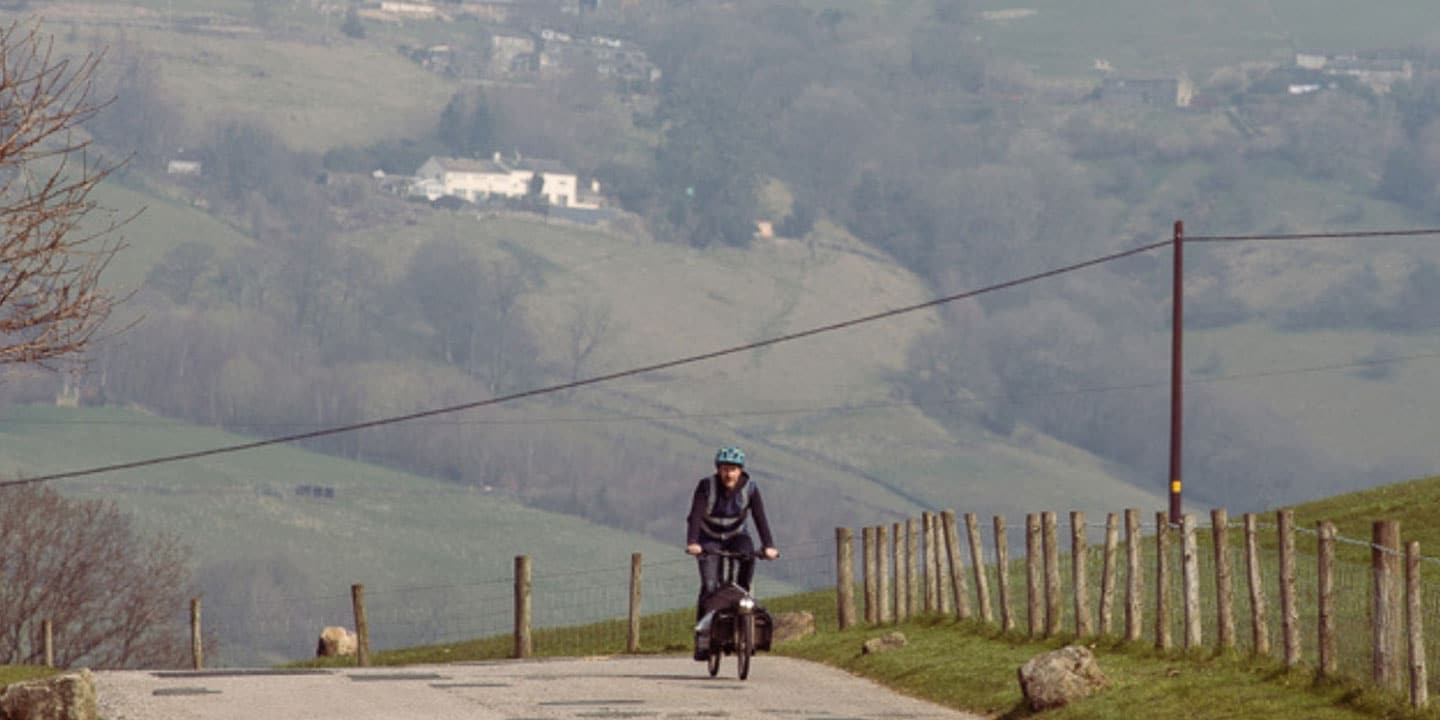
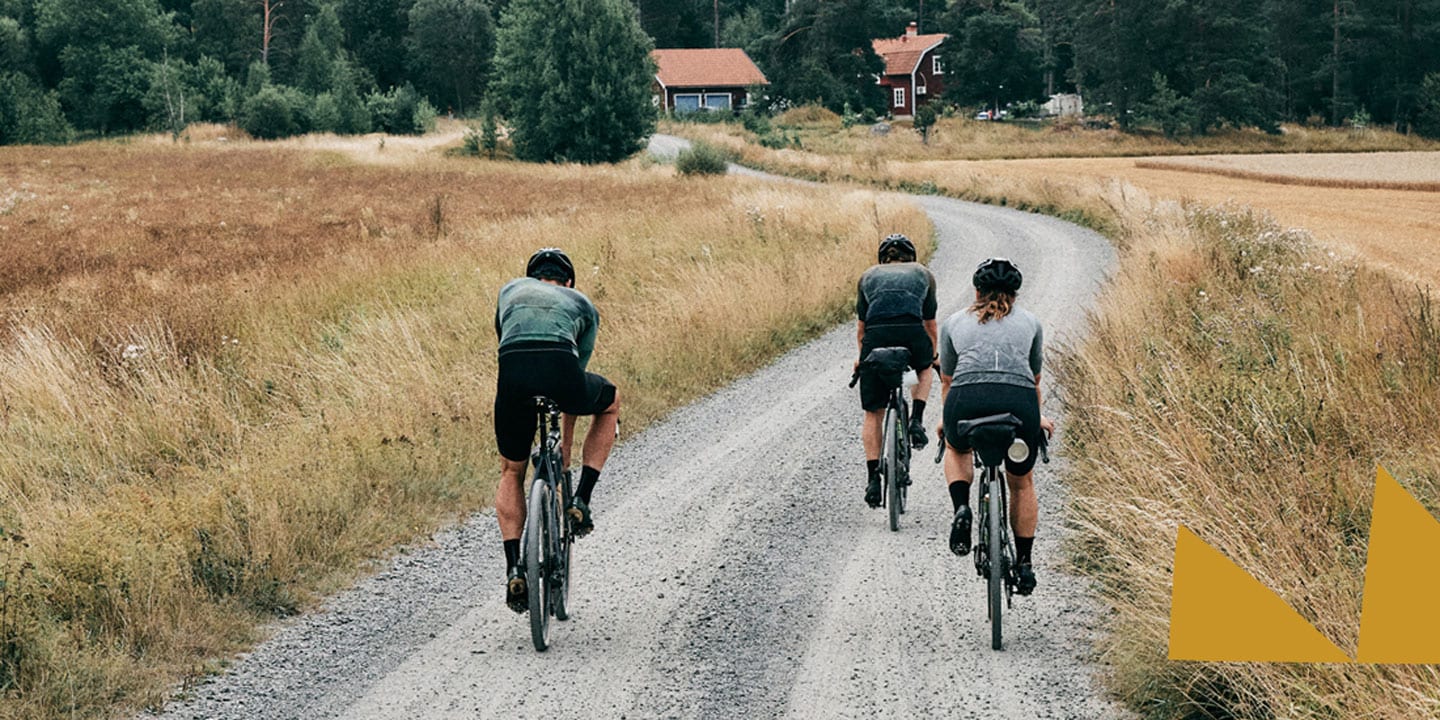
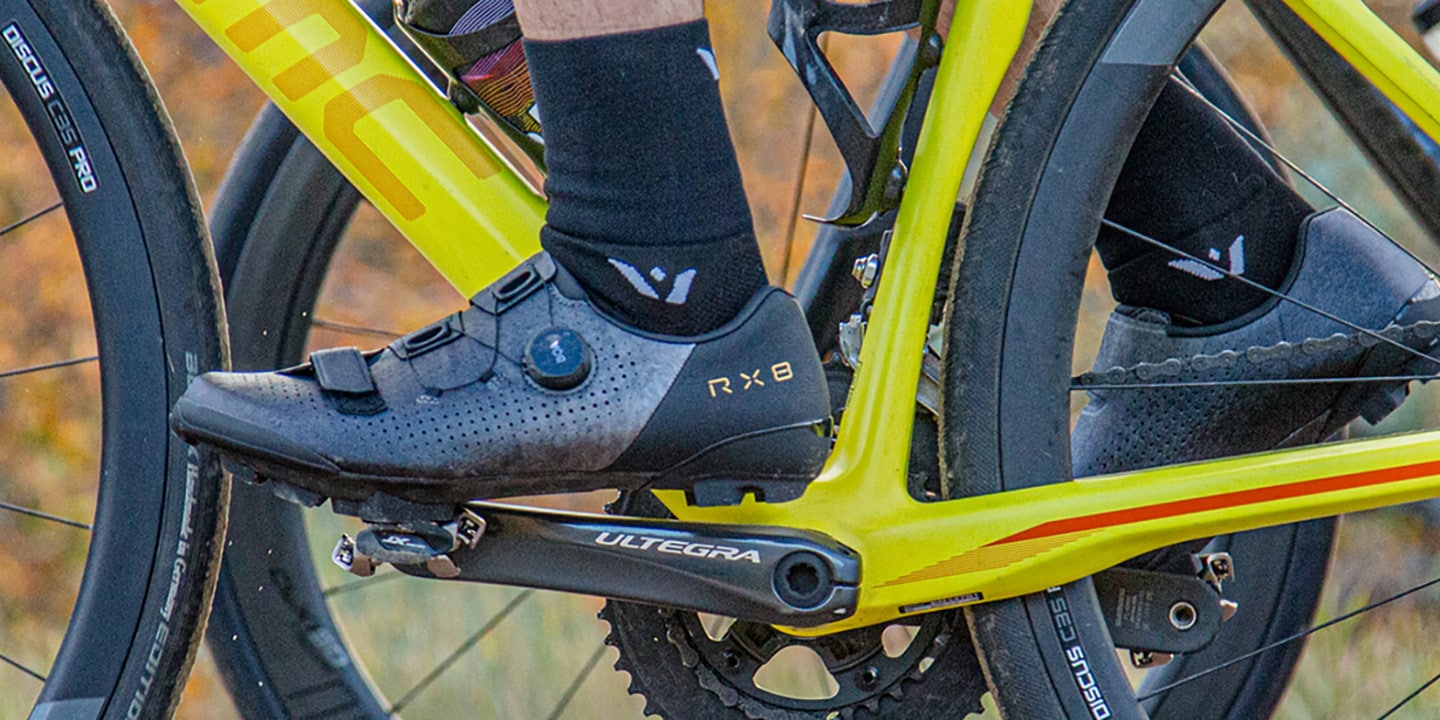
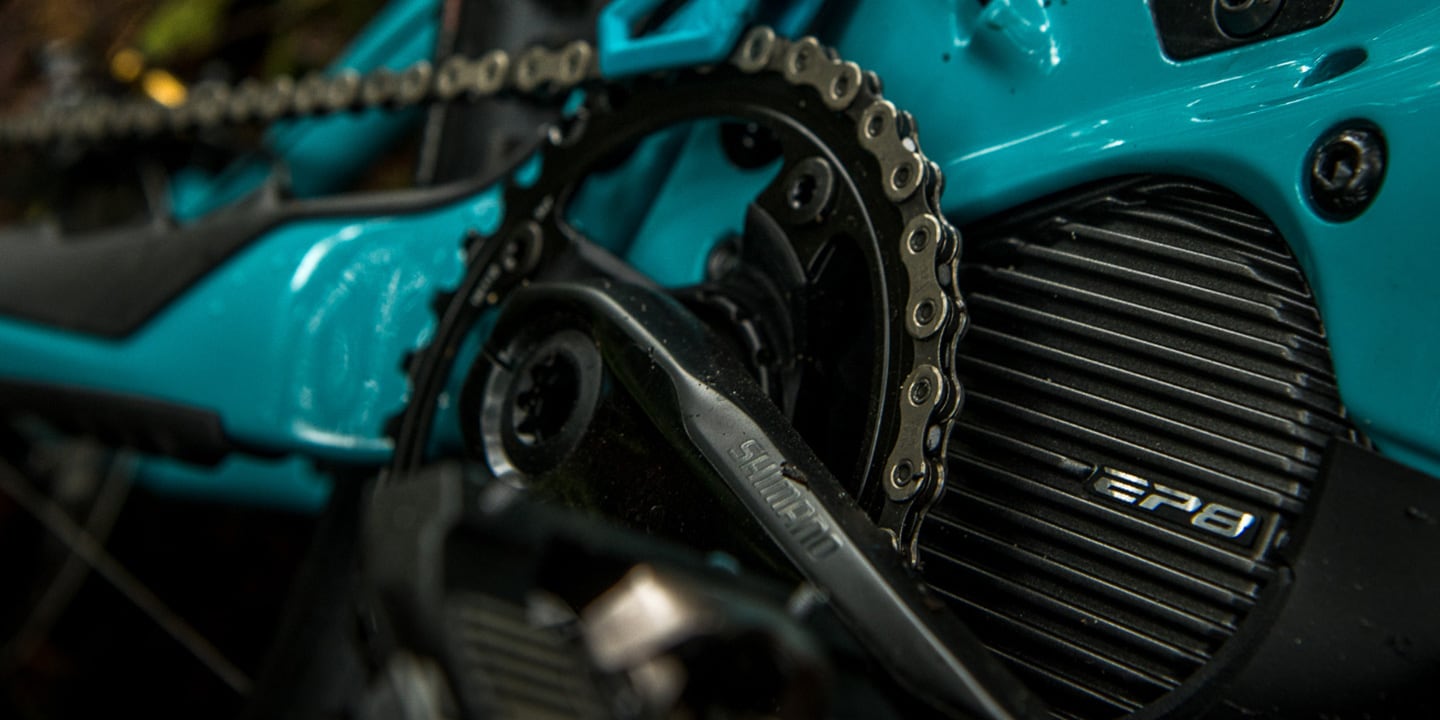
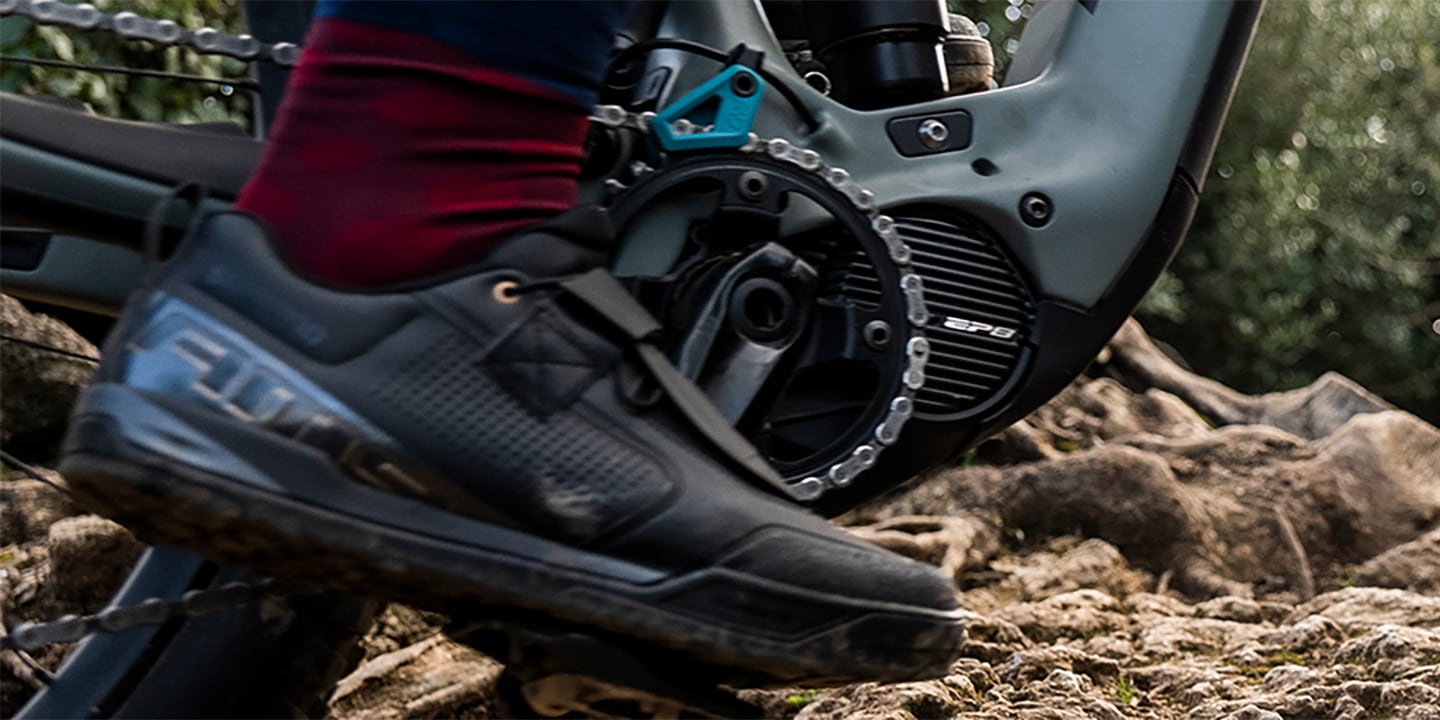
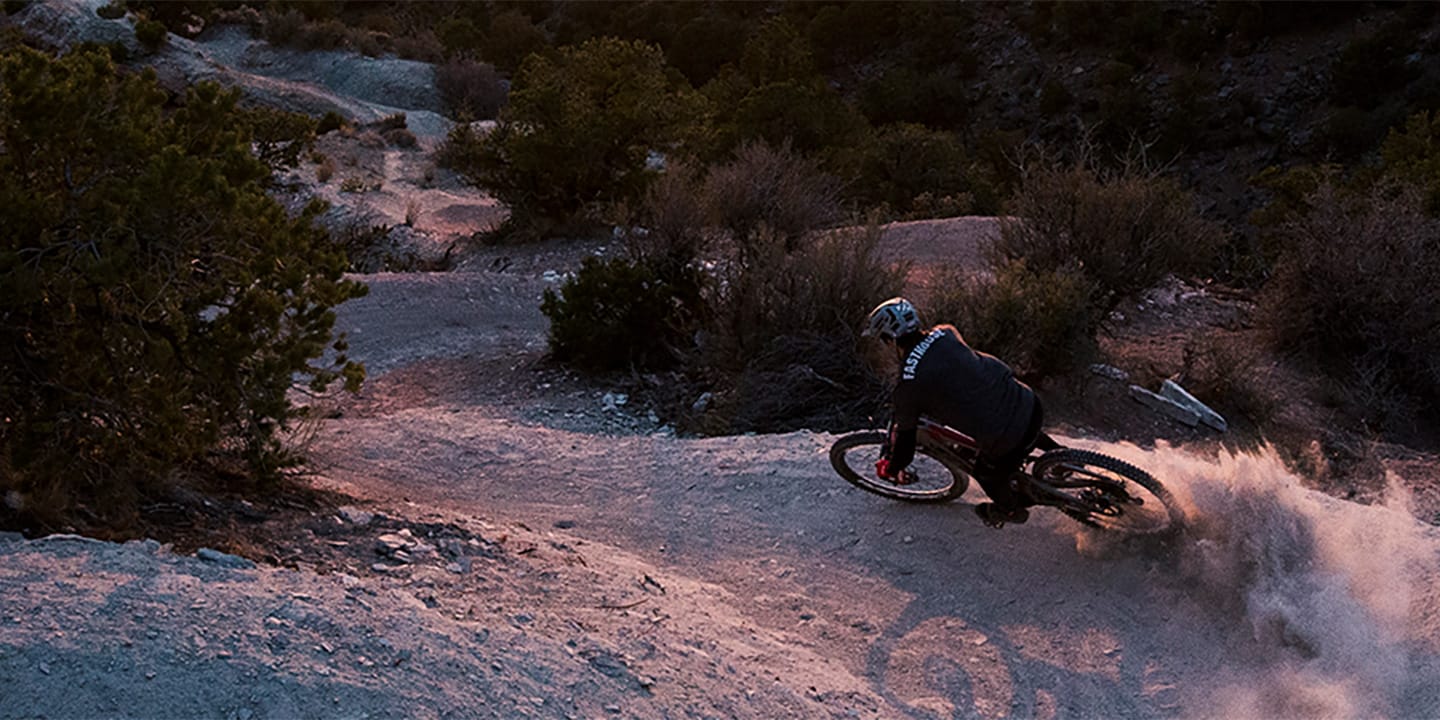
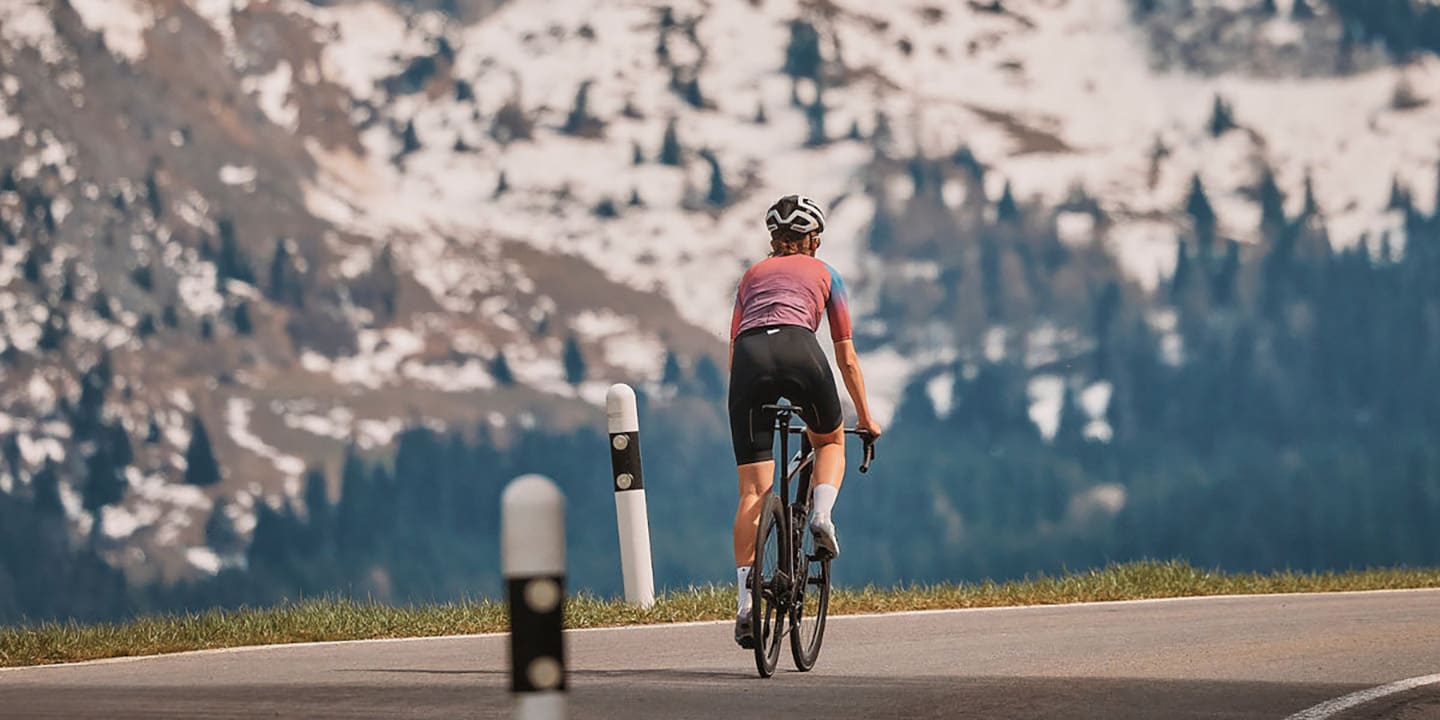
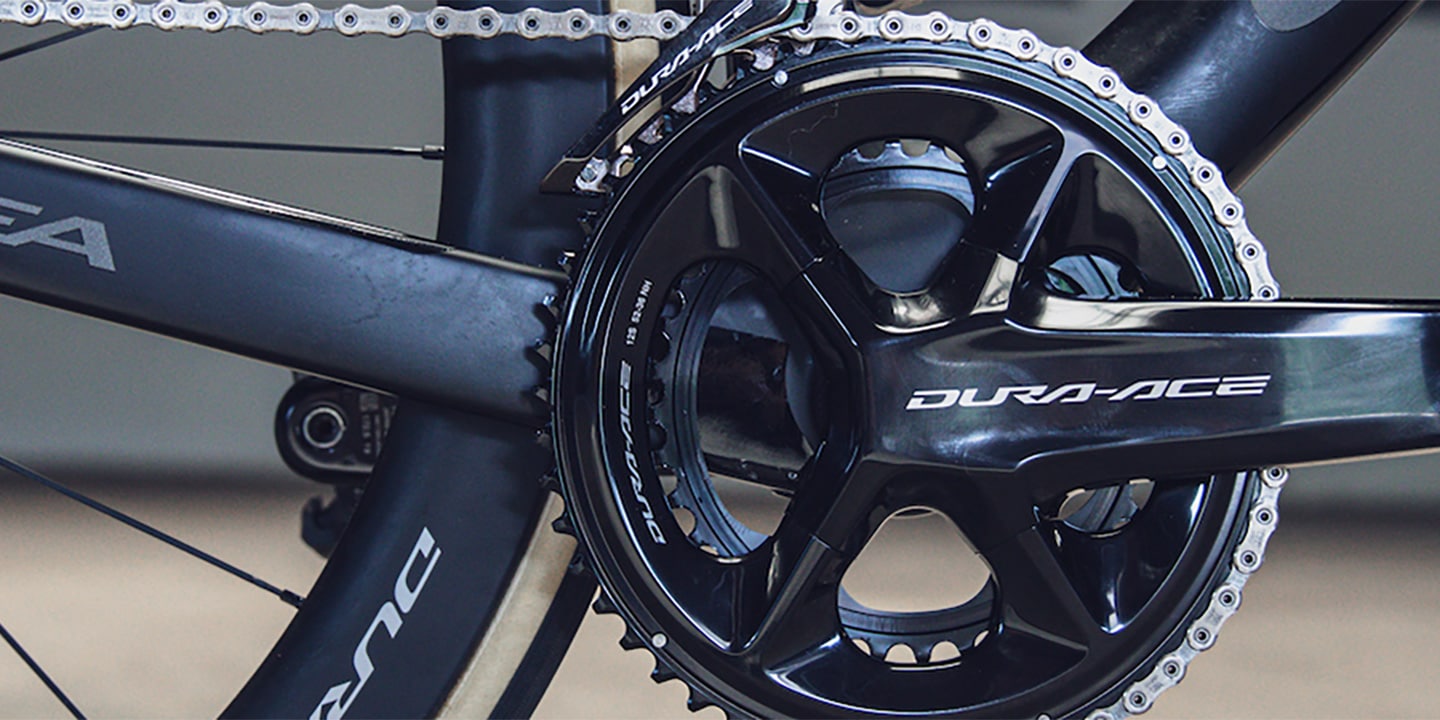
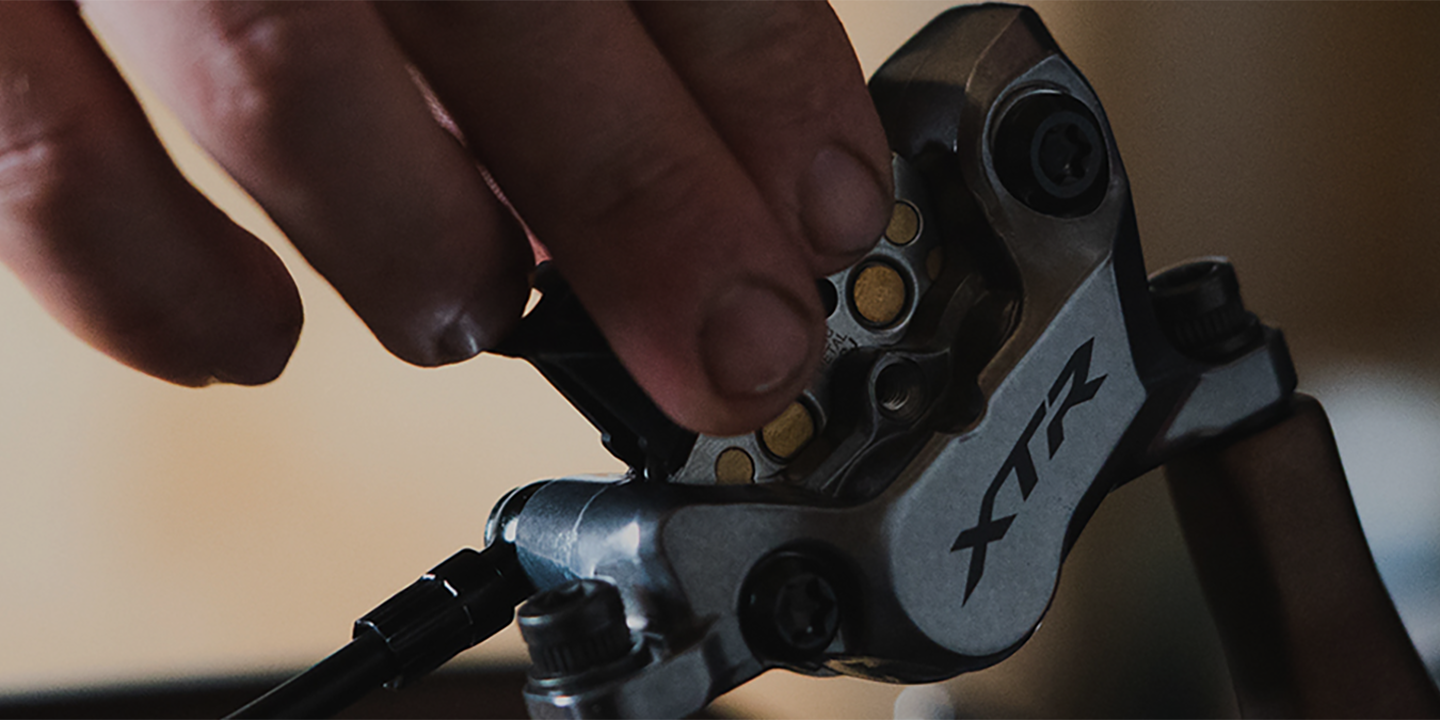
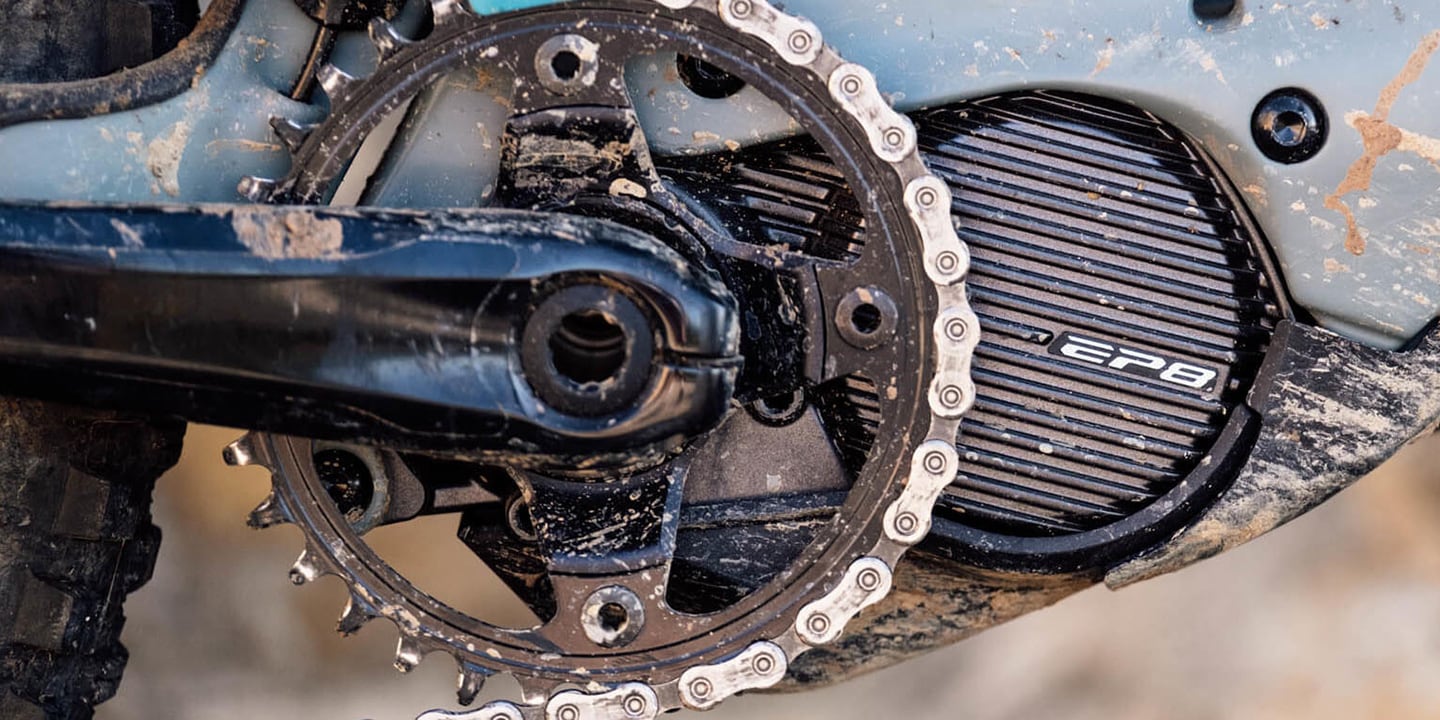
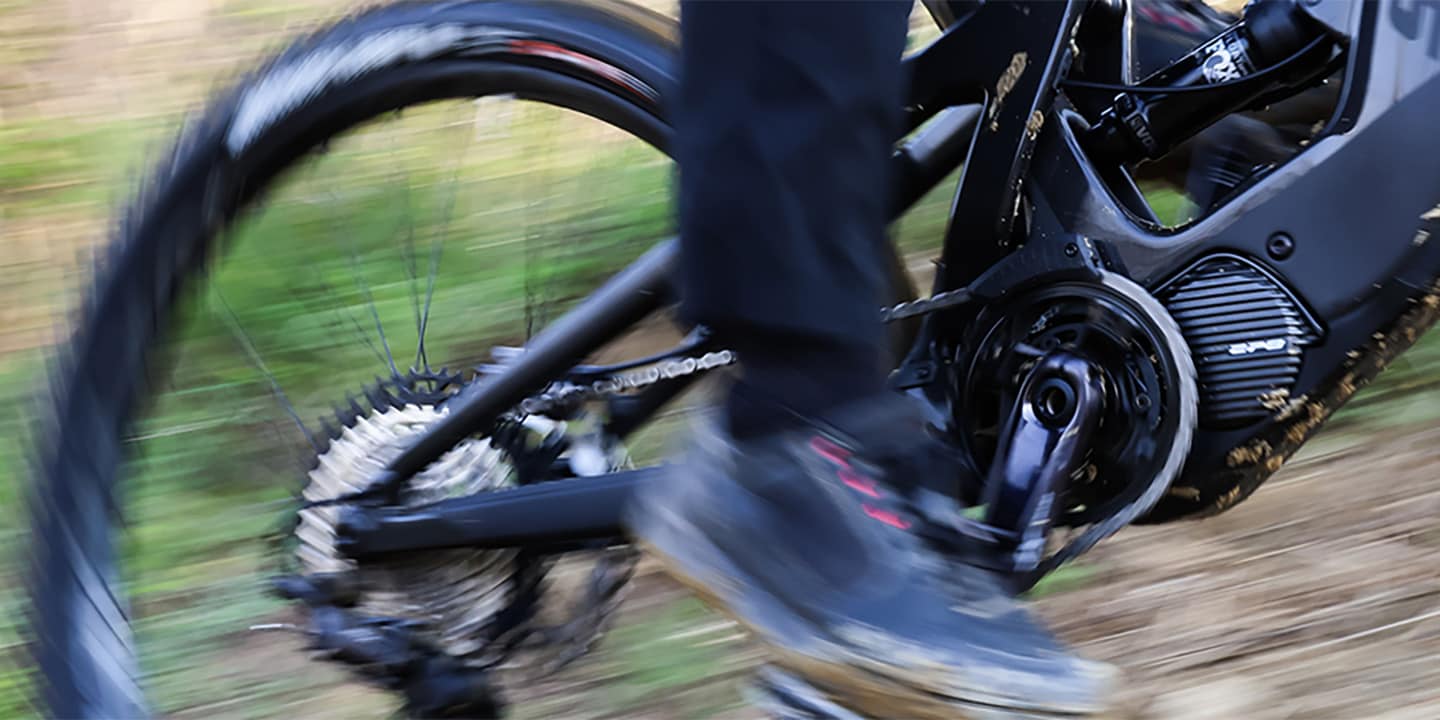
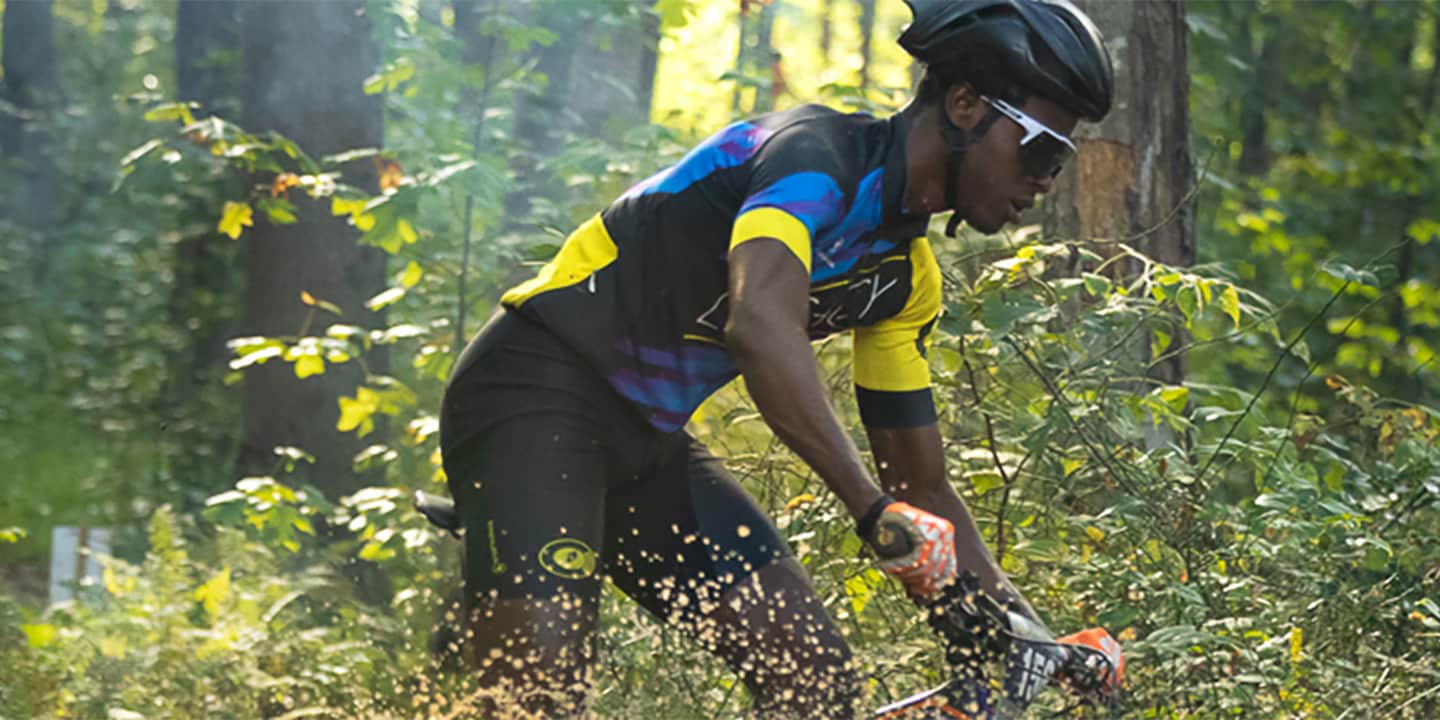
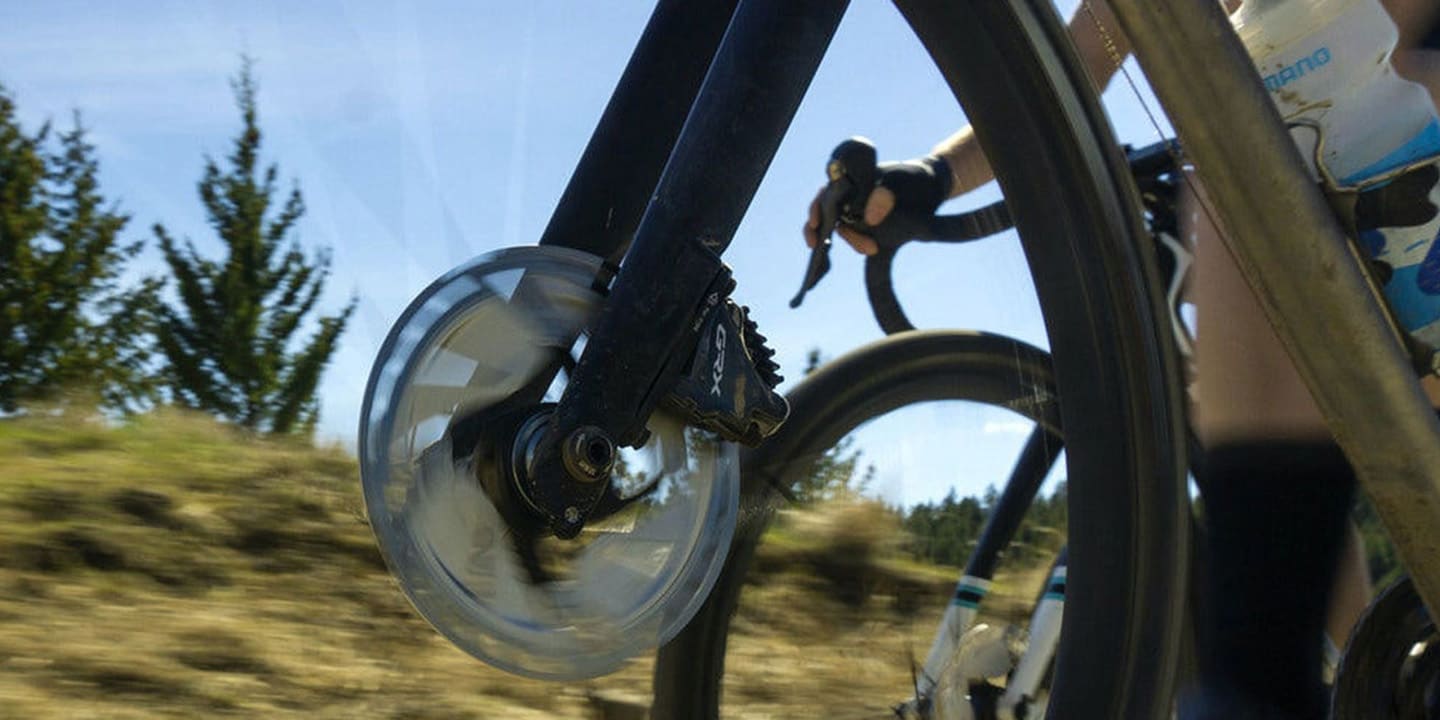
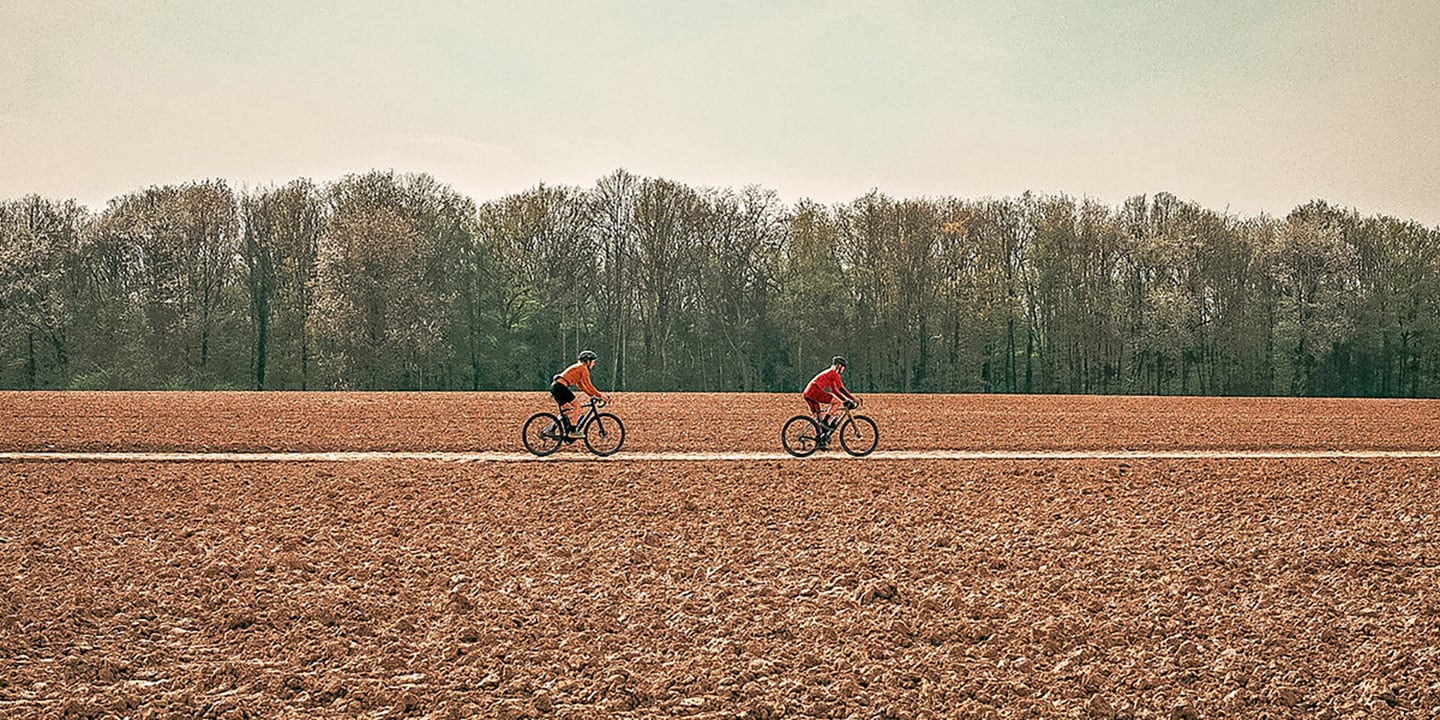
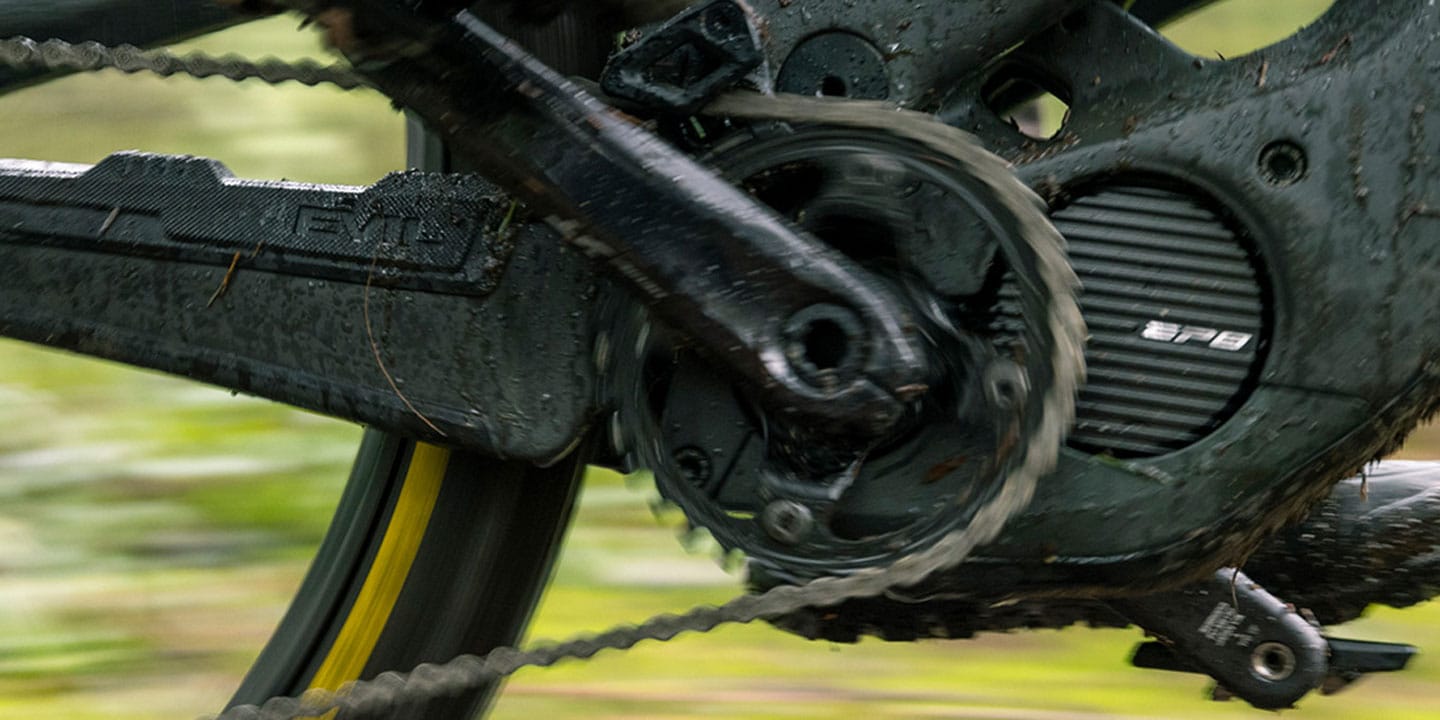
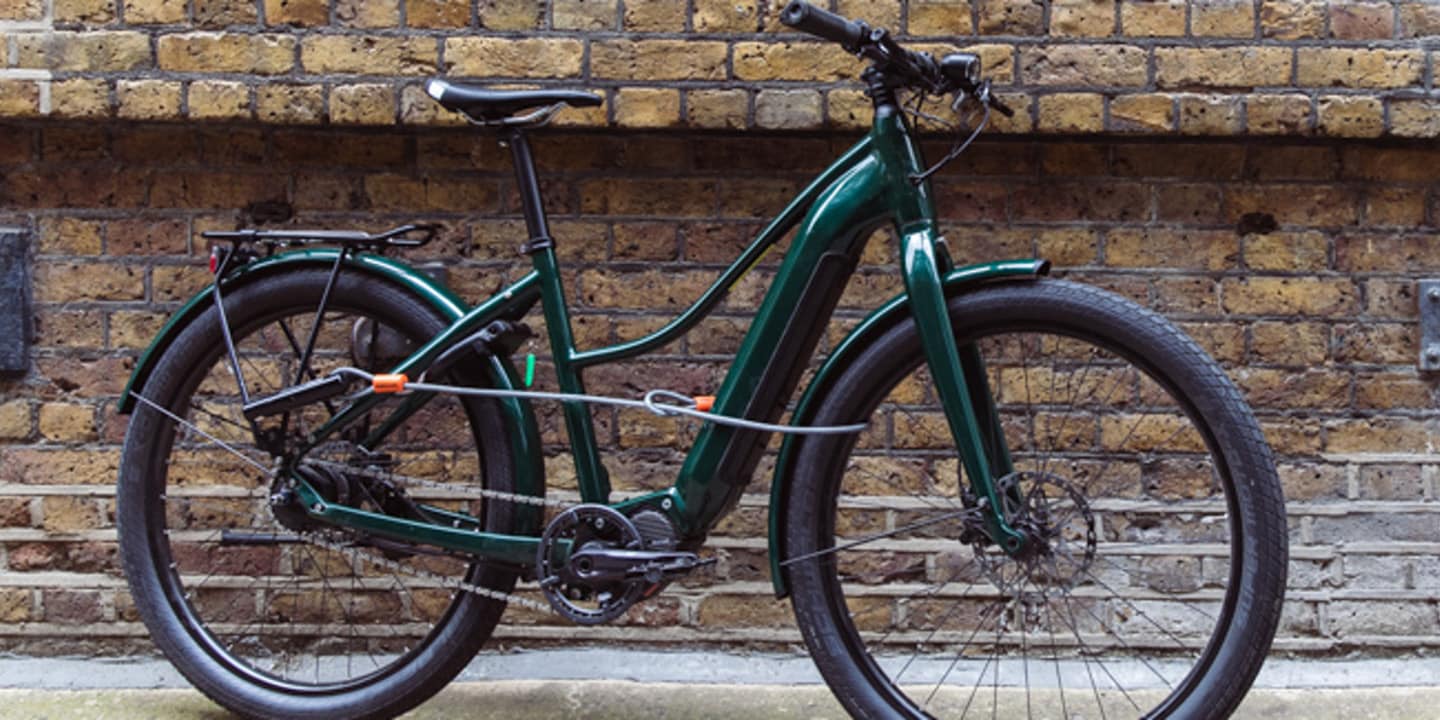
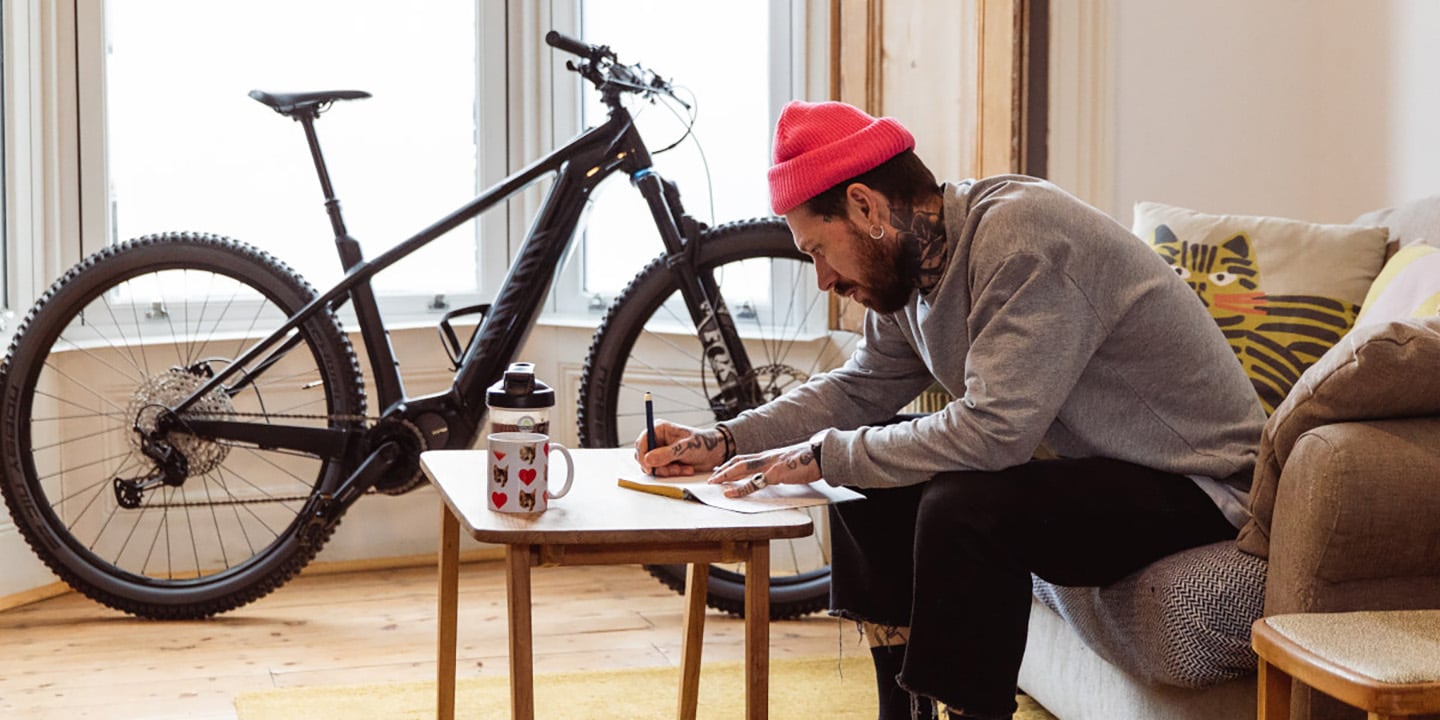
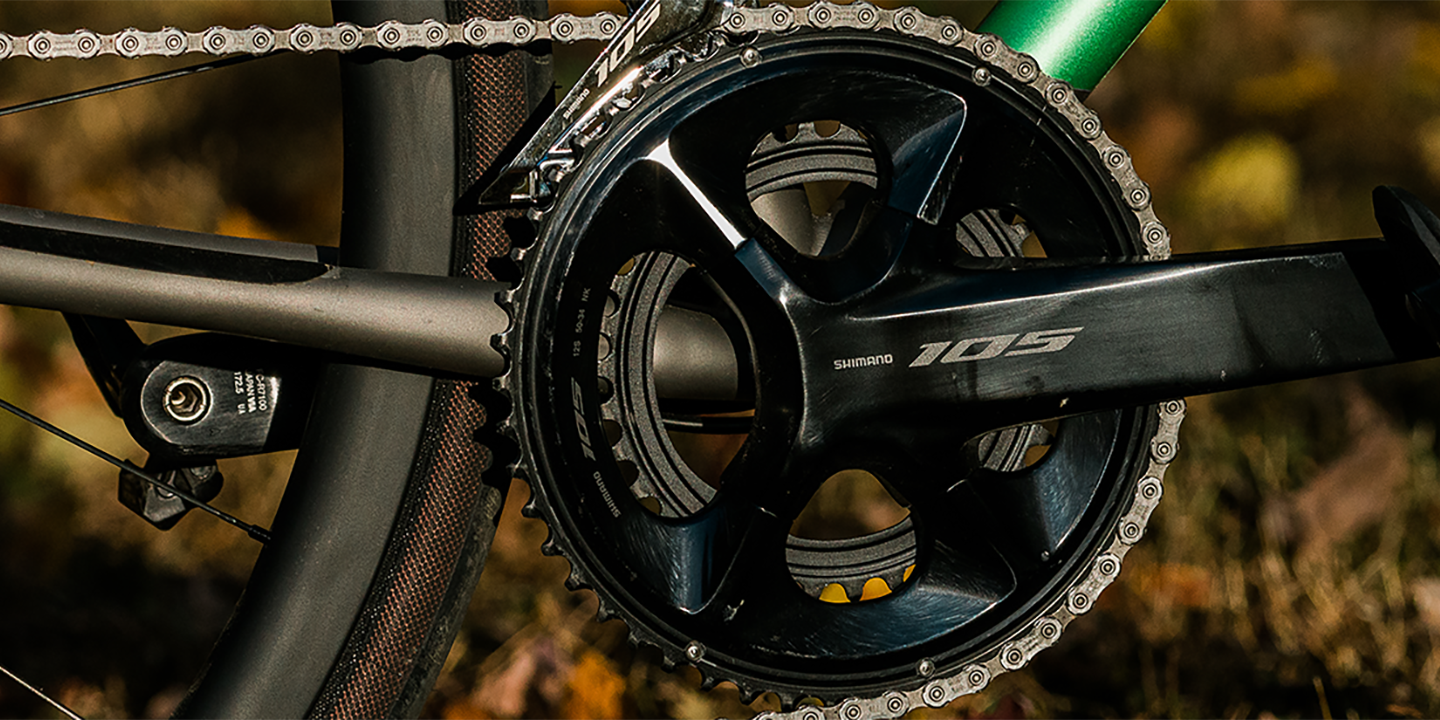
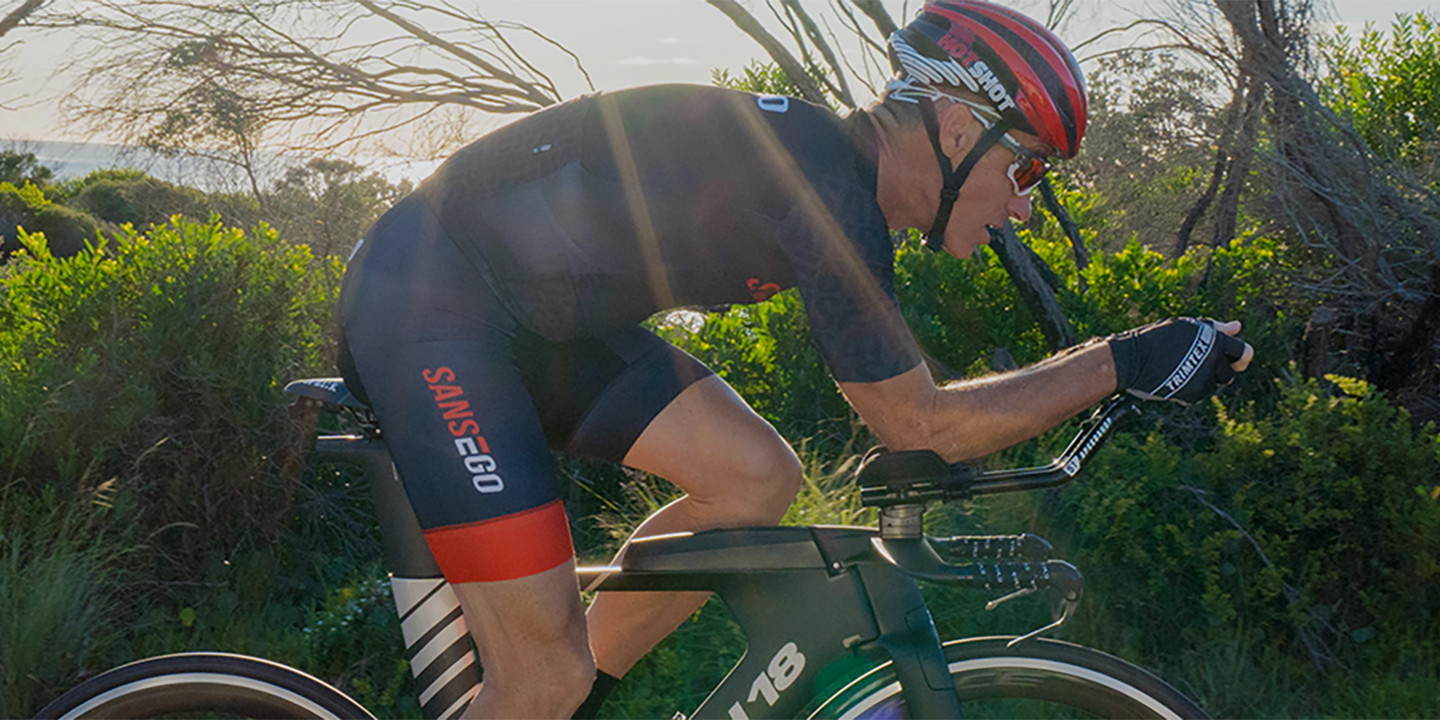
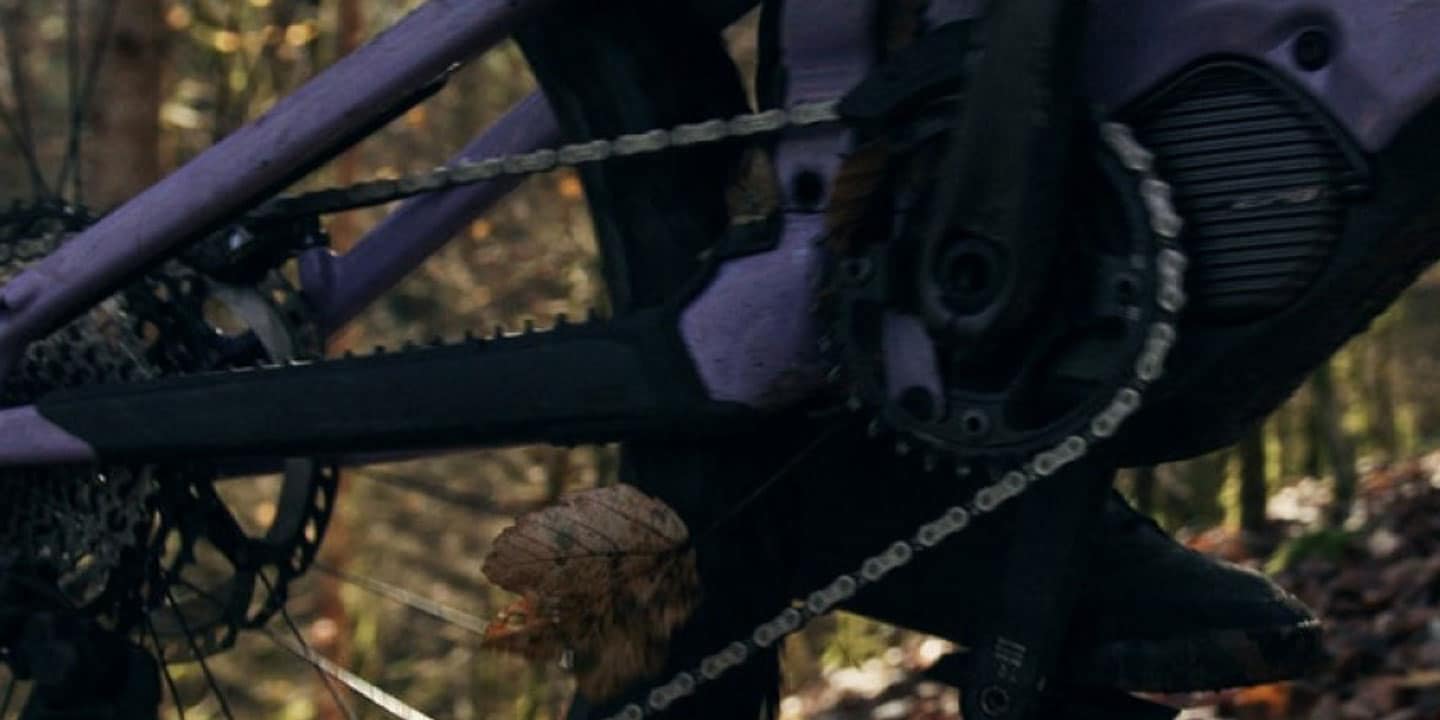
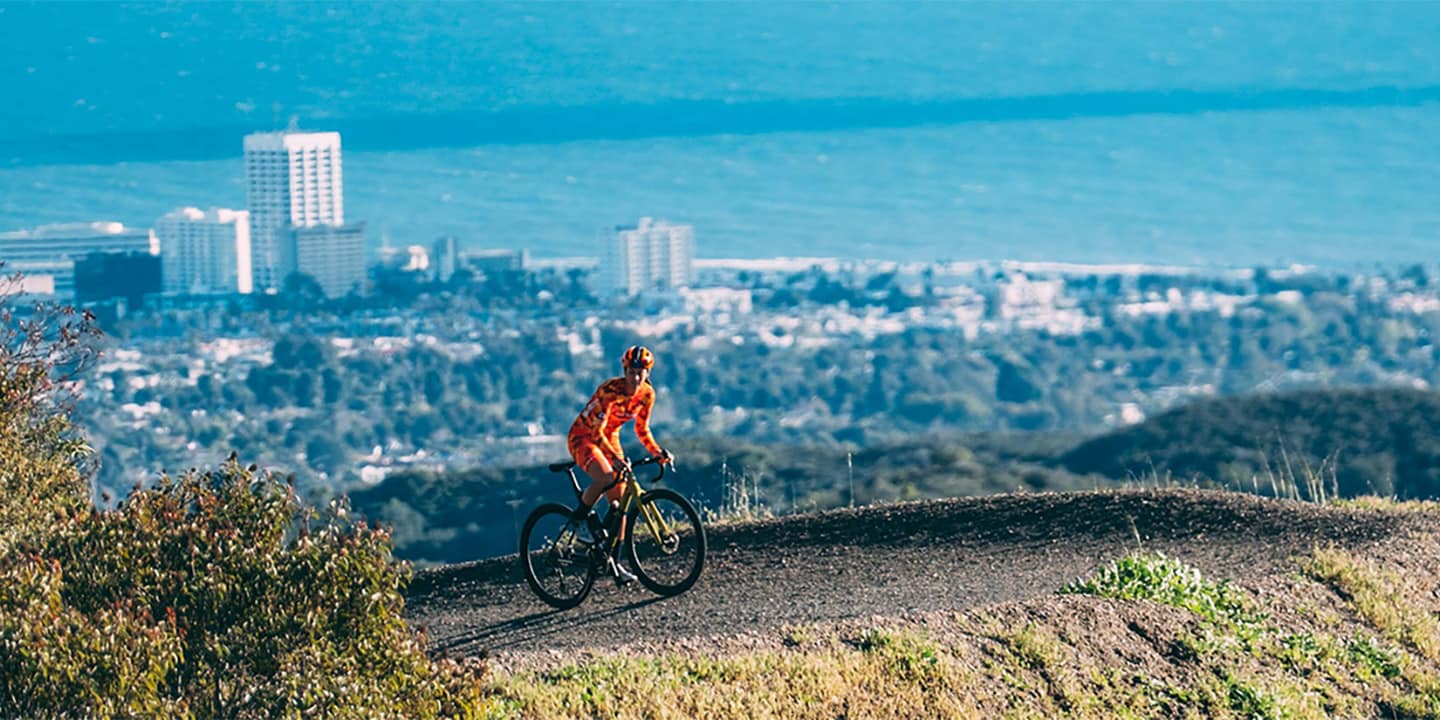
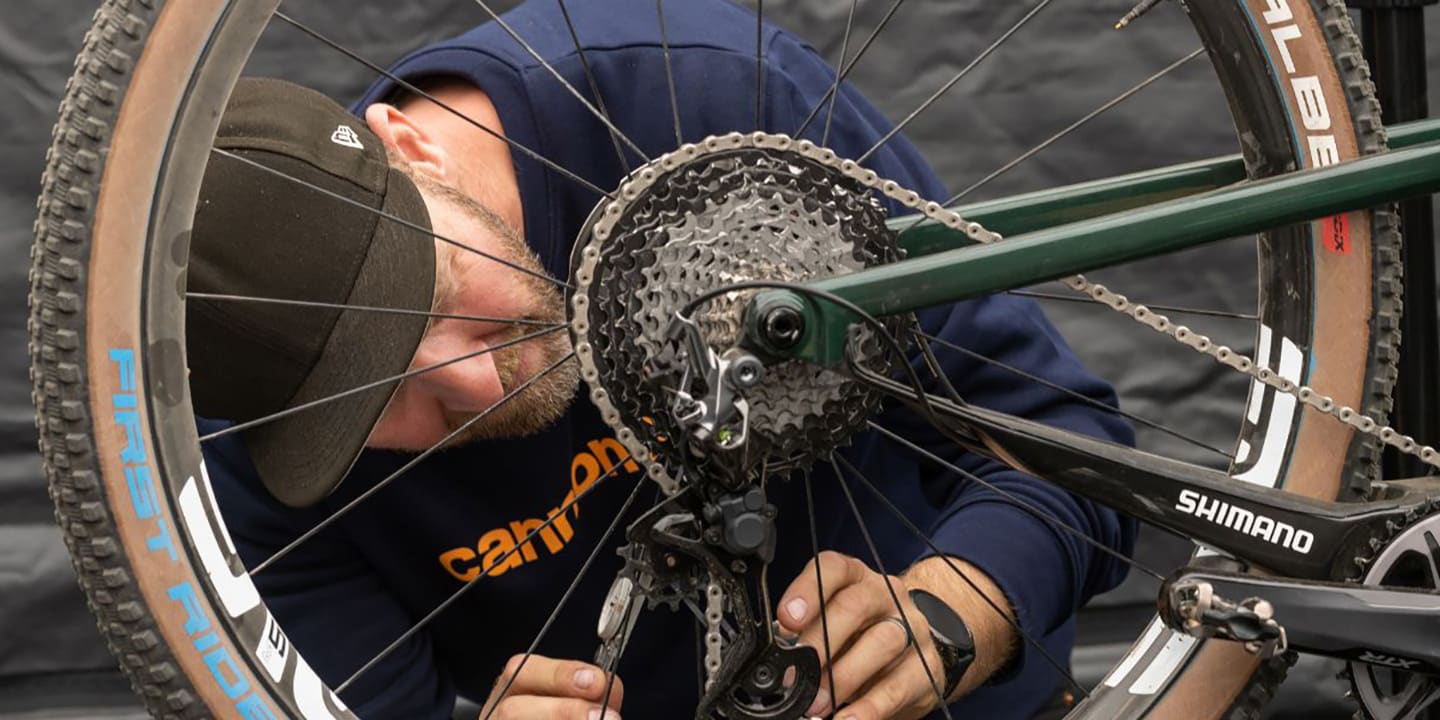
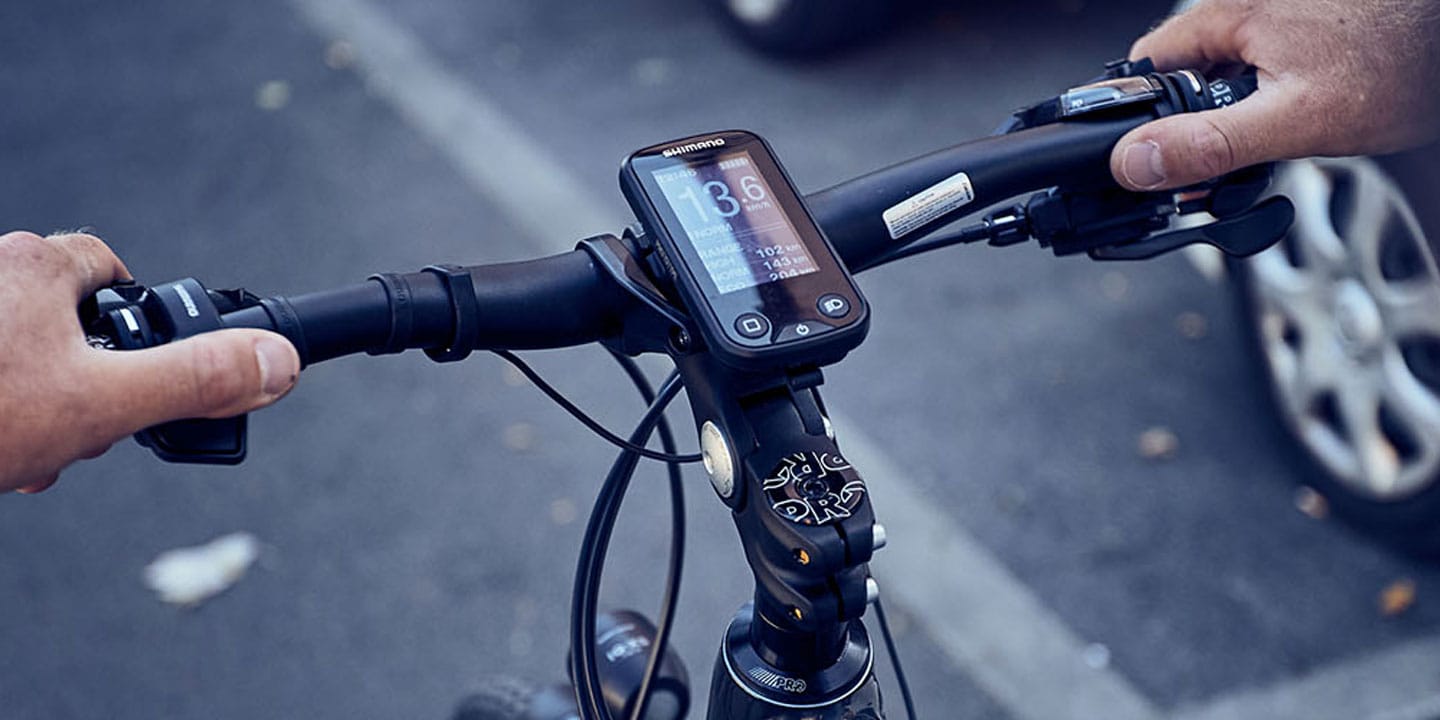
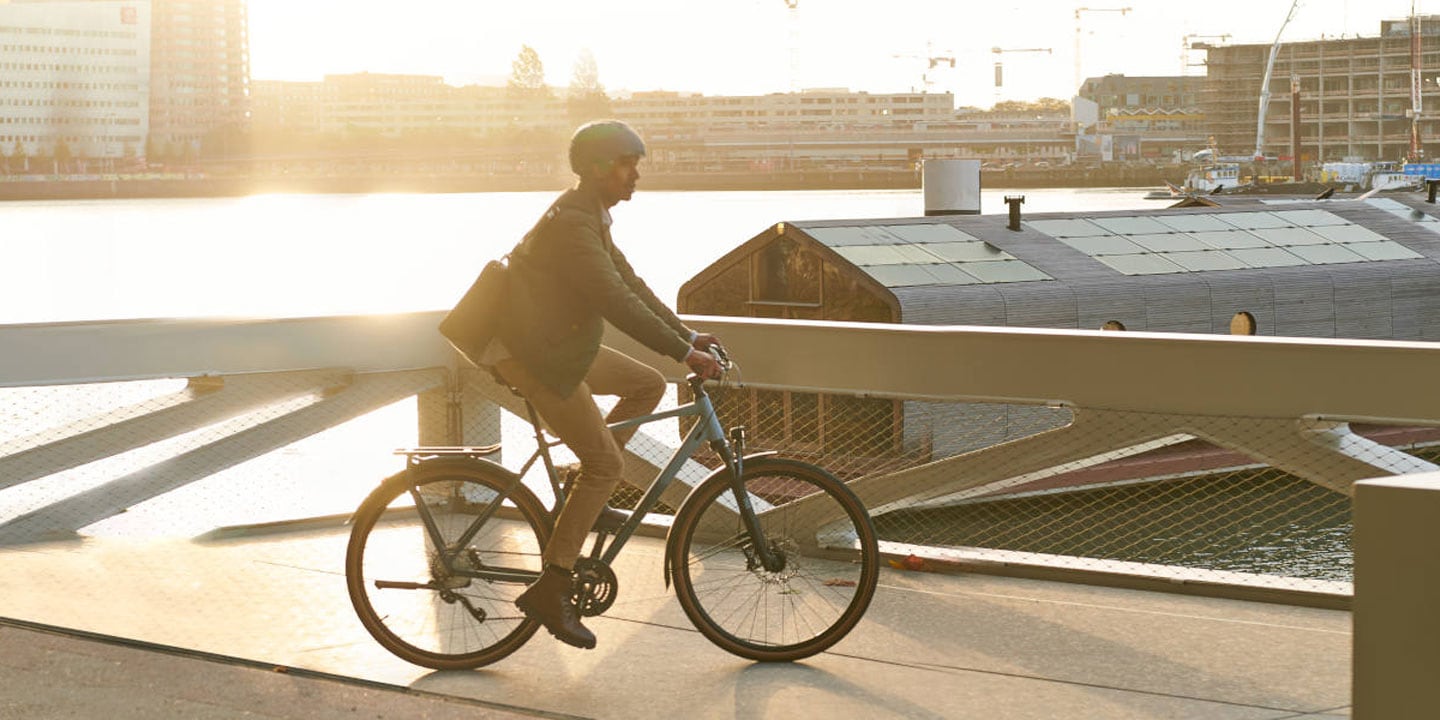
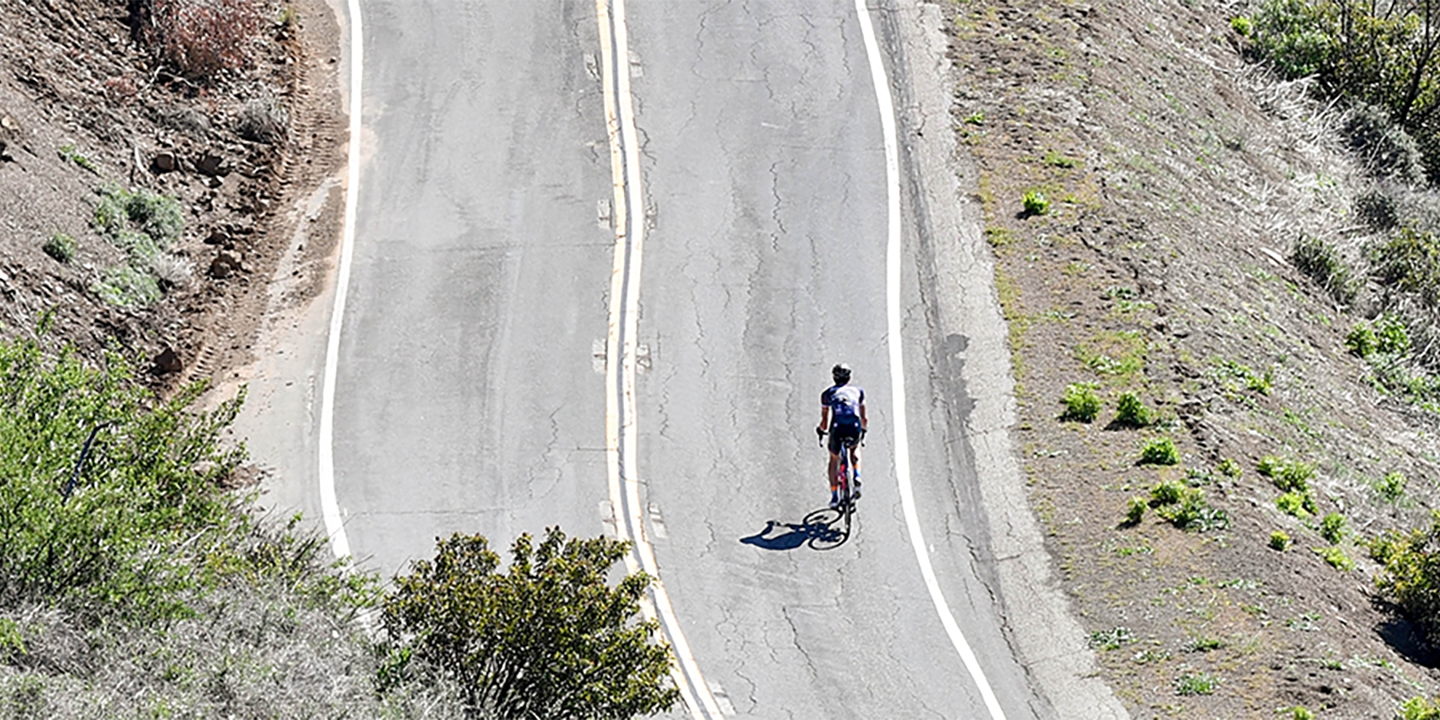
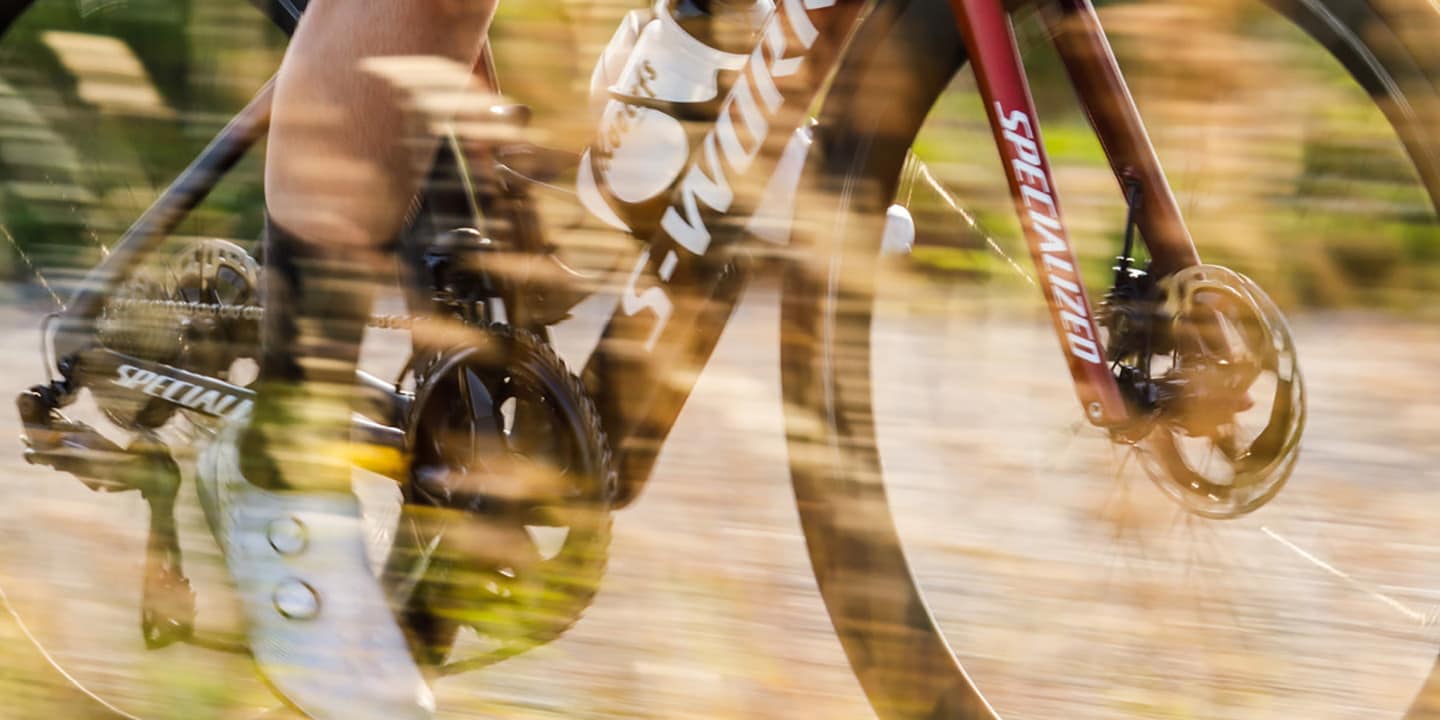
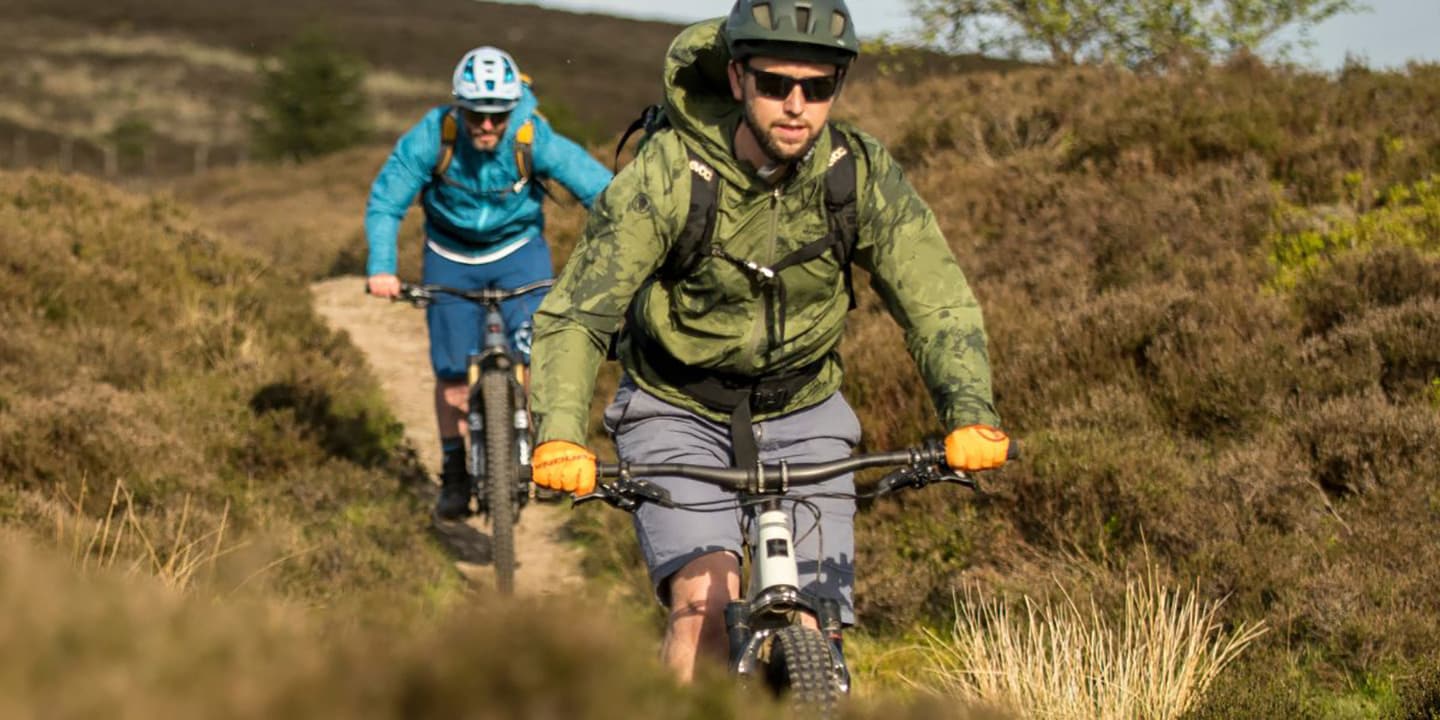
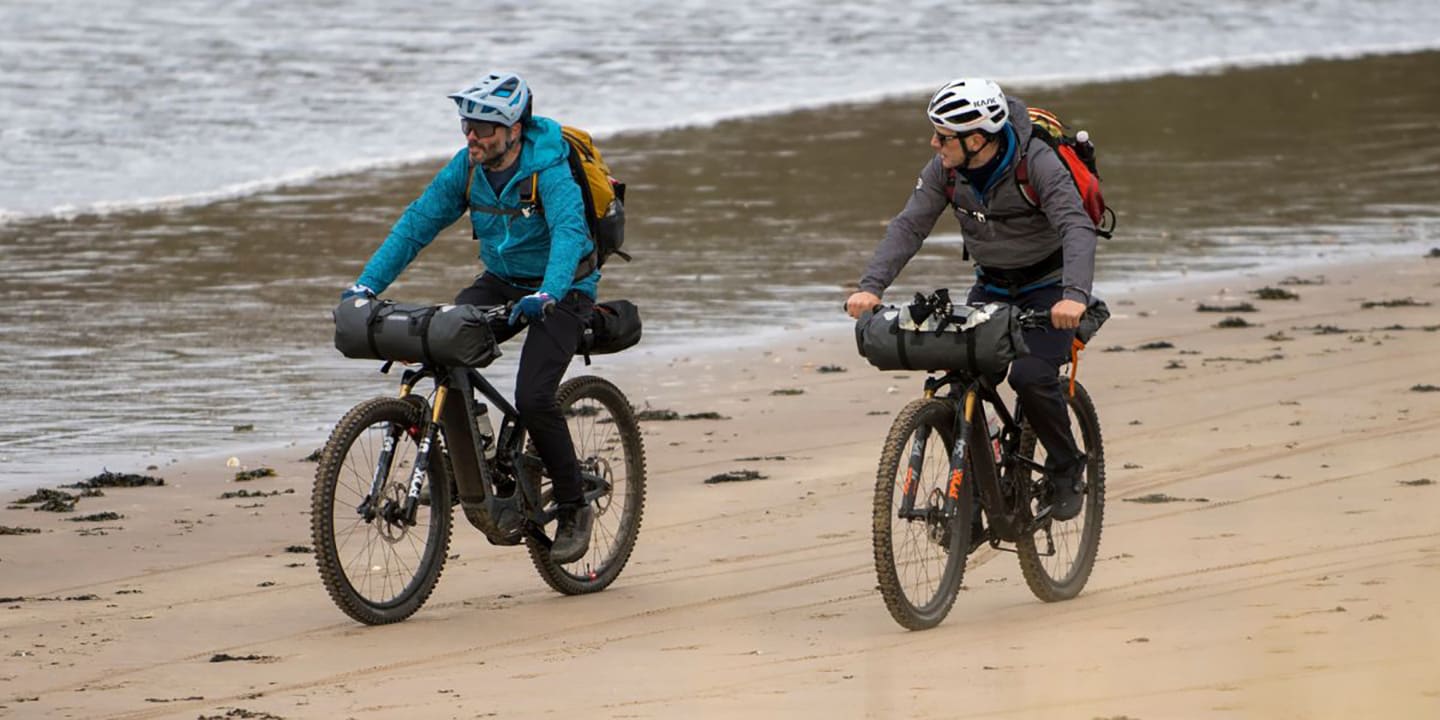
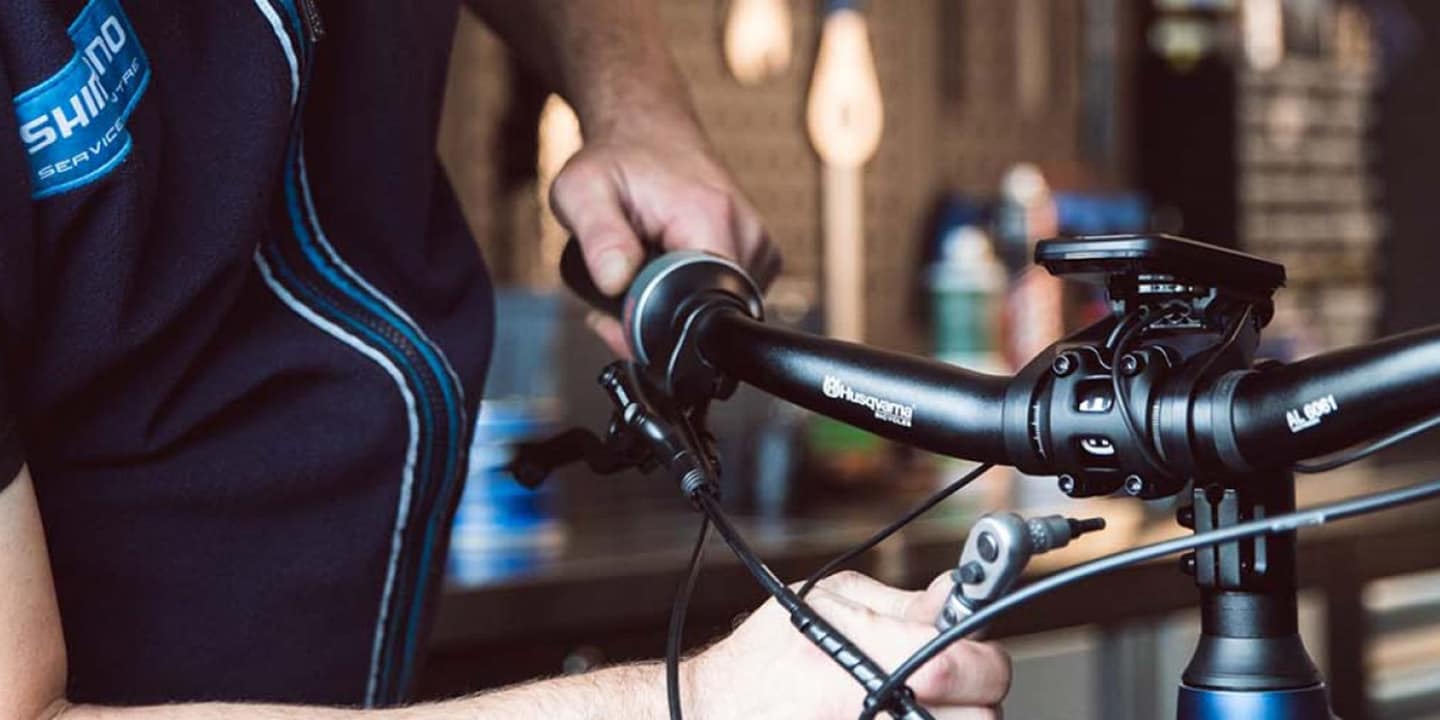
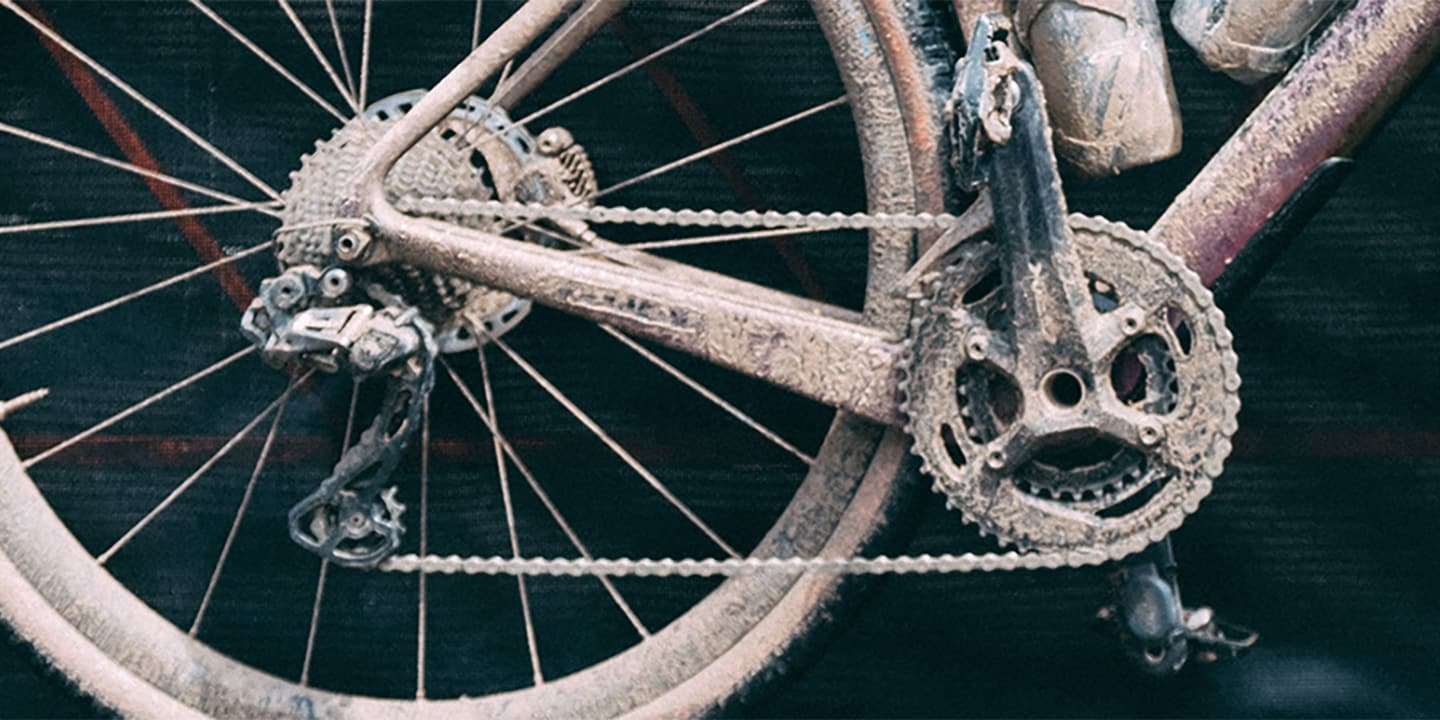
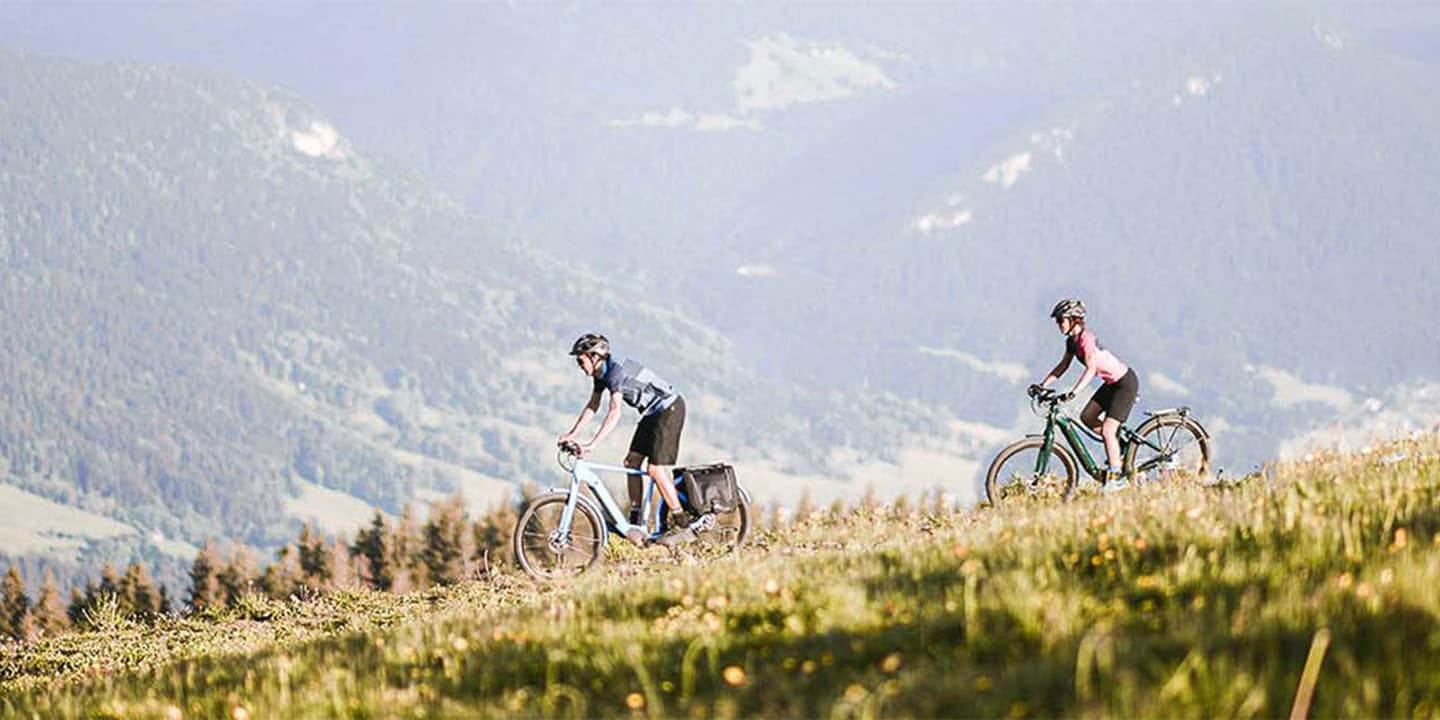
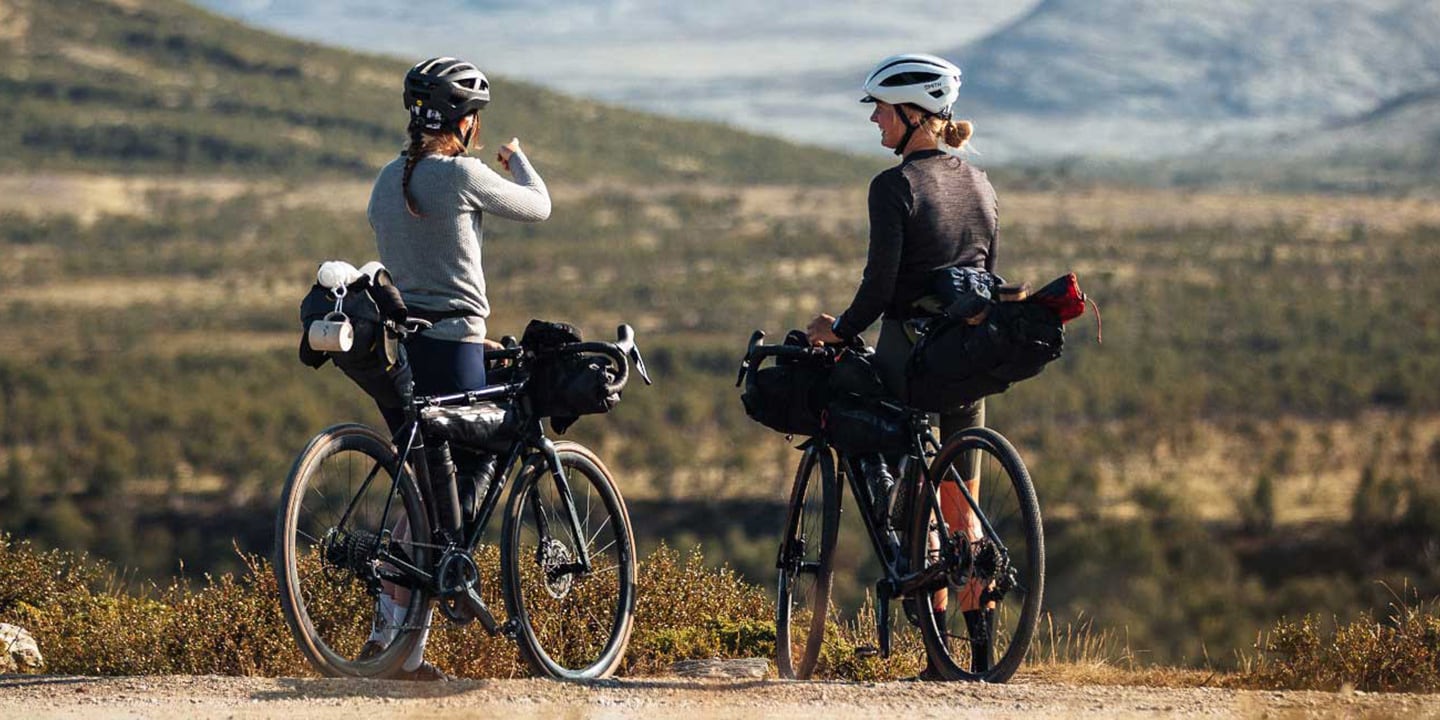
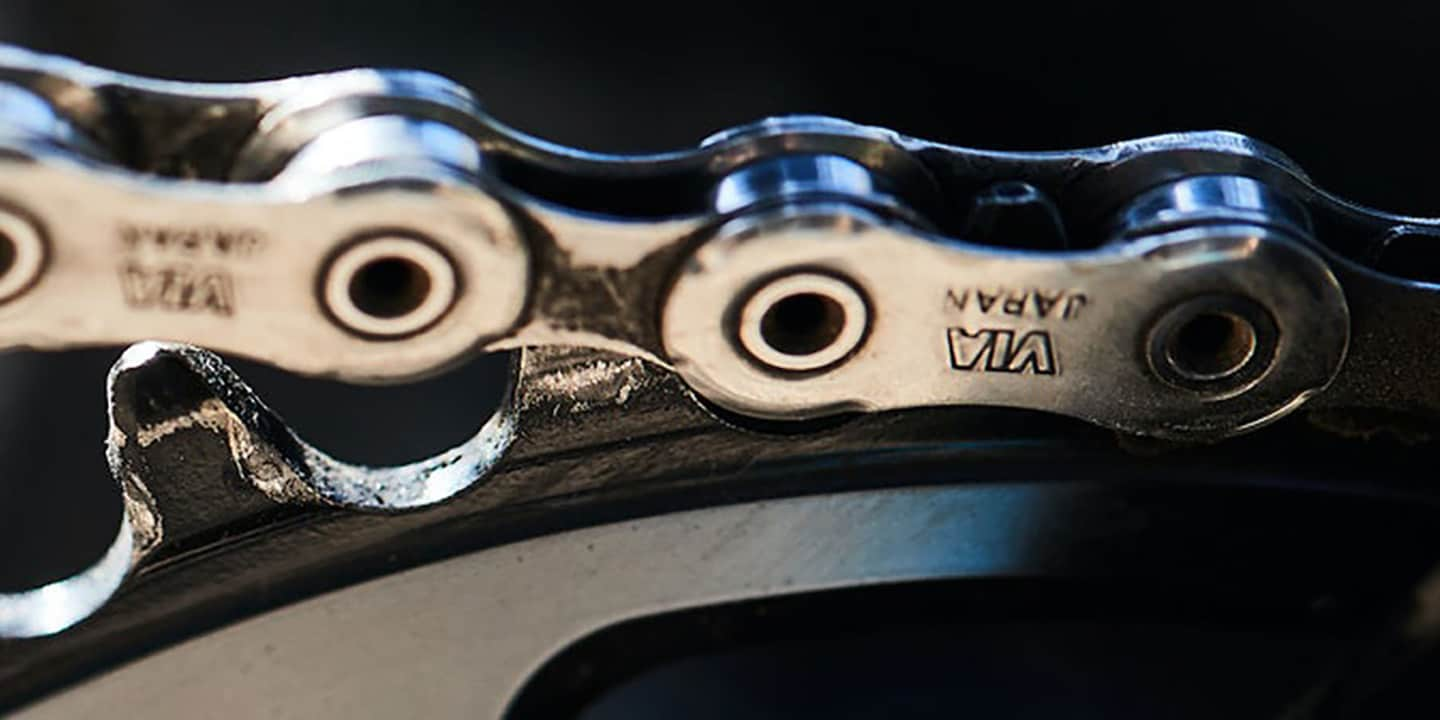
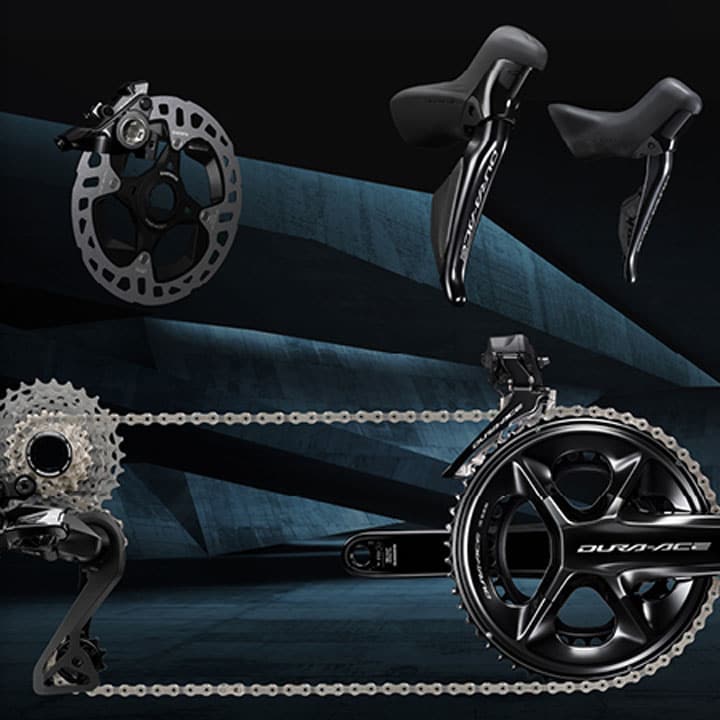
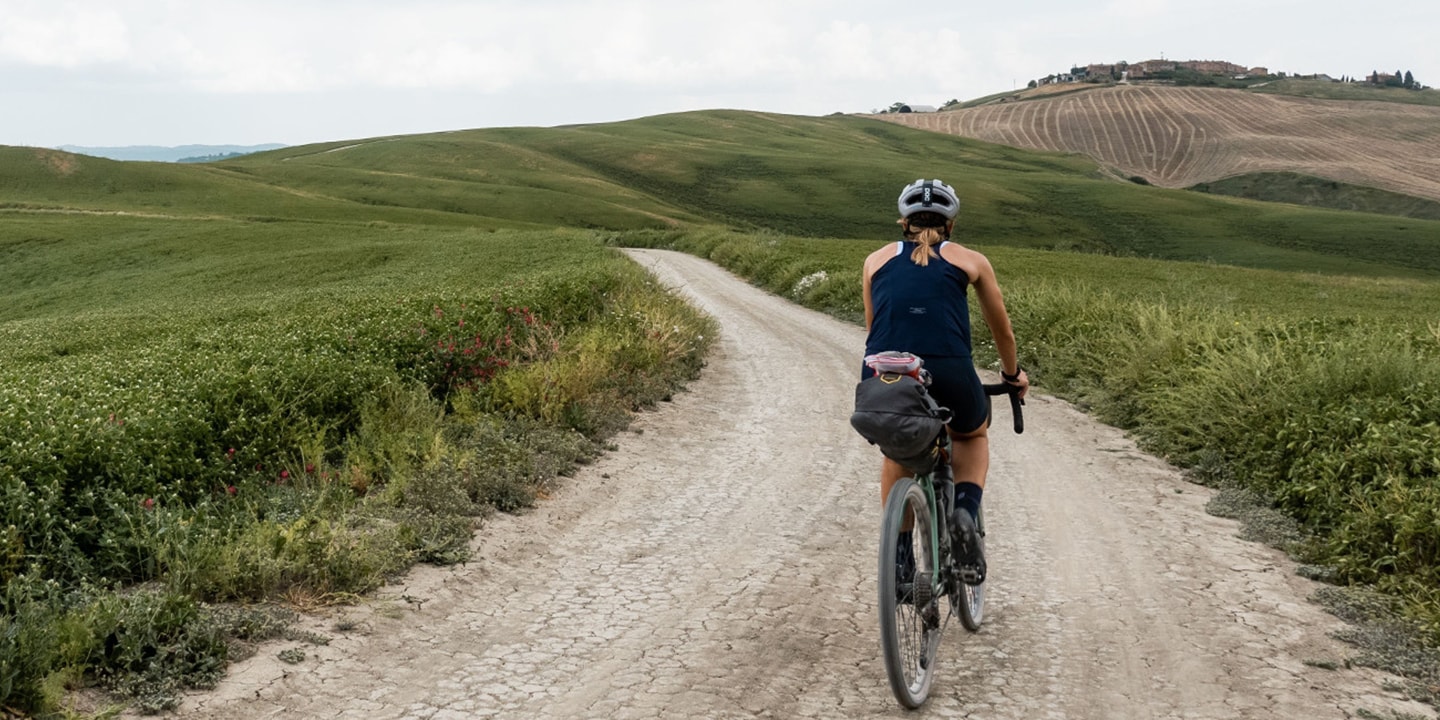
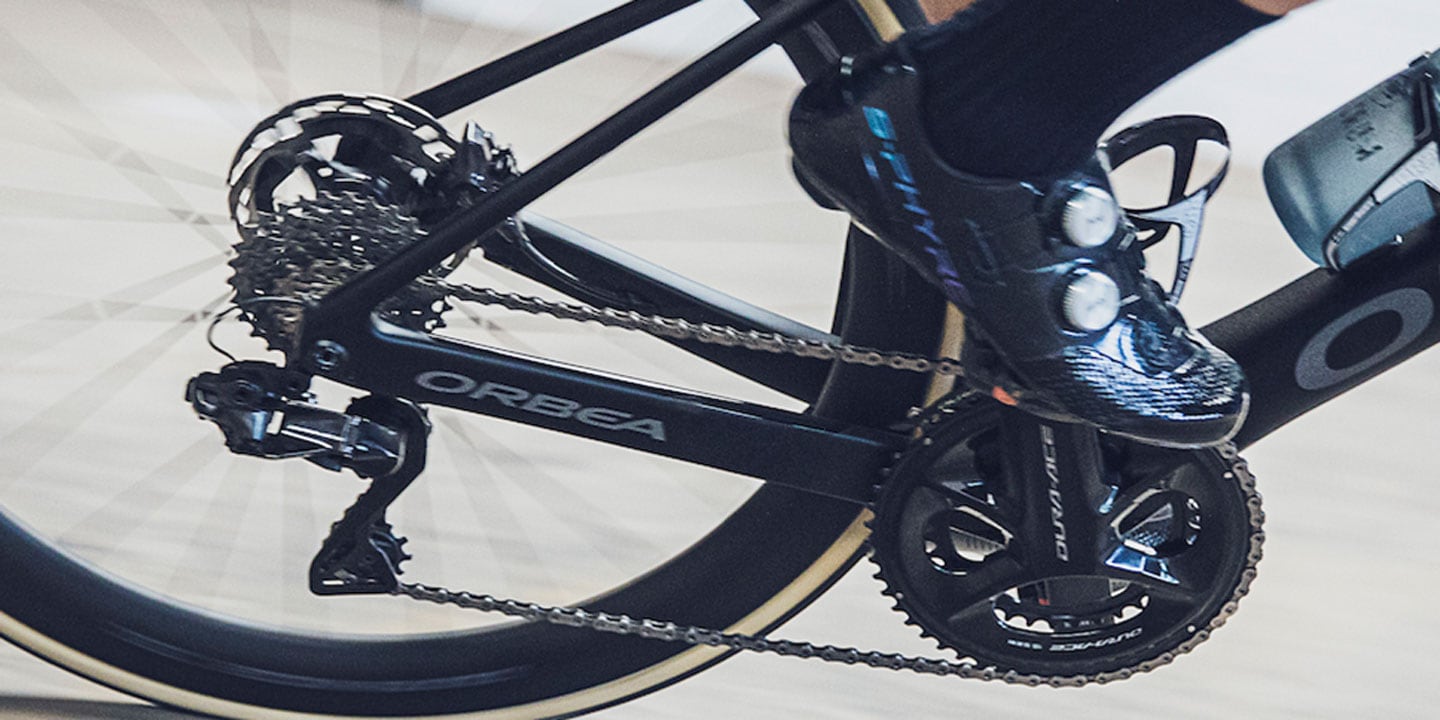
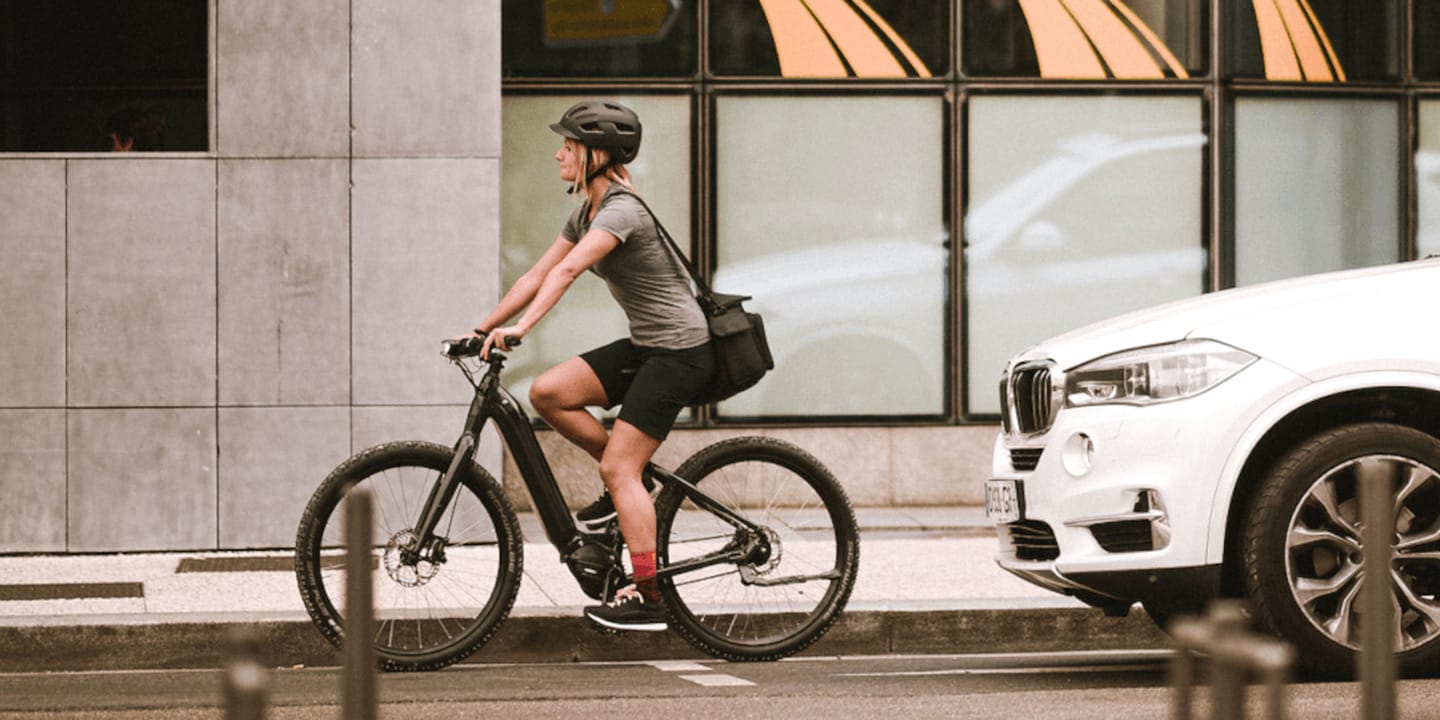
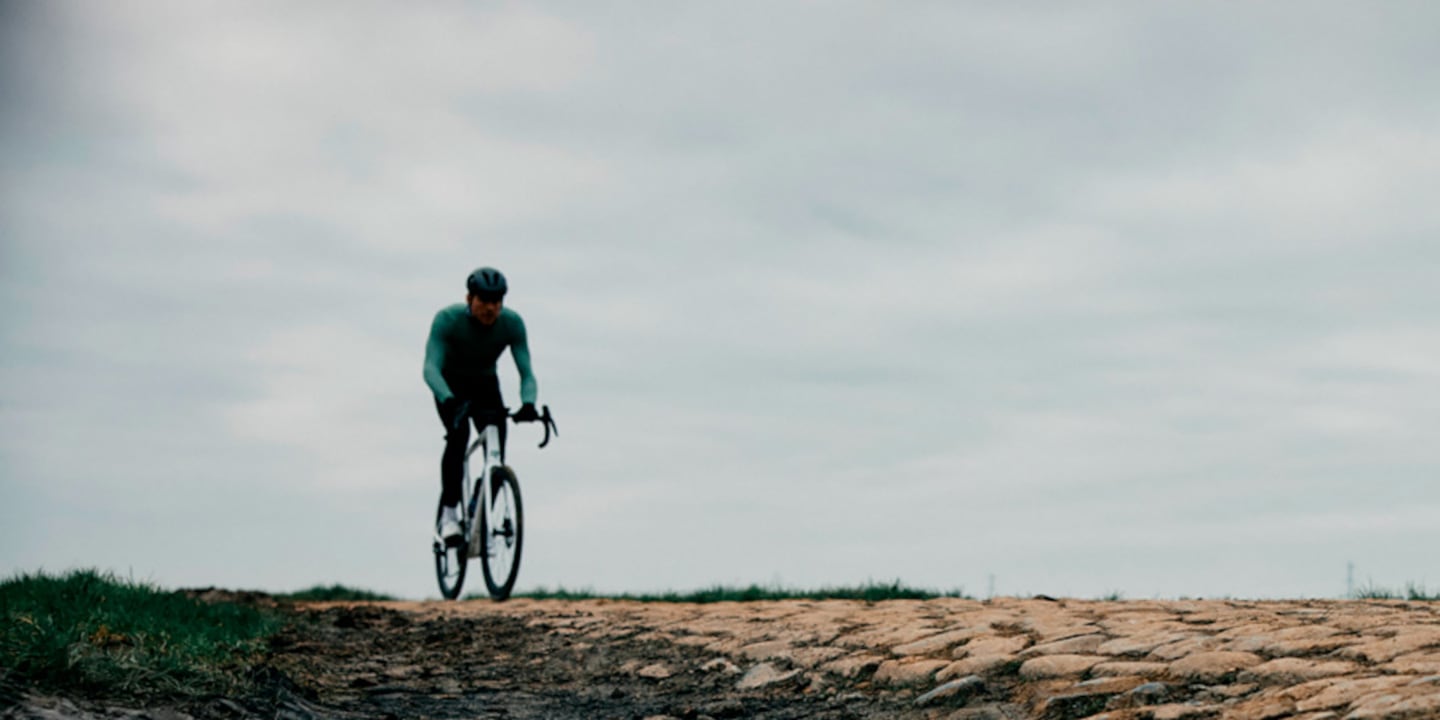
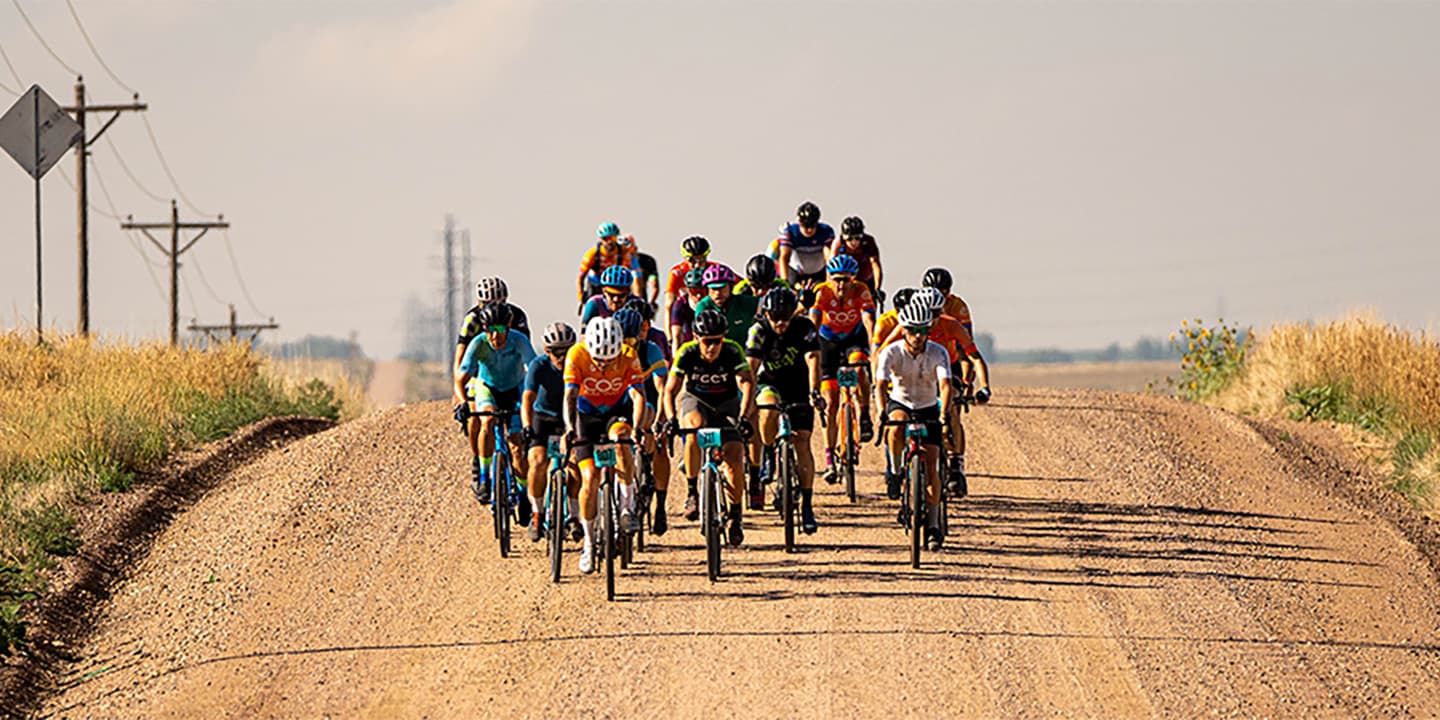
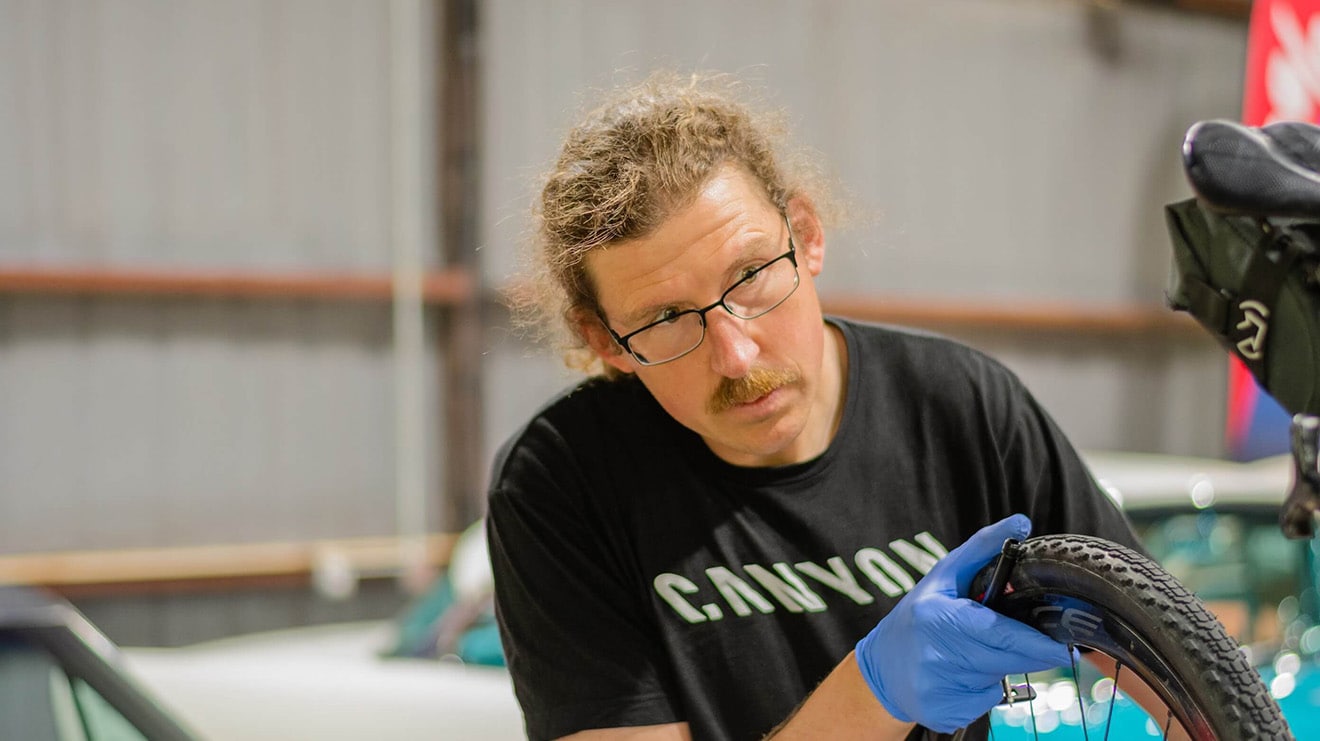
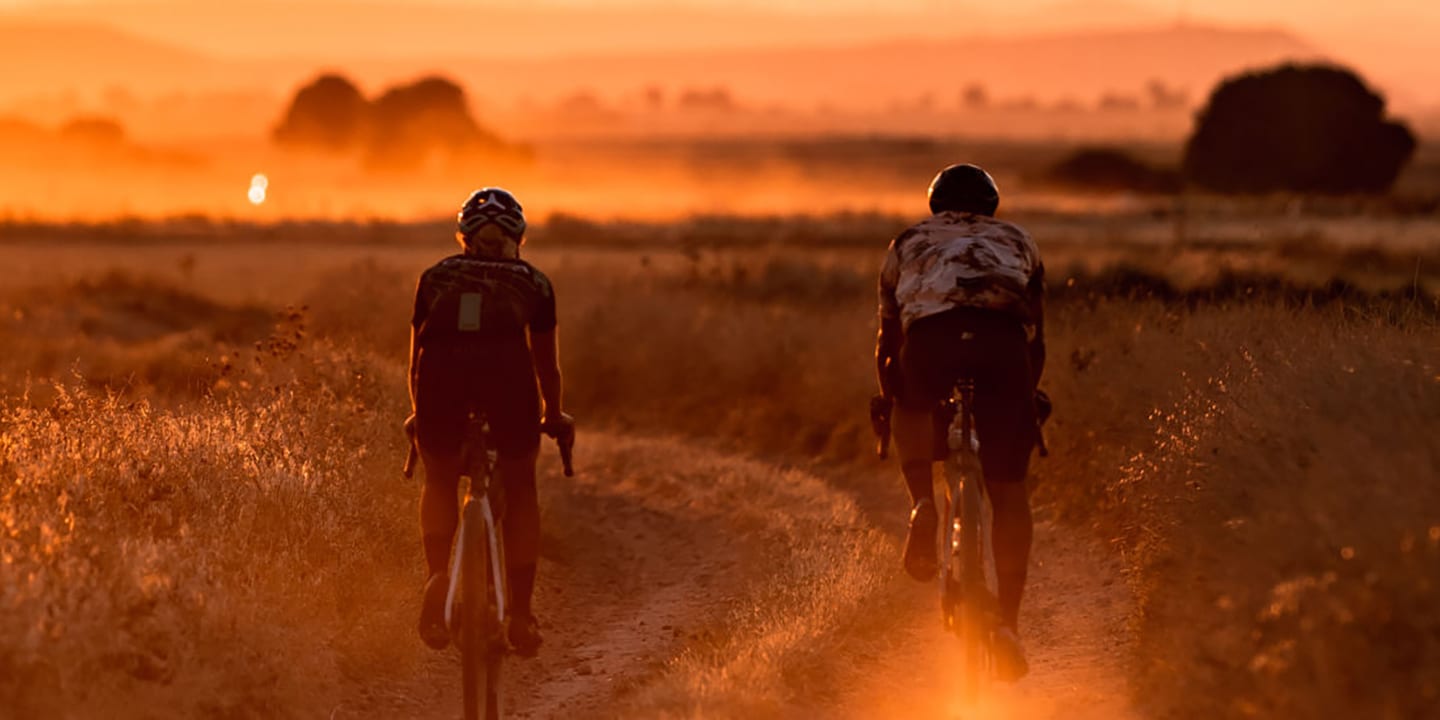
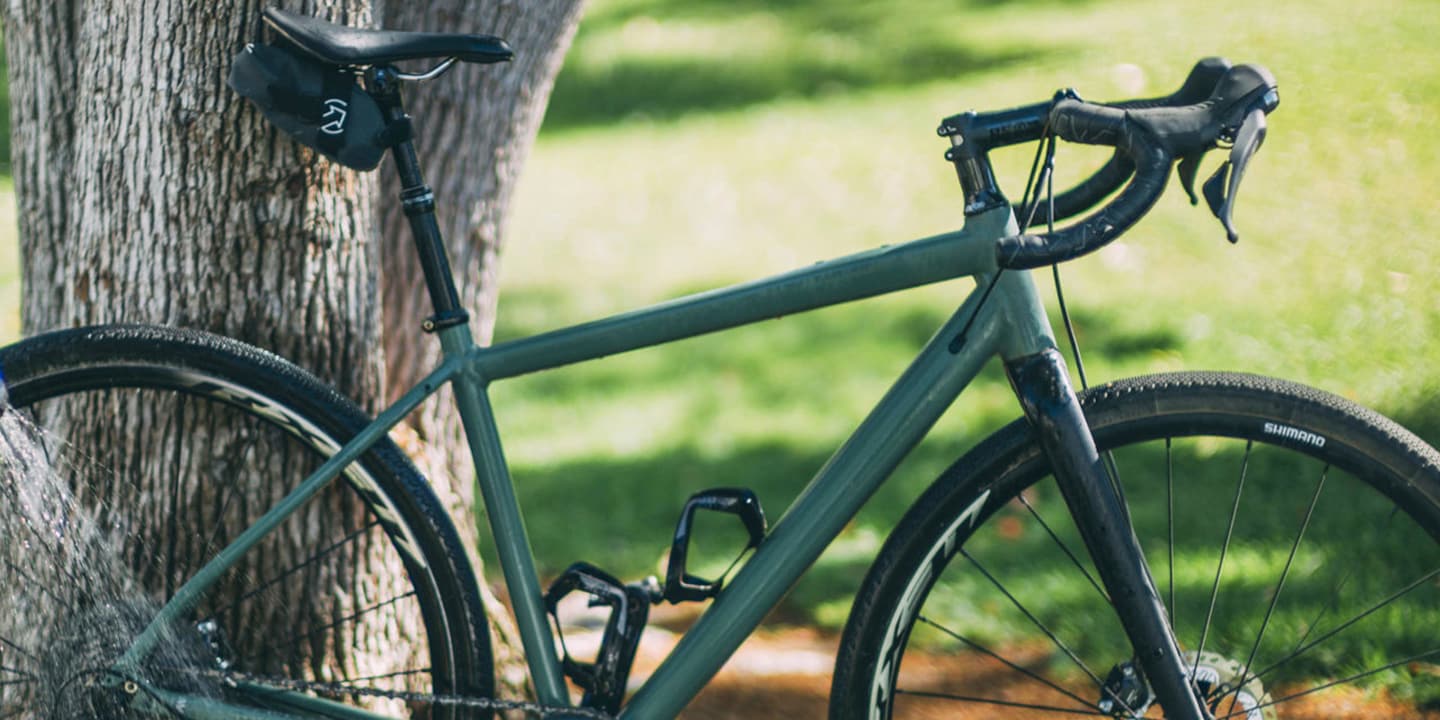
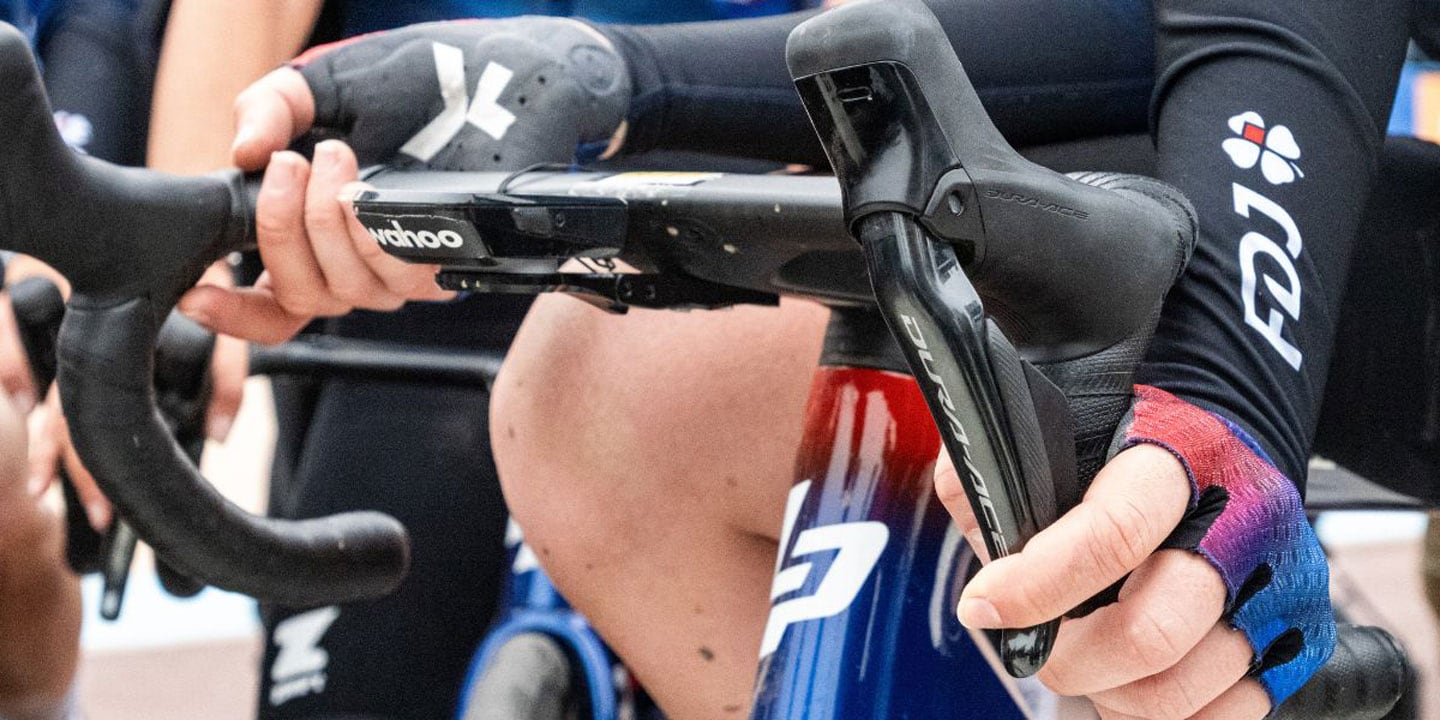
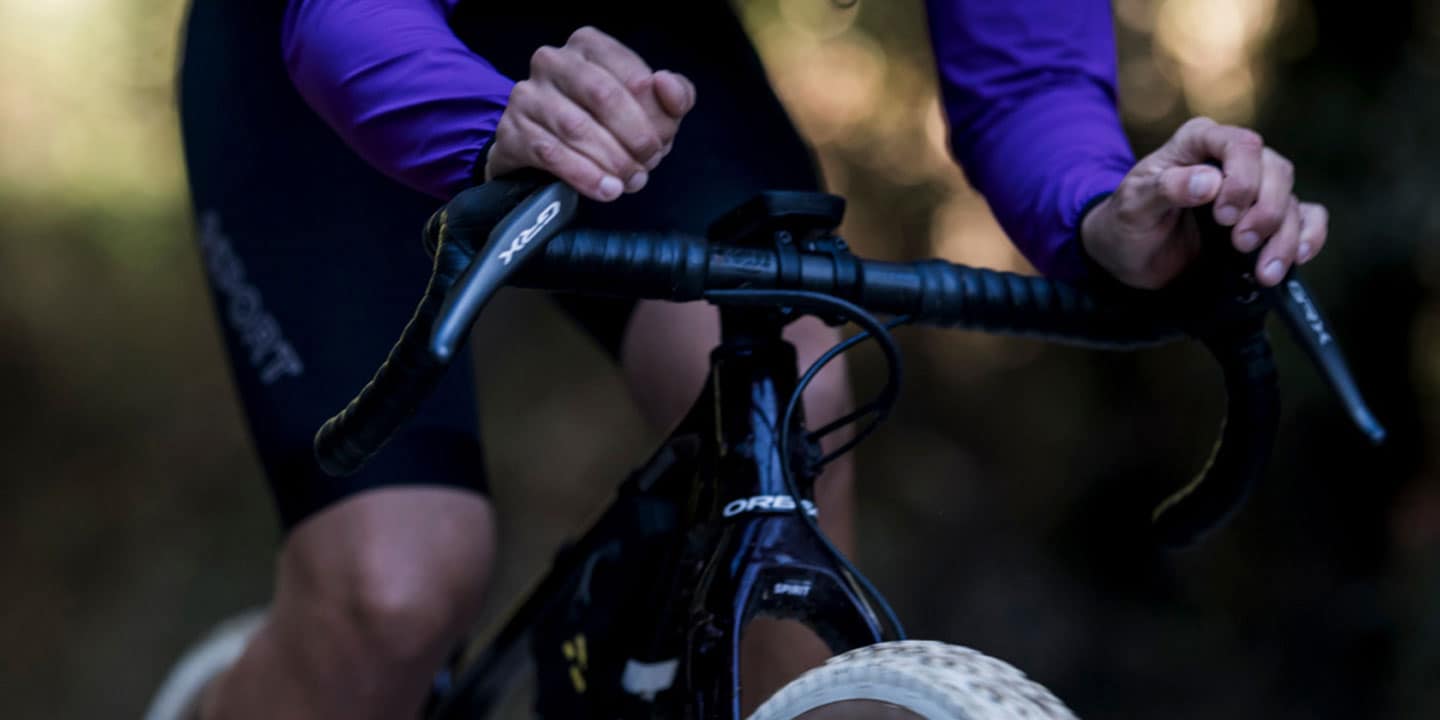
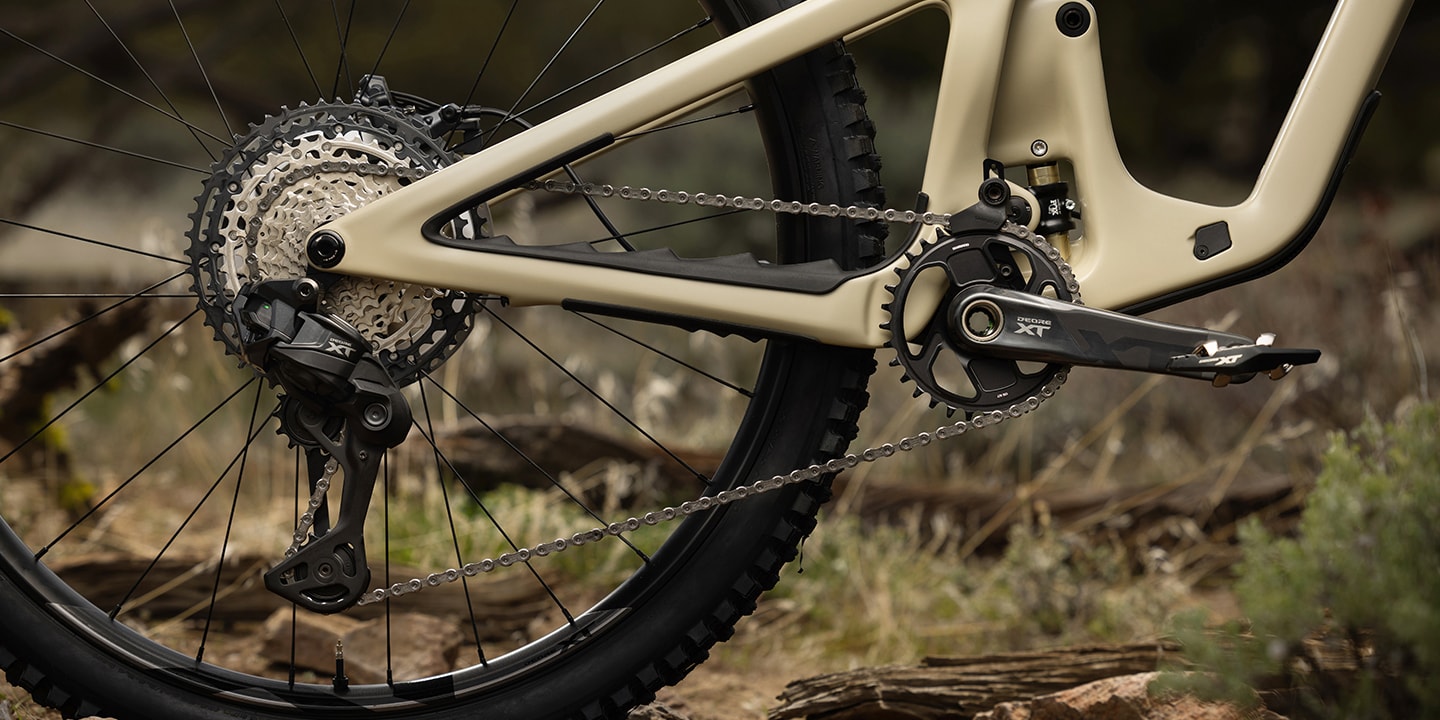
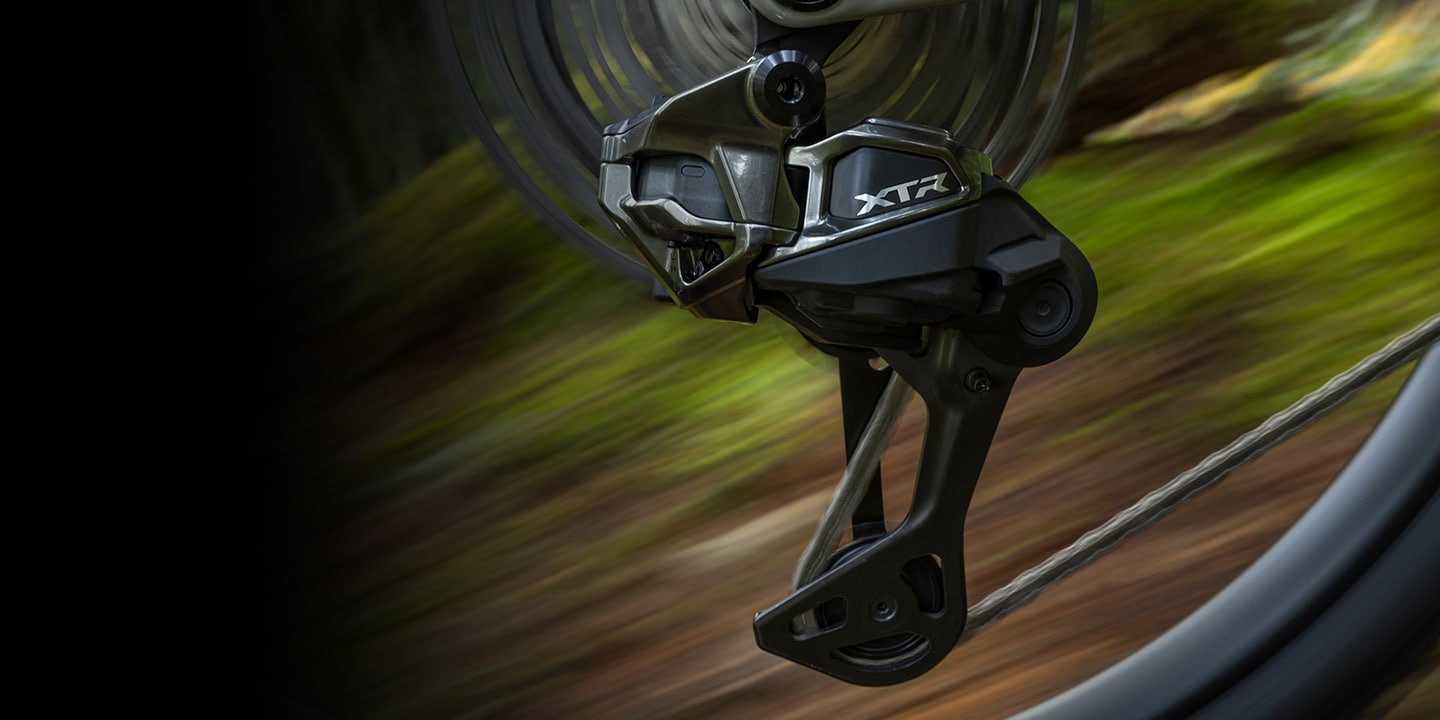
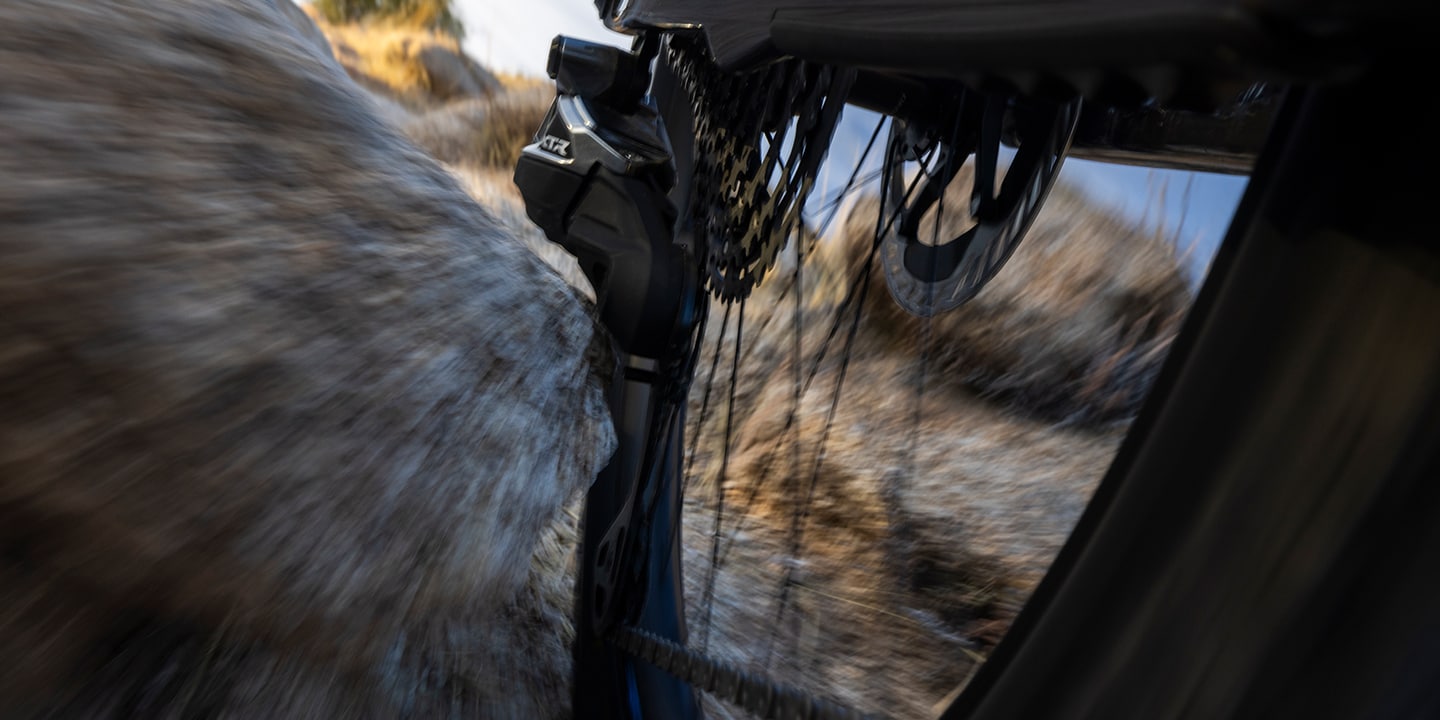
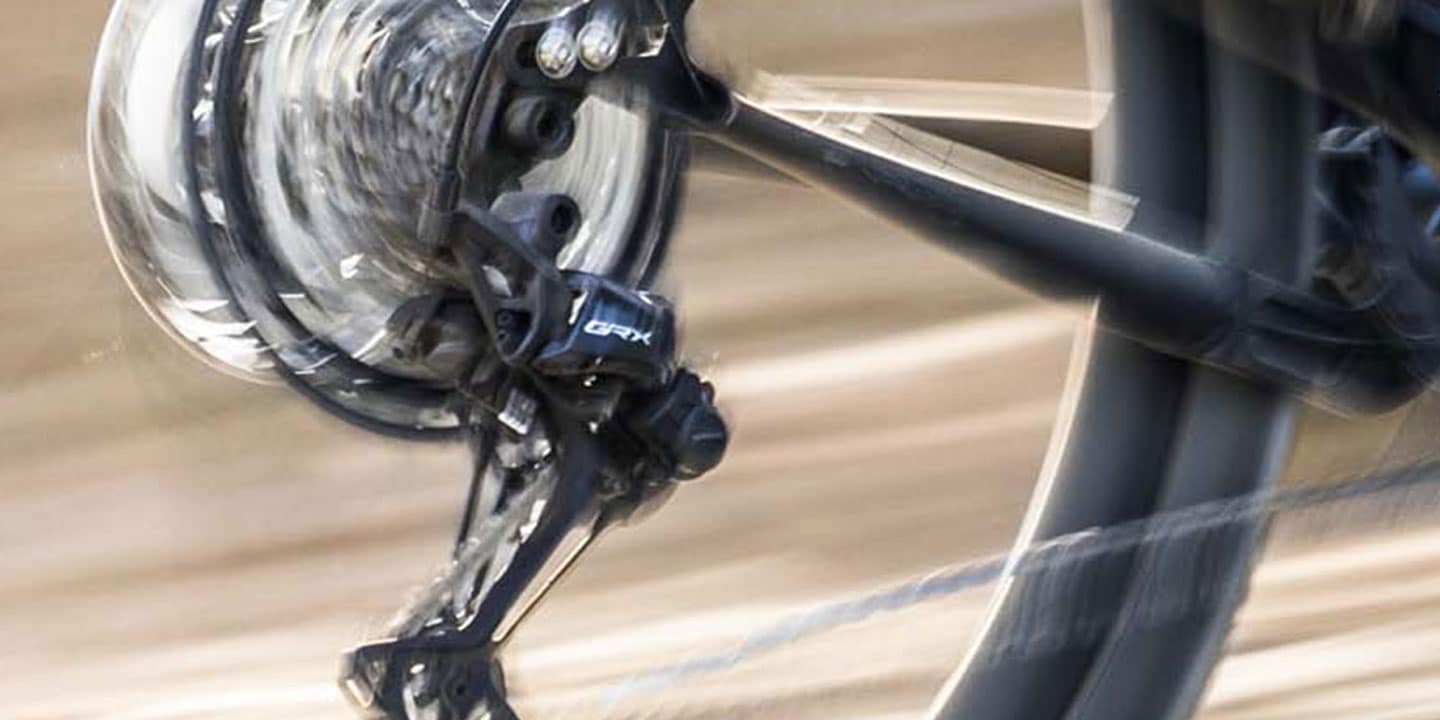
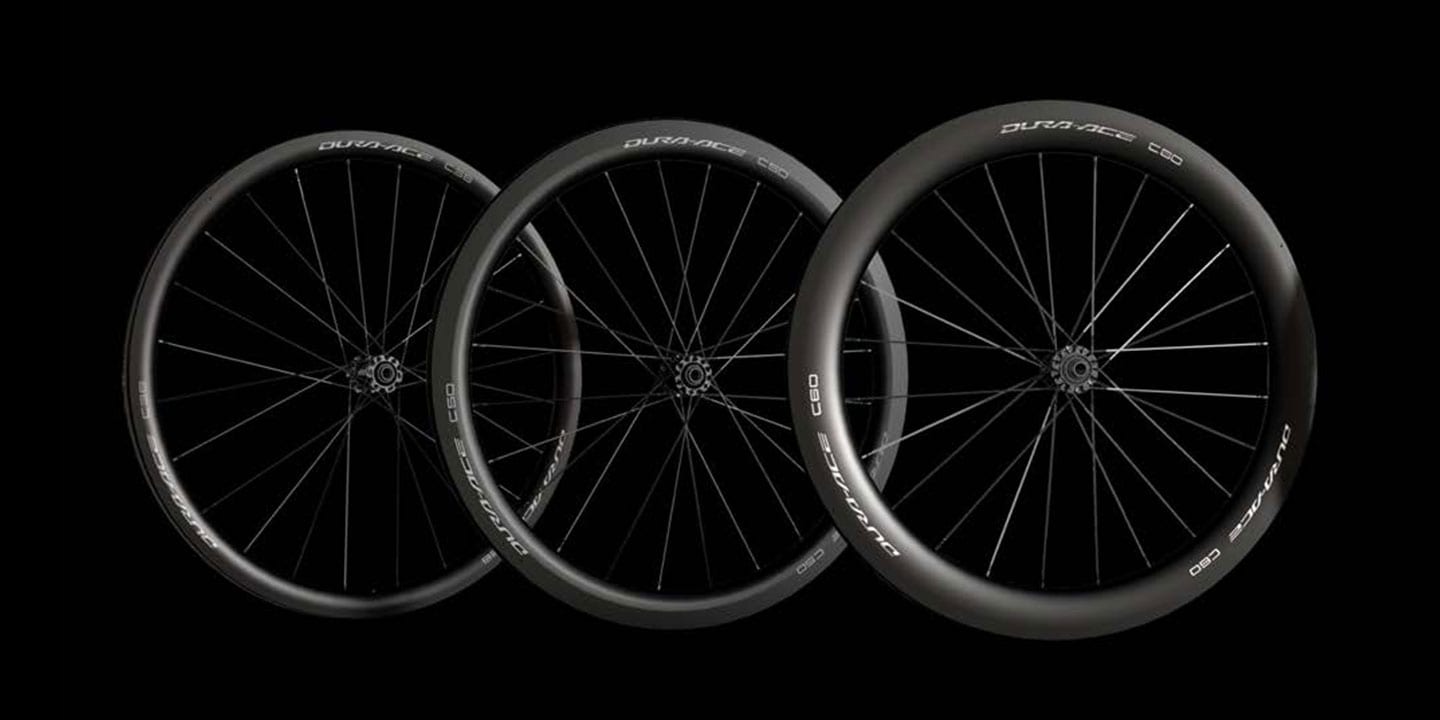
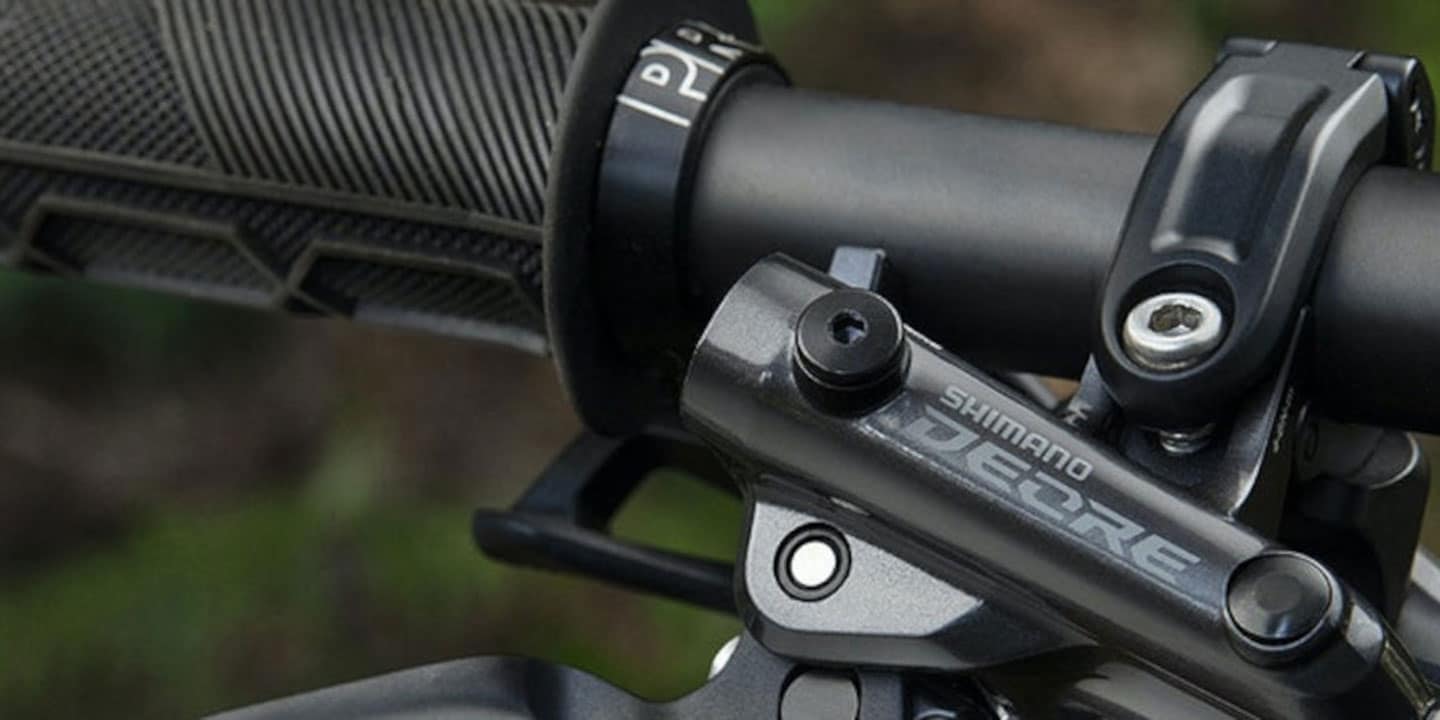
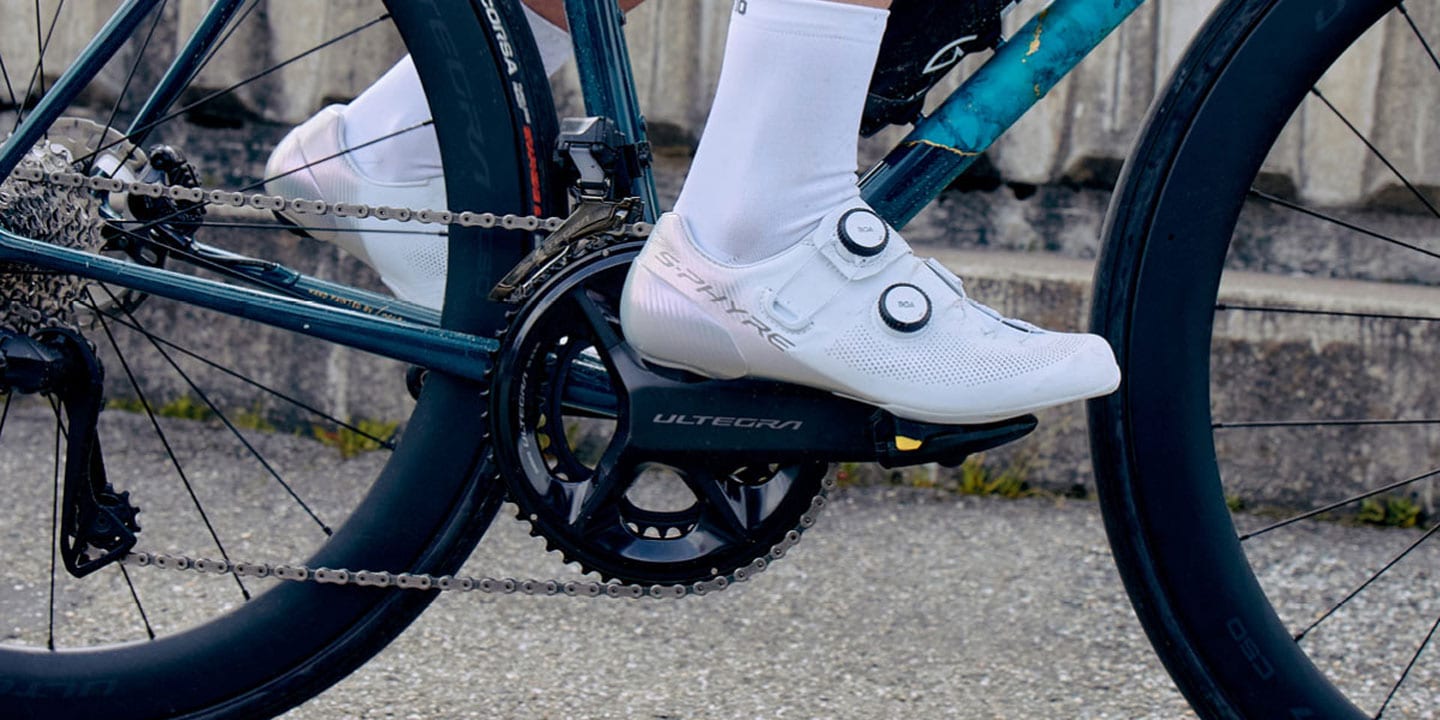
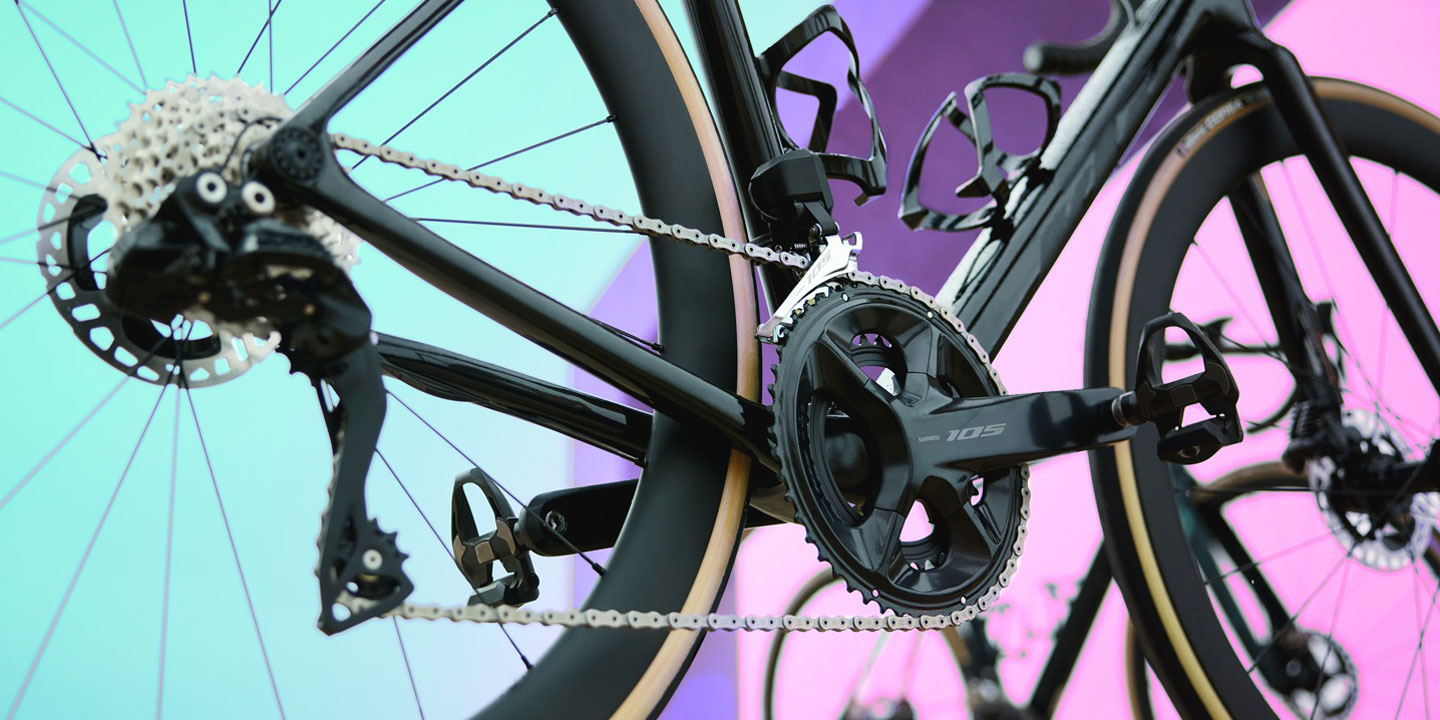
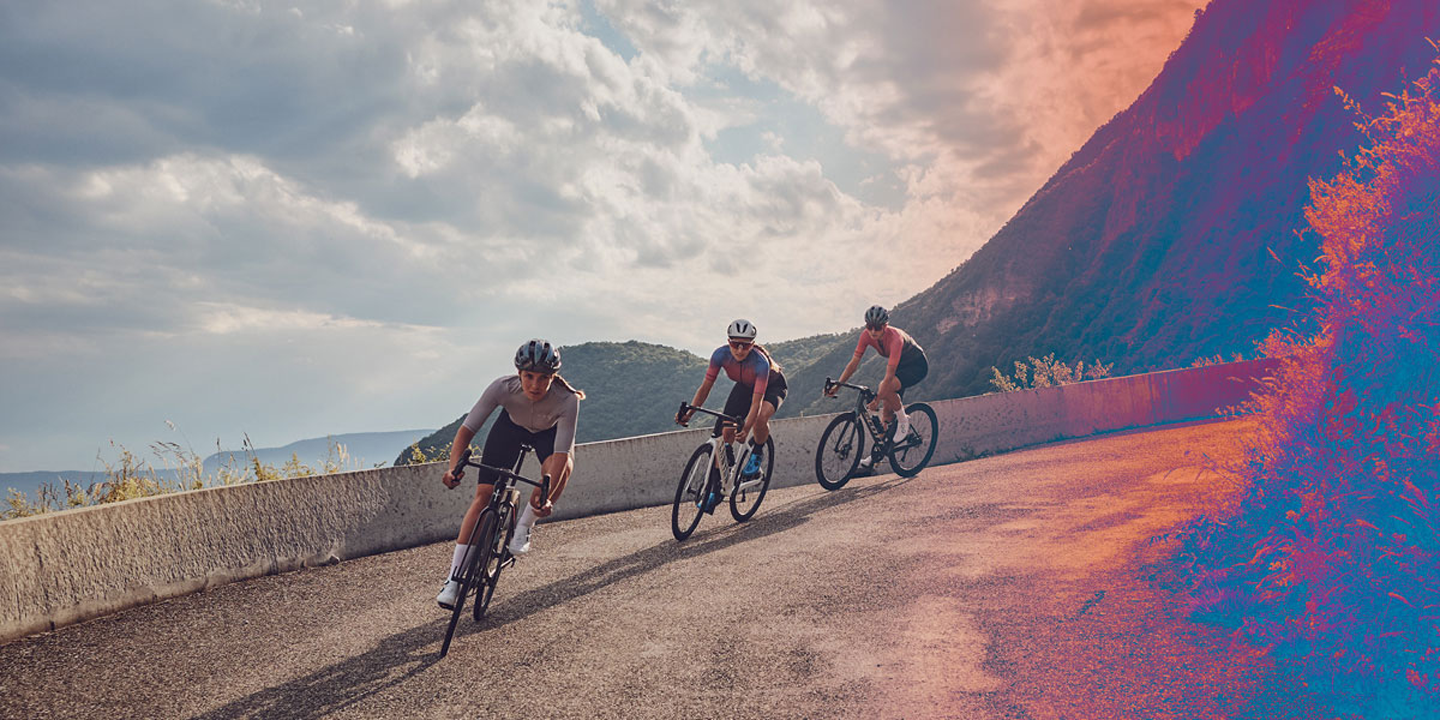
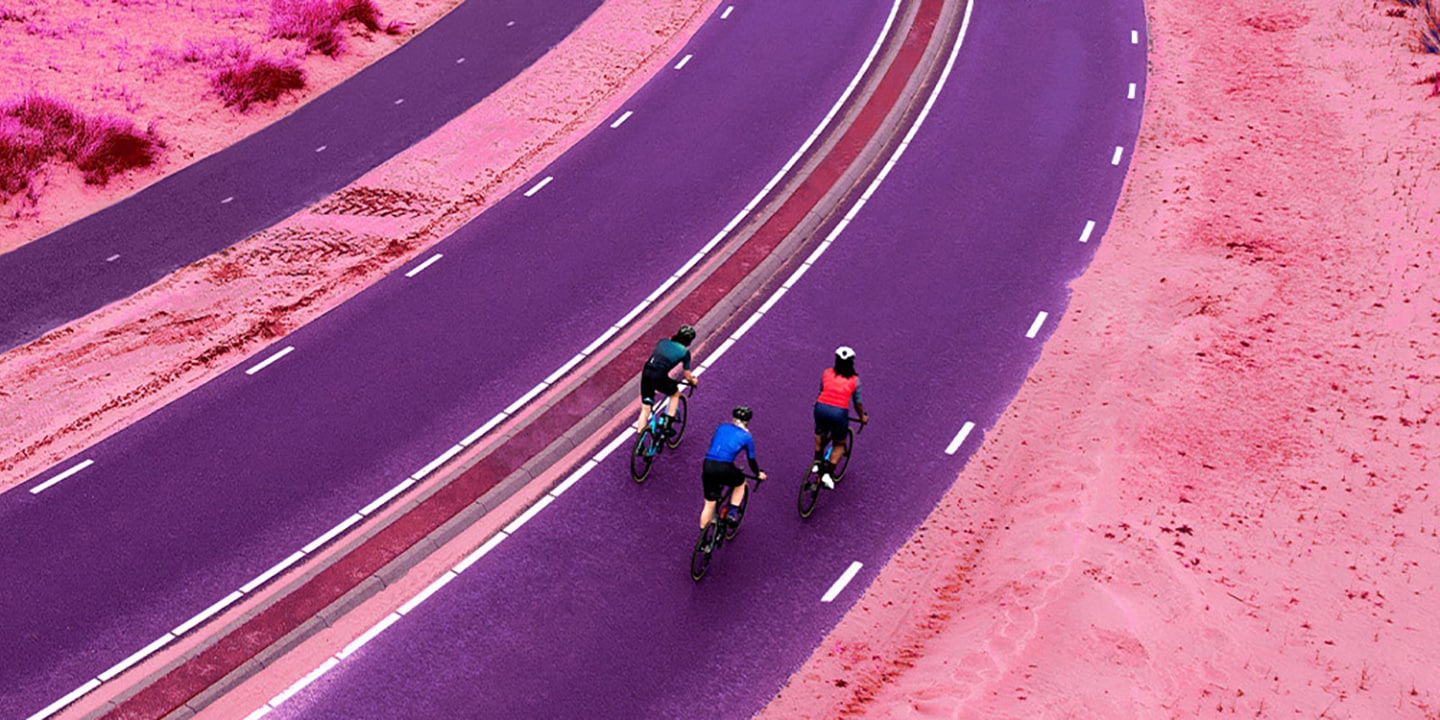
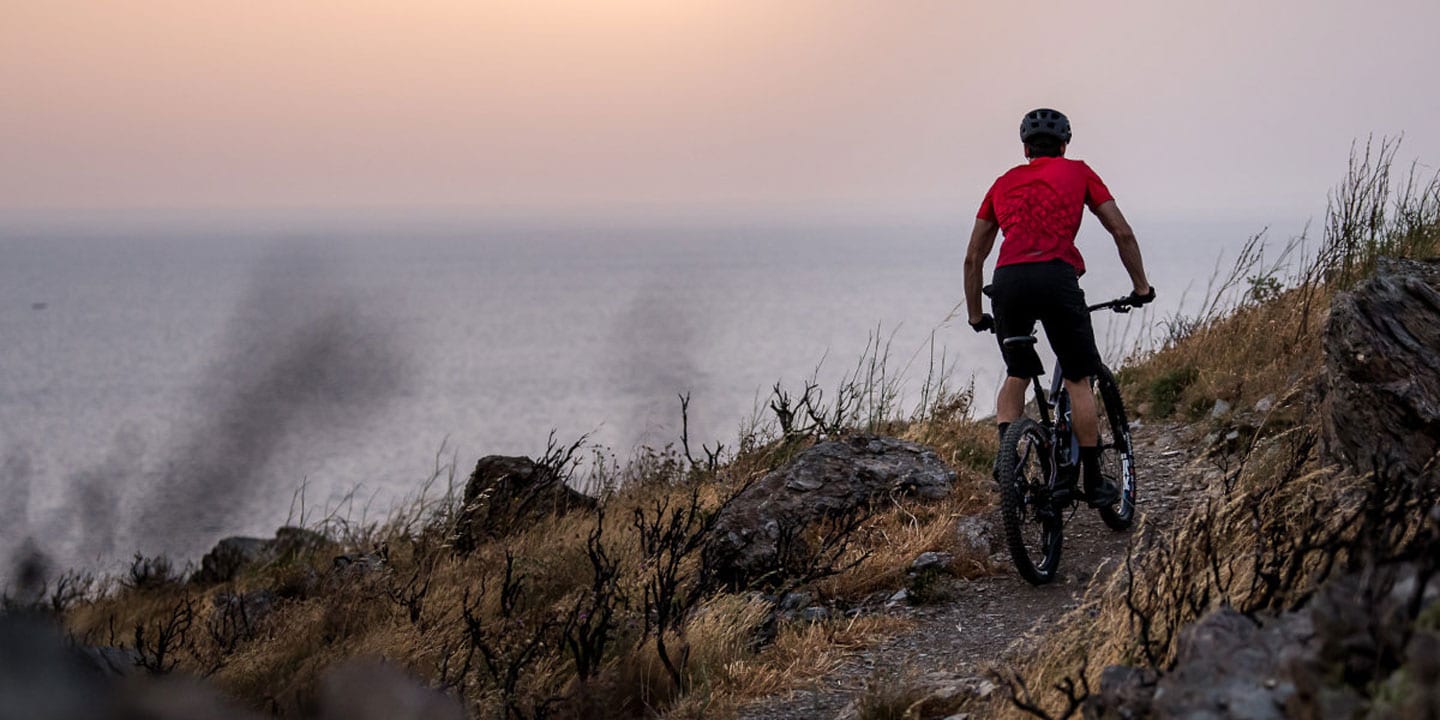
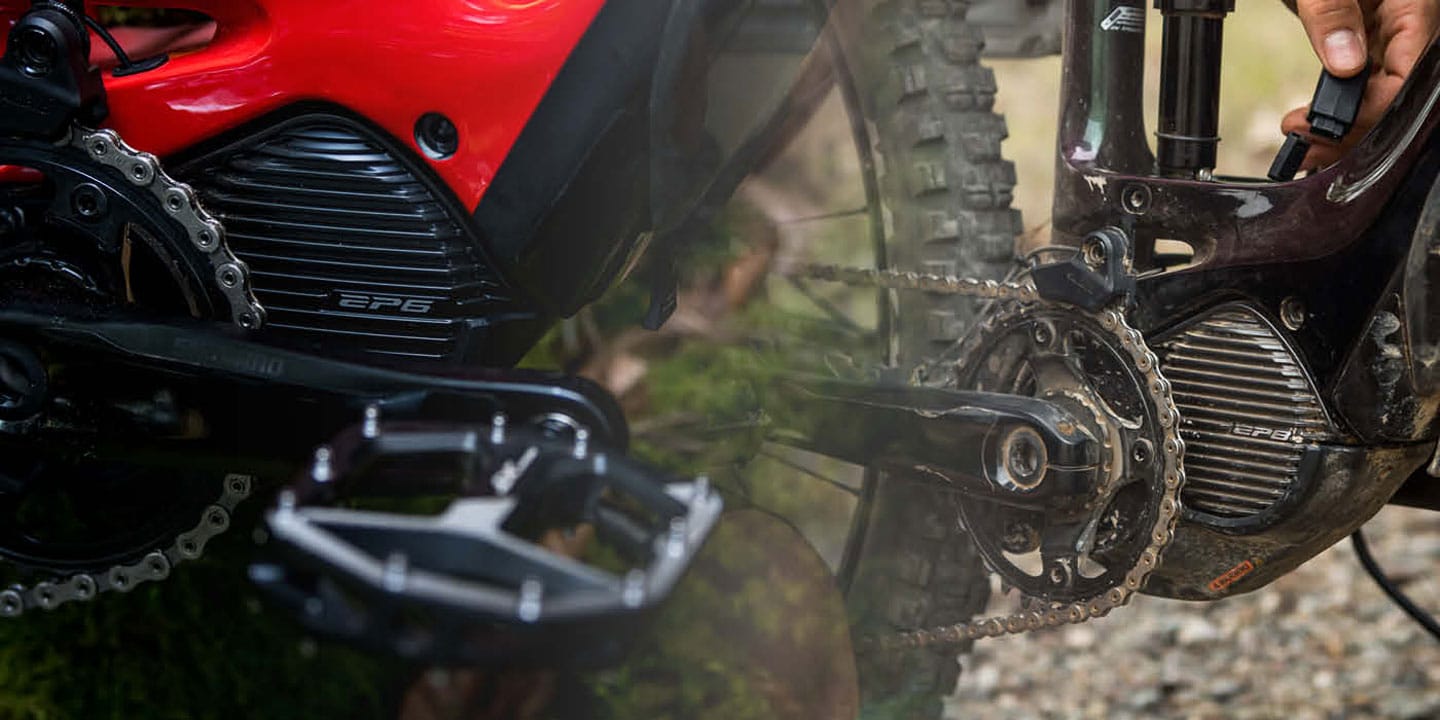
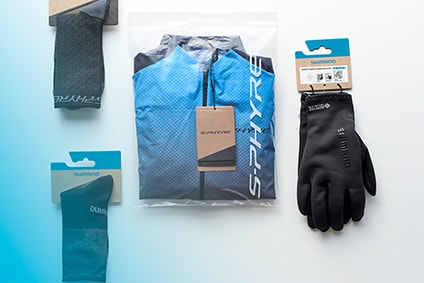
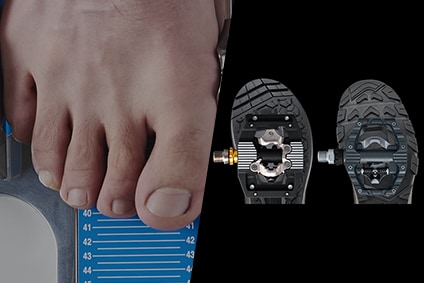
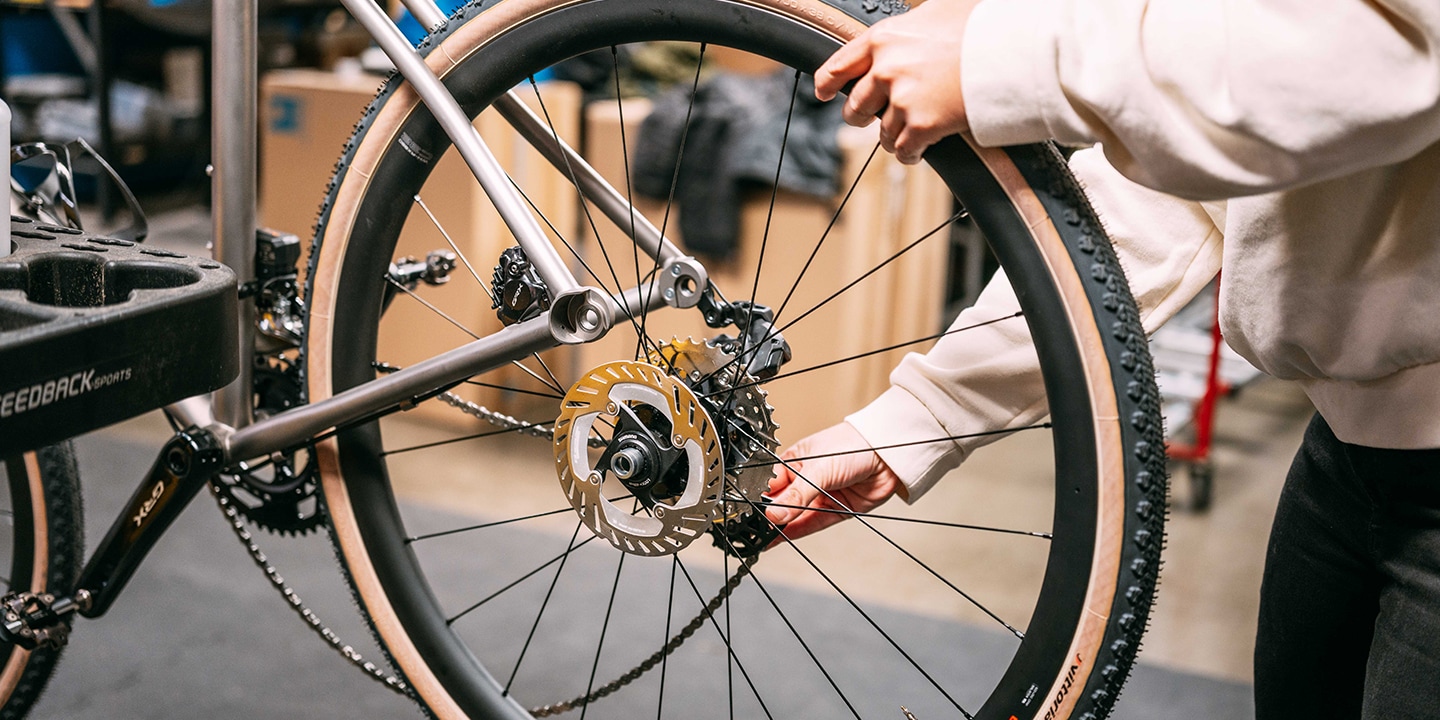
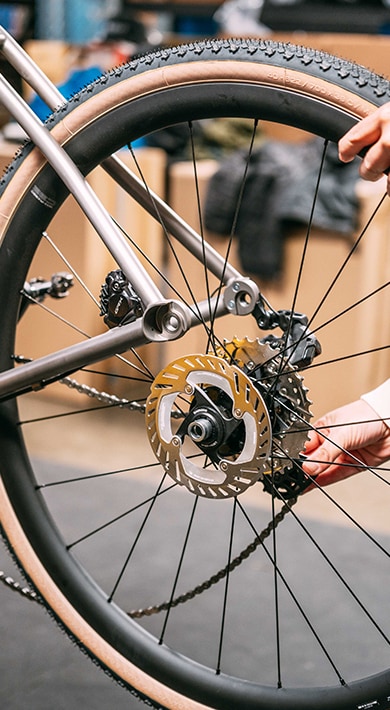
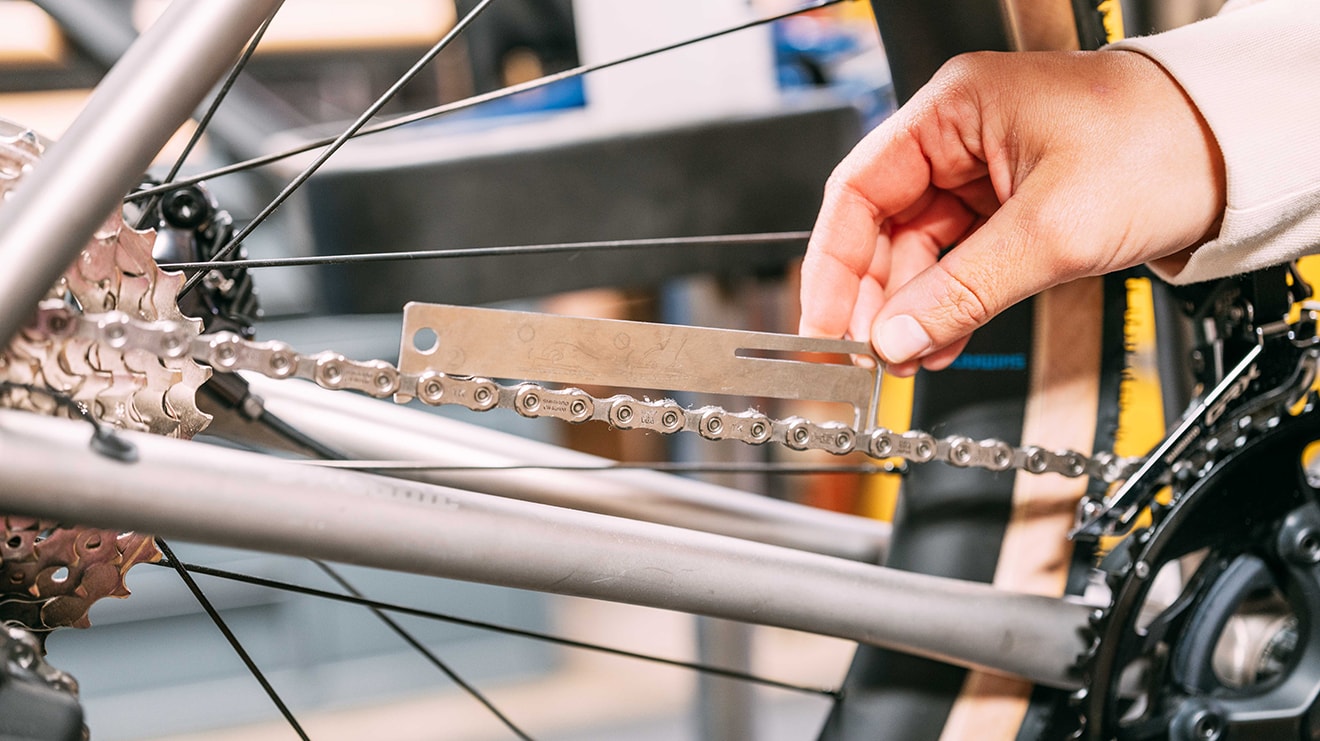
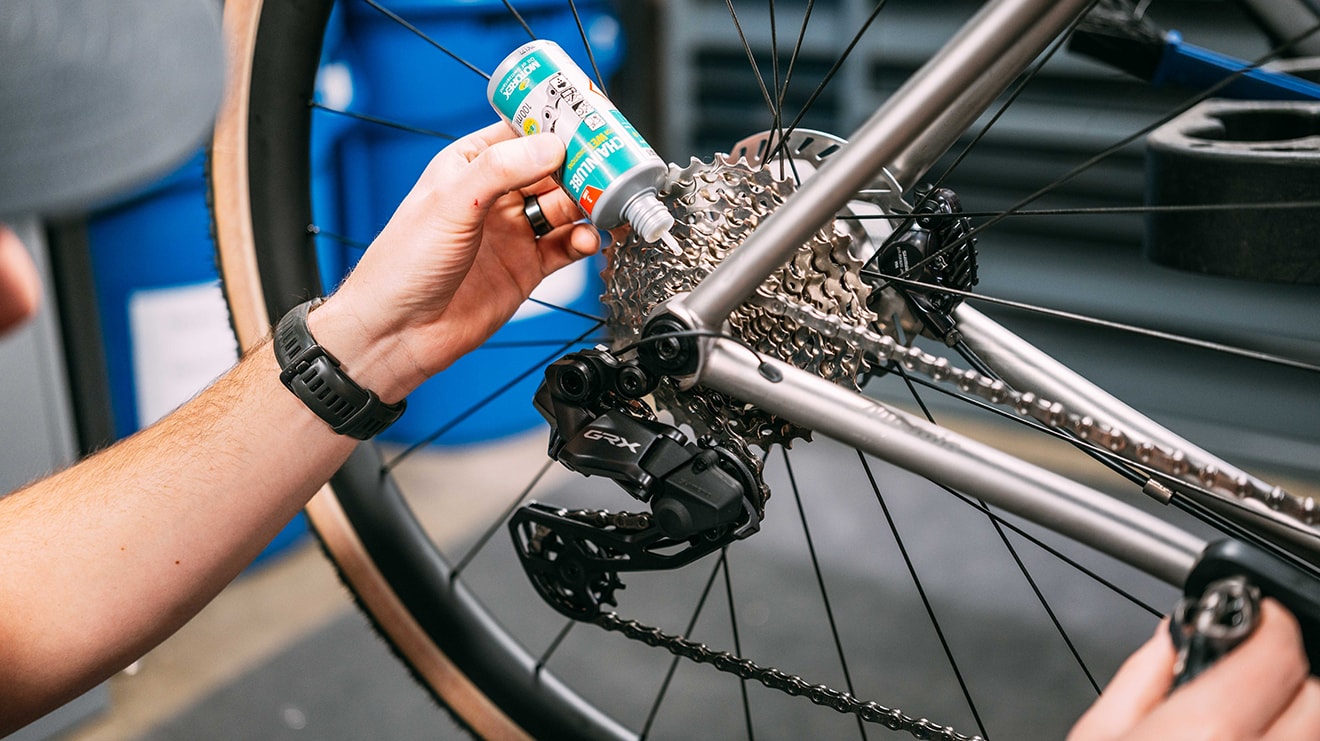
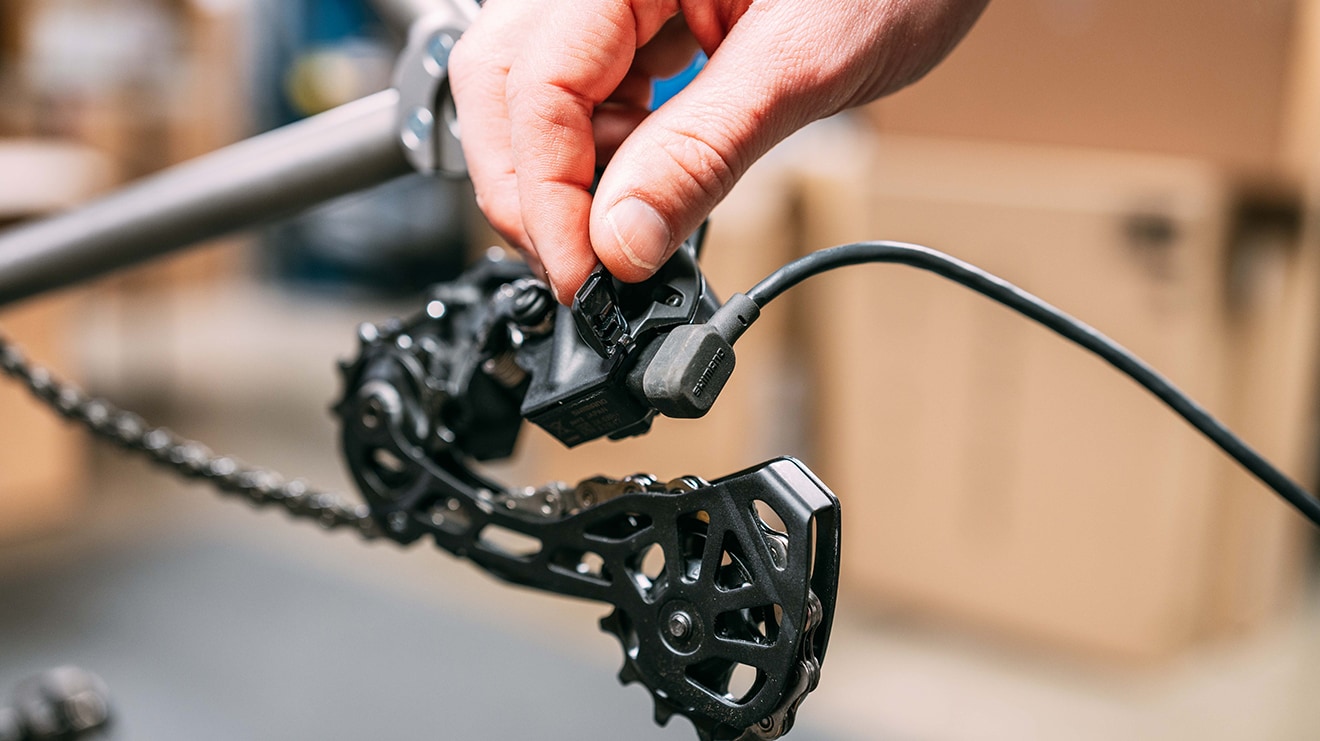
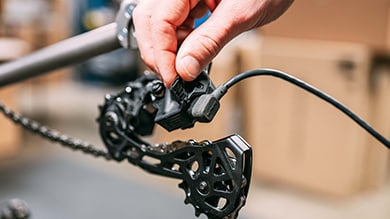
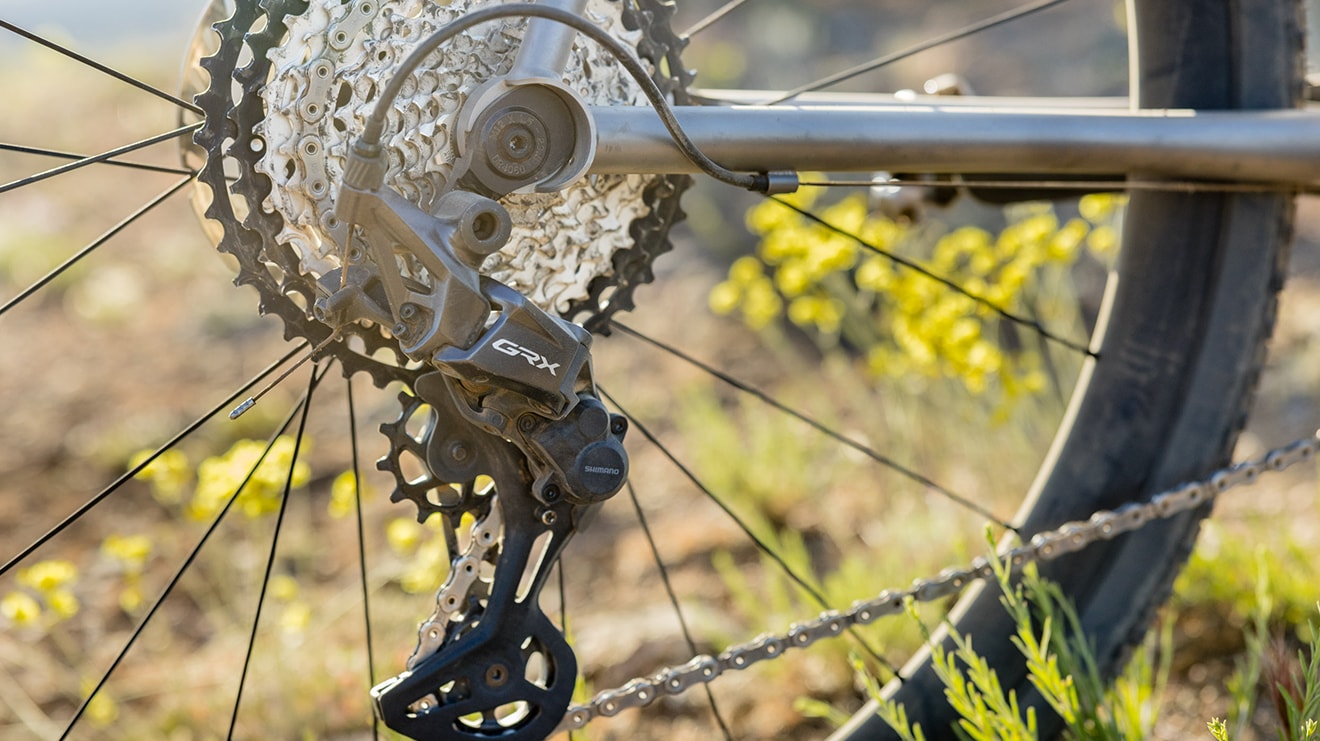
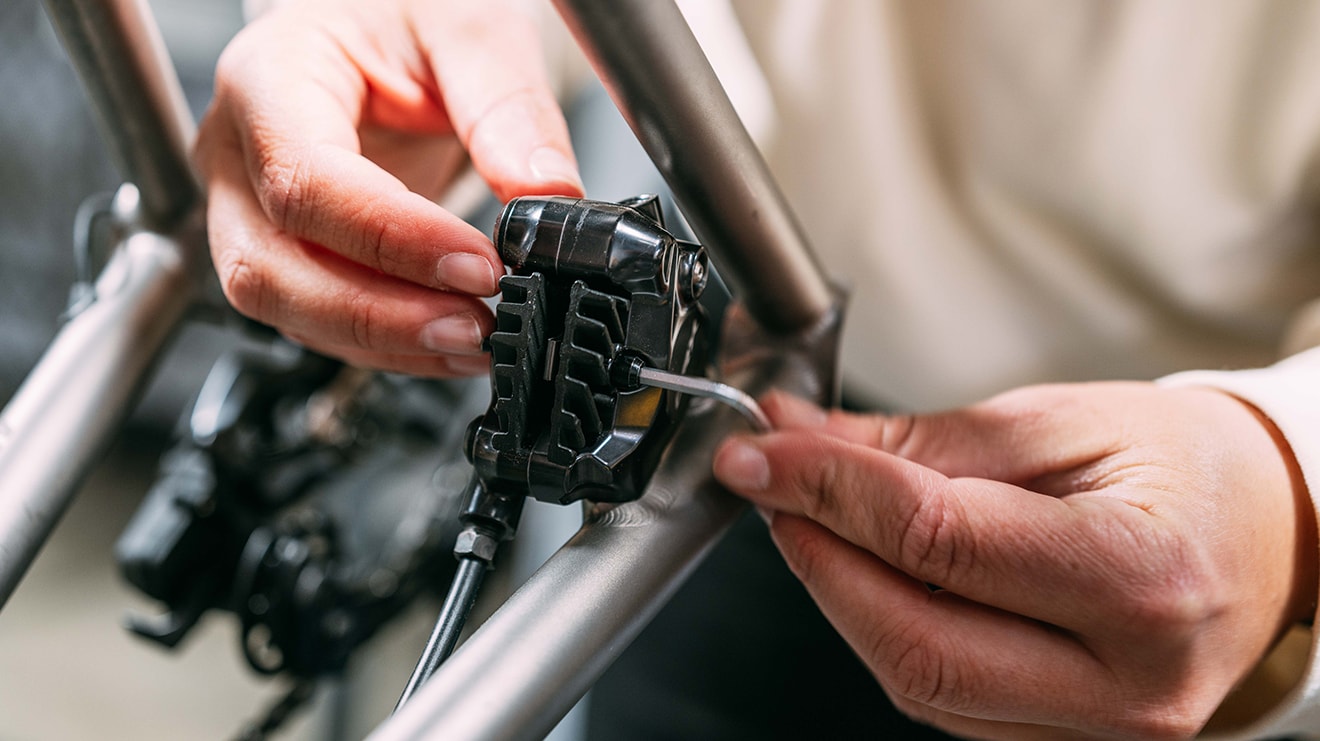
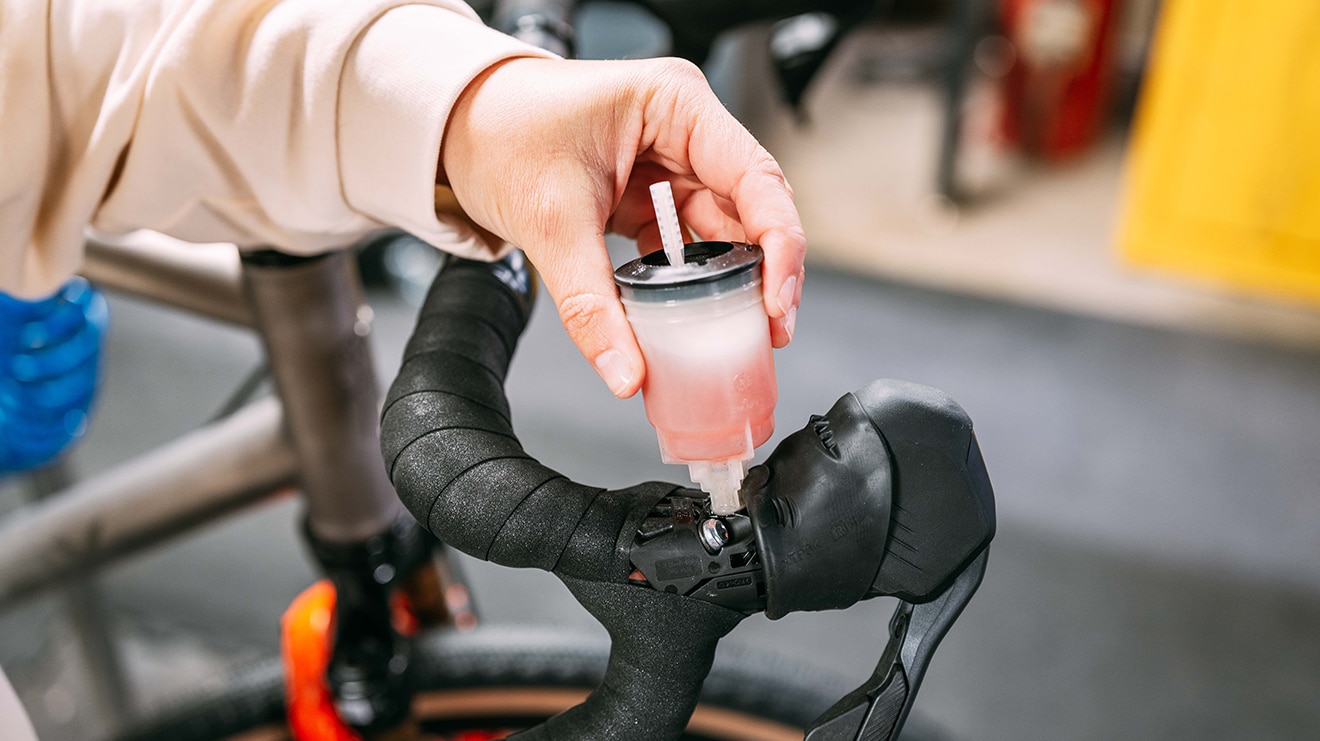
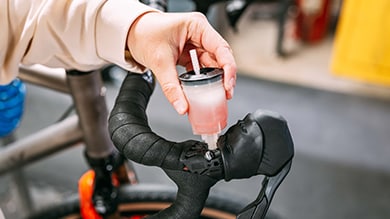
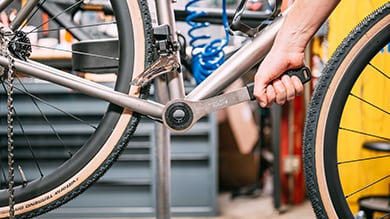
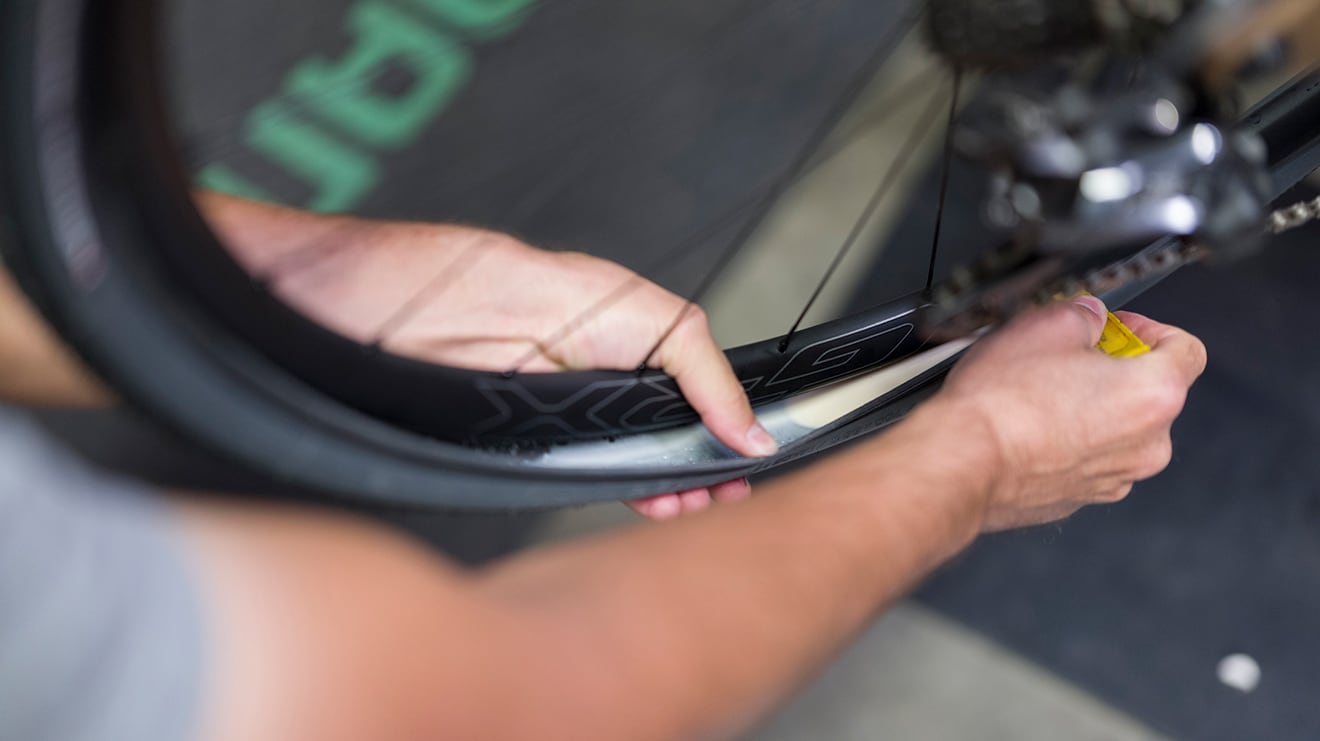
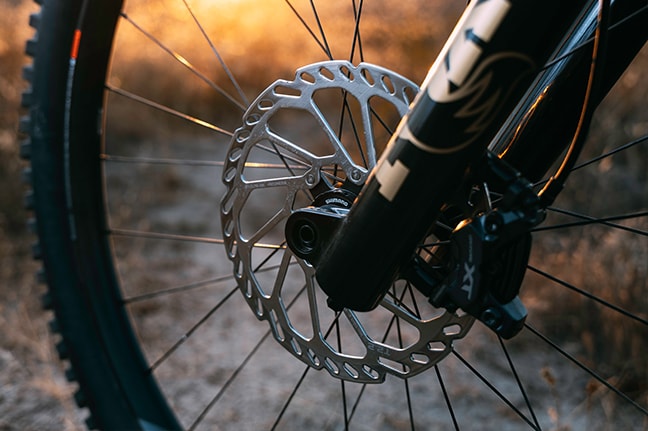
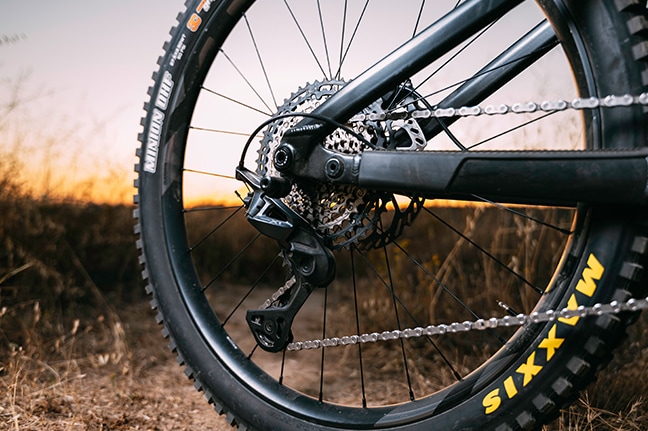
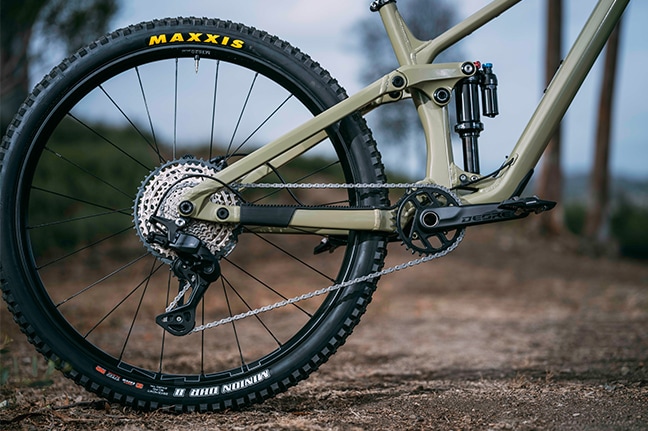
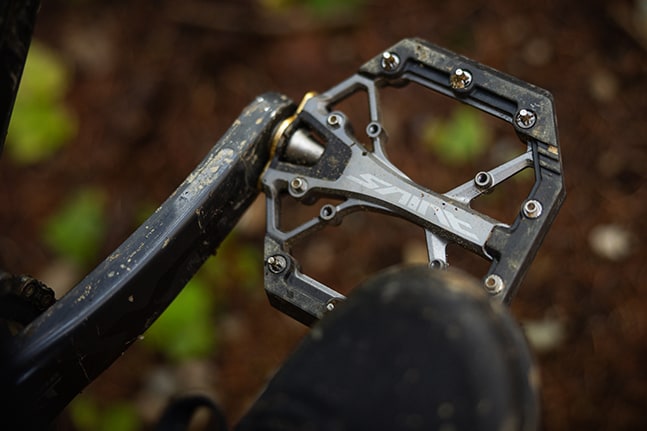
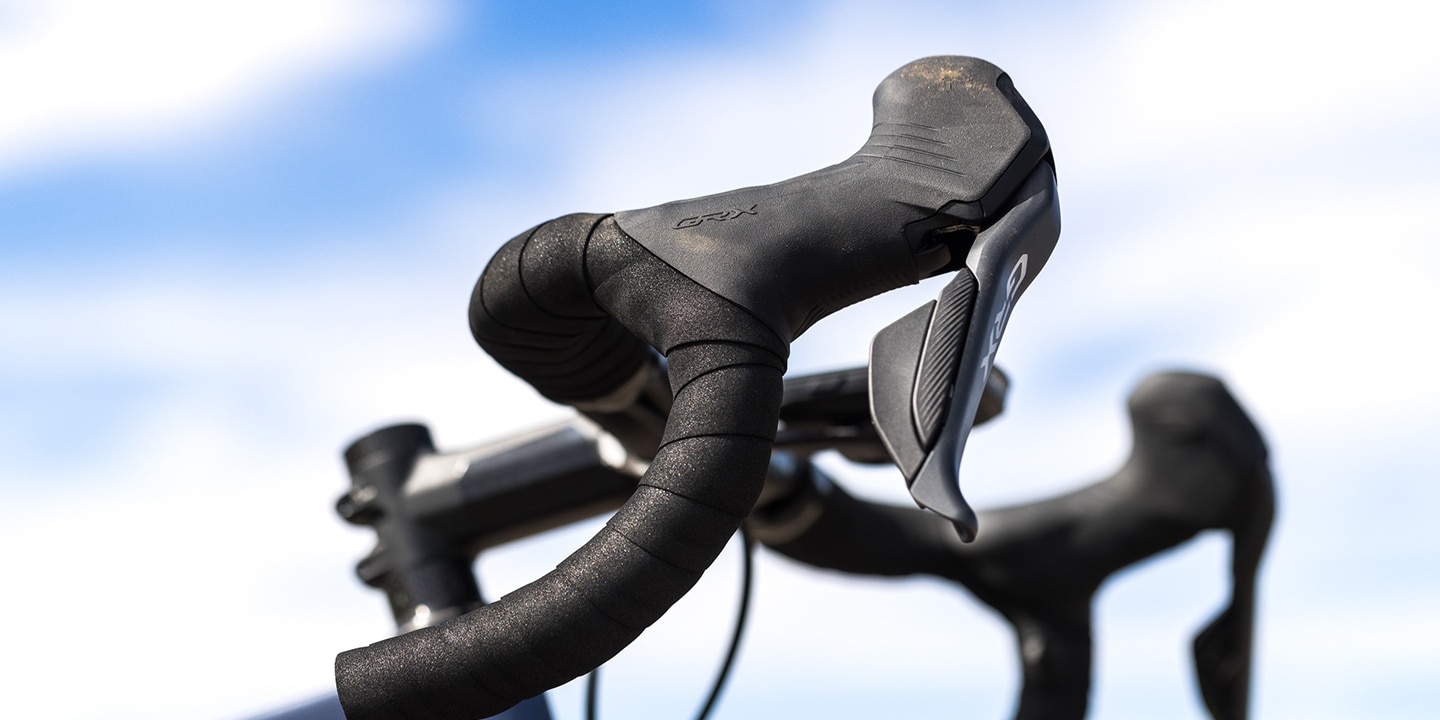
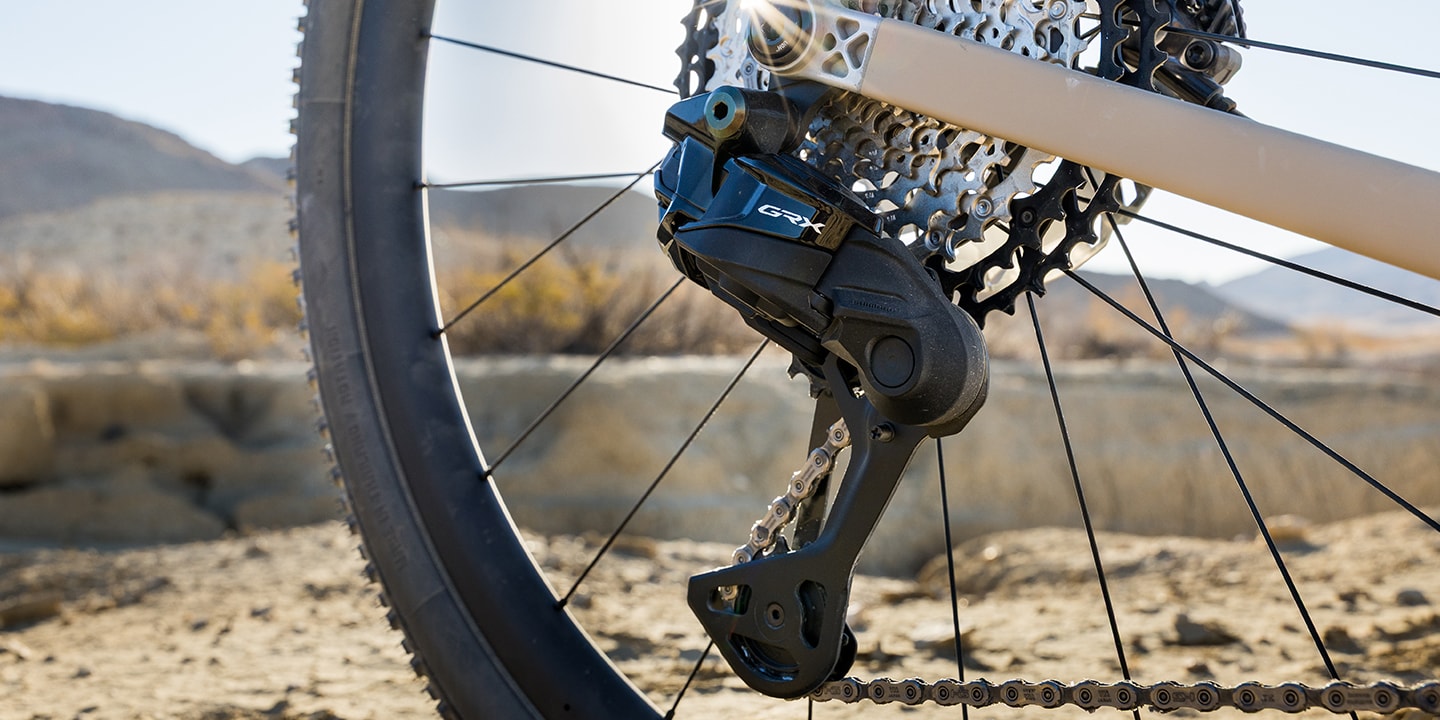
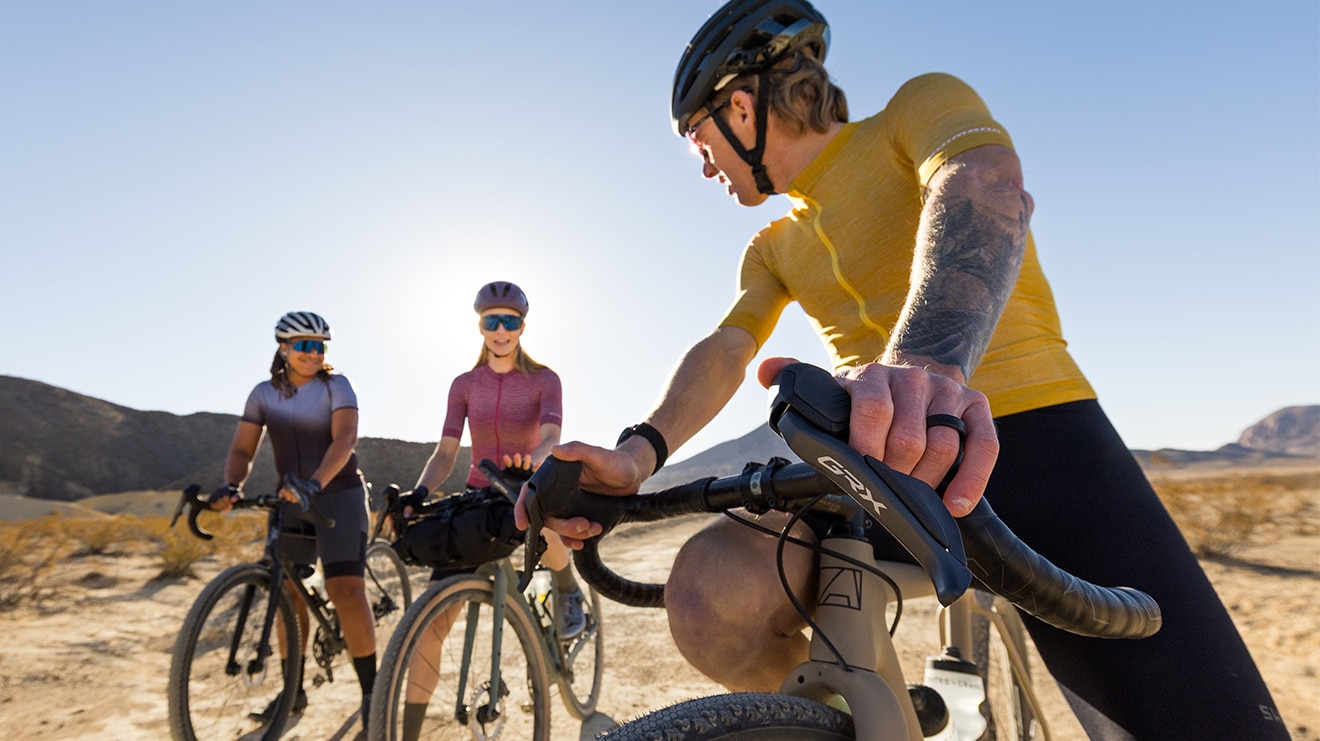
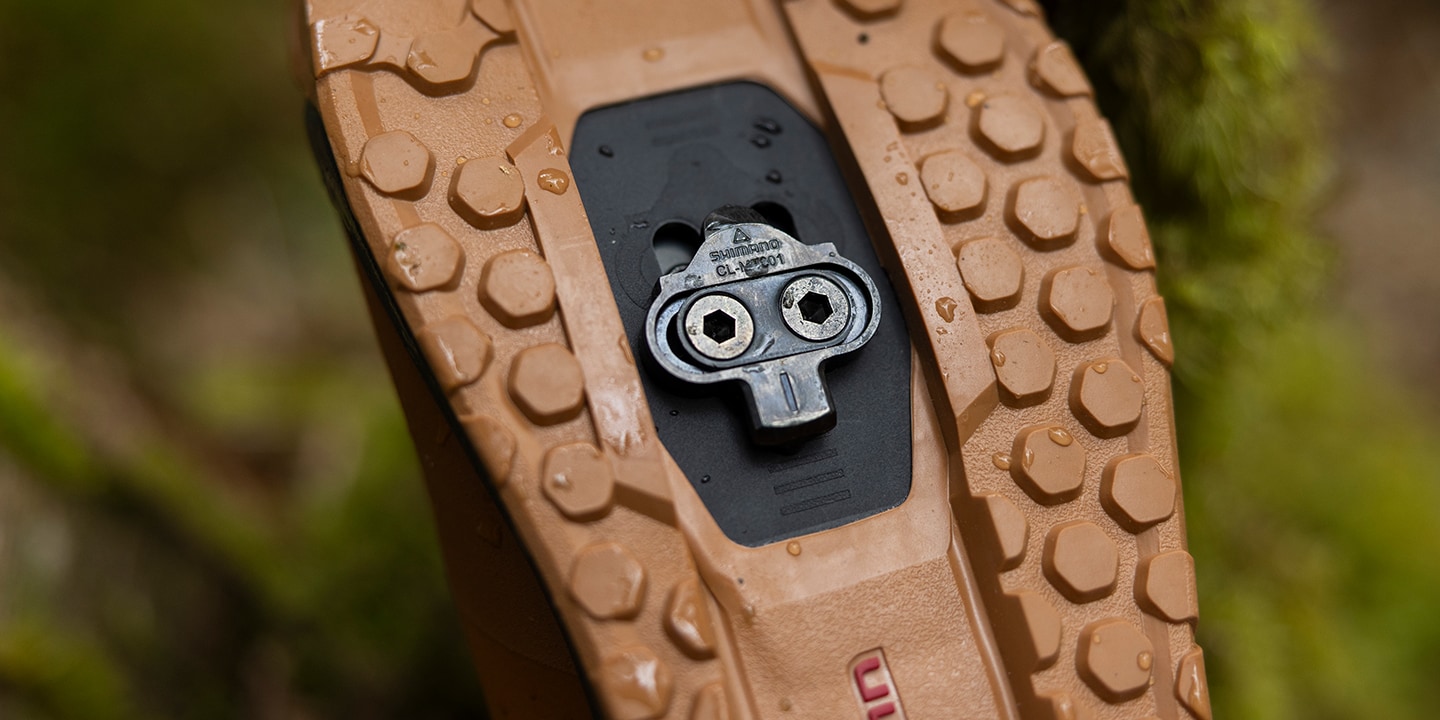
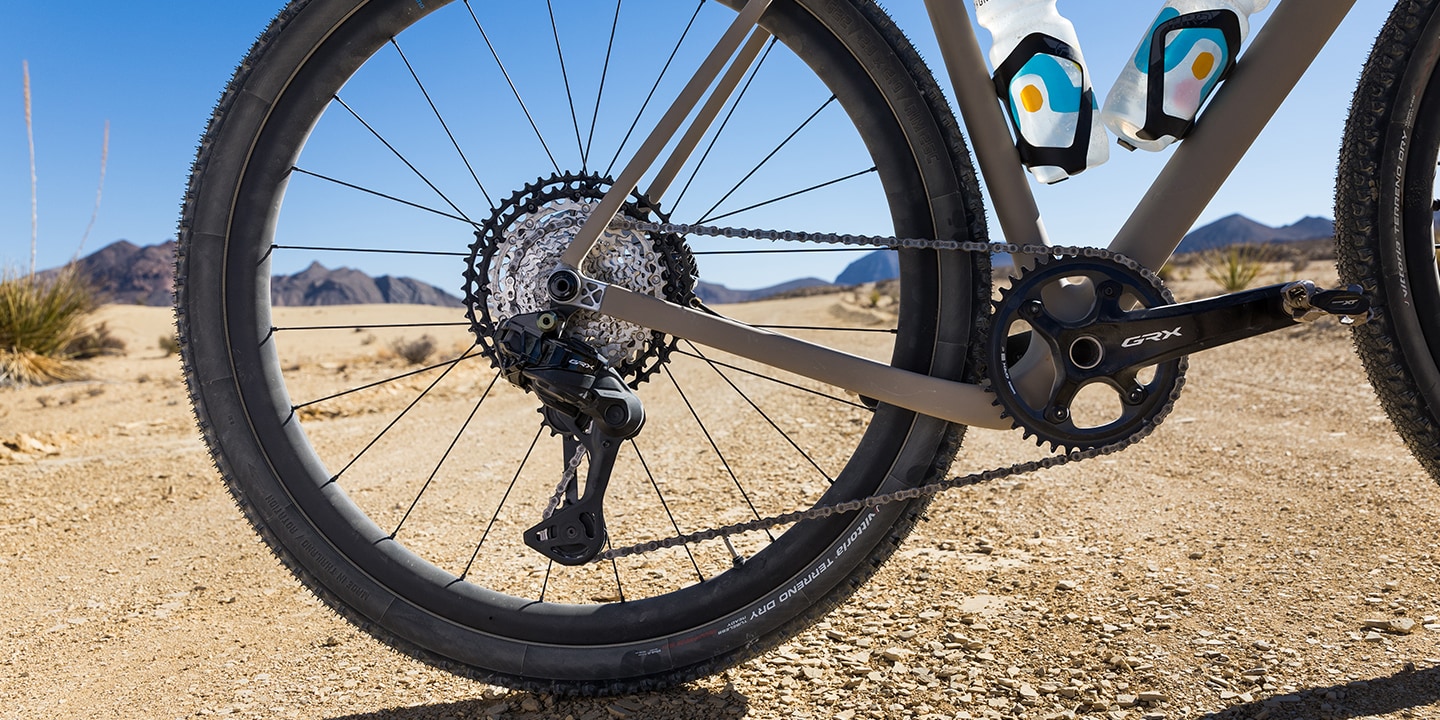
The days are getting longer, and the temperatures are warming up. That means it's time to pull the bike out of the garage and get it ready to roll for a big season of riding ahead. Whether you've taken the entire winter off or occasionally braved the foul weather for an outside ride, it's important to check over your bike at the beginning of each season and ensure everything is in working order before hitting the road.
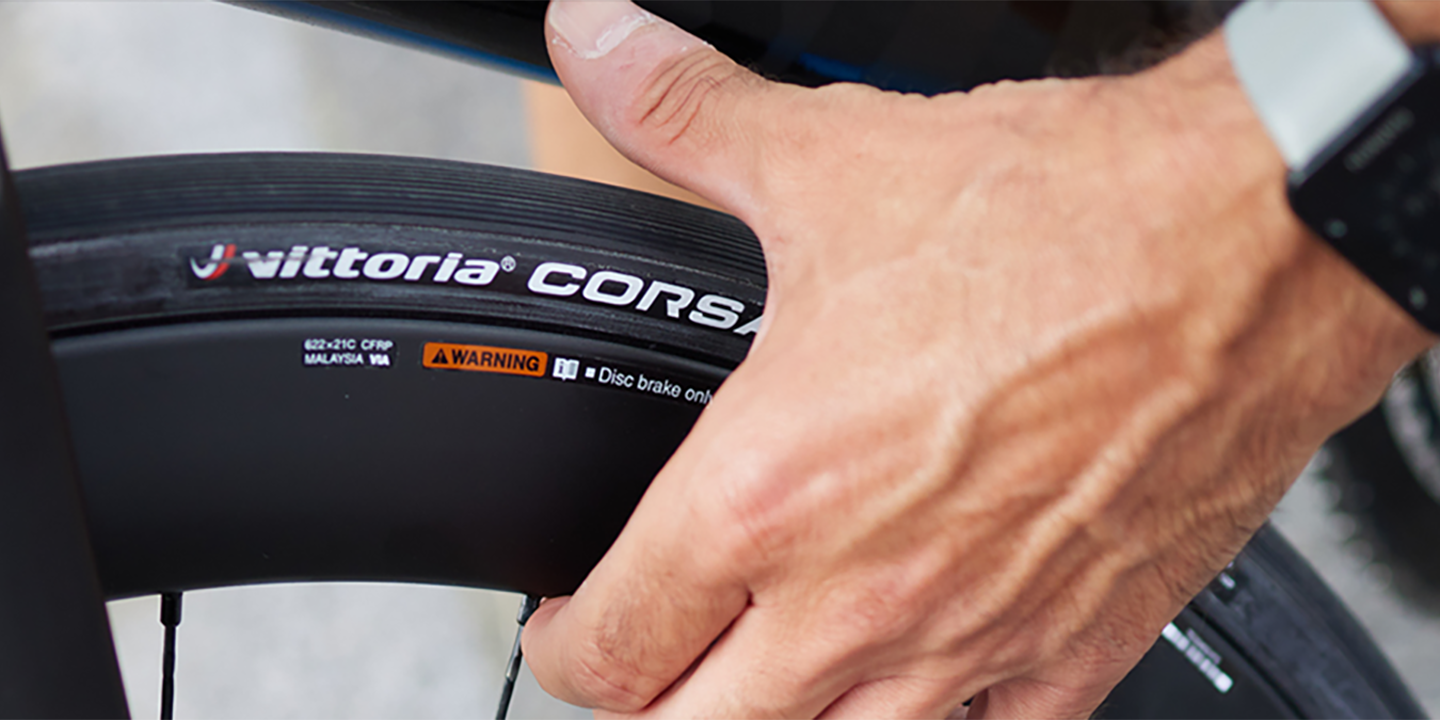
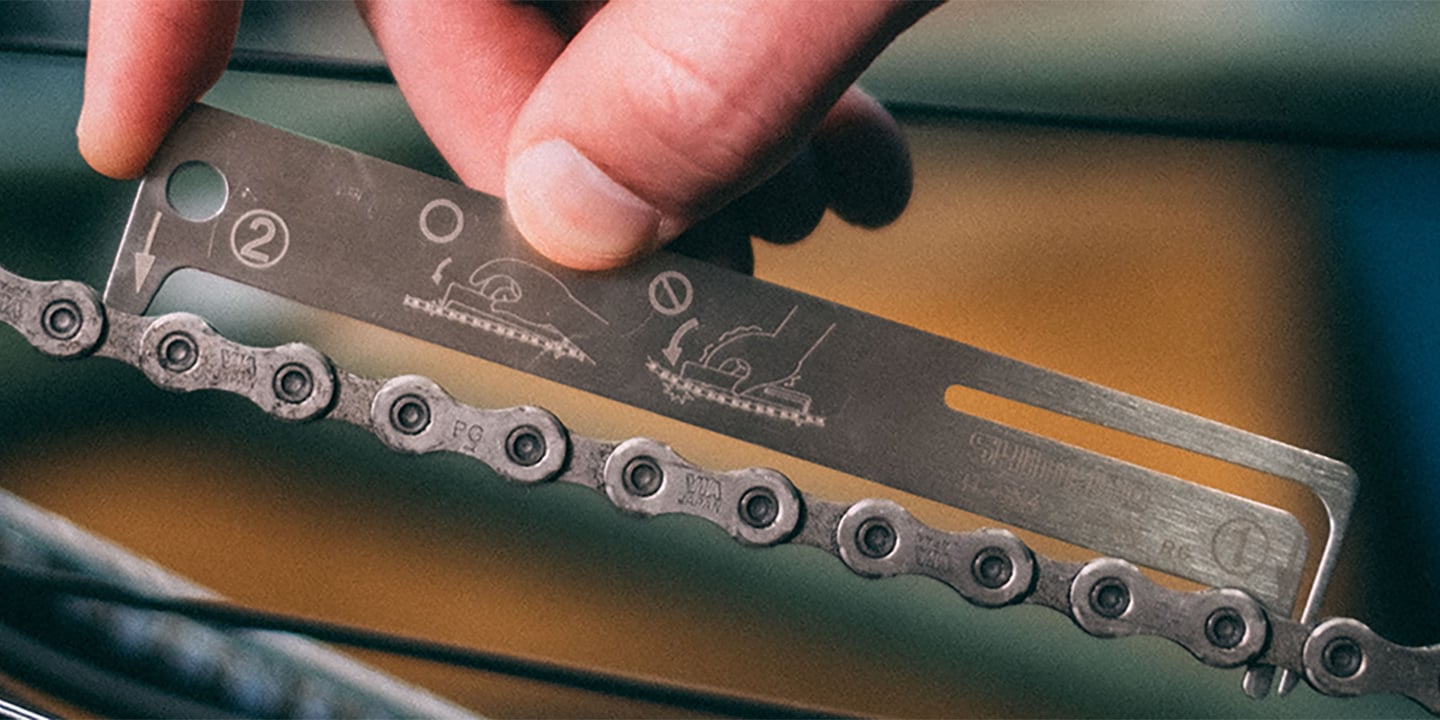
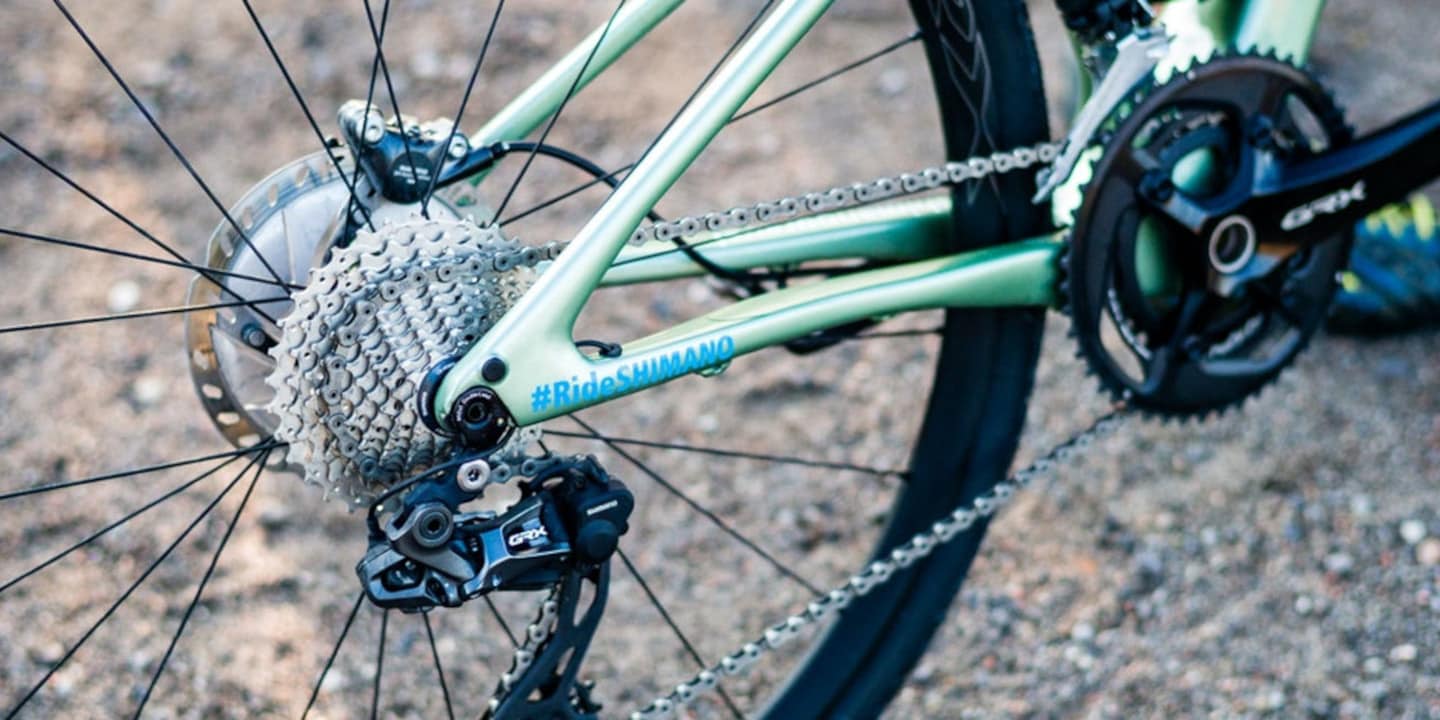
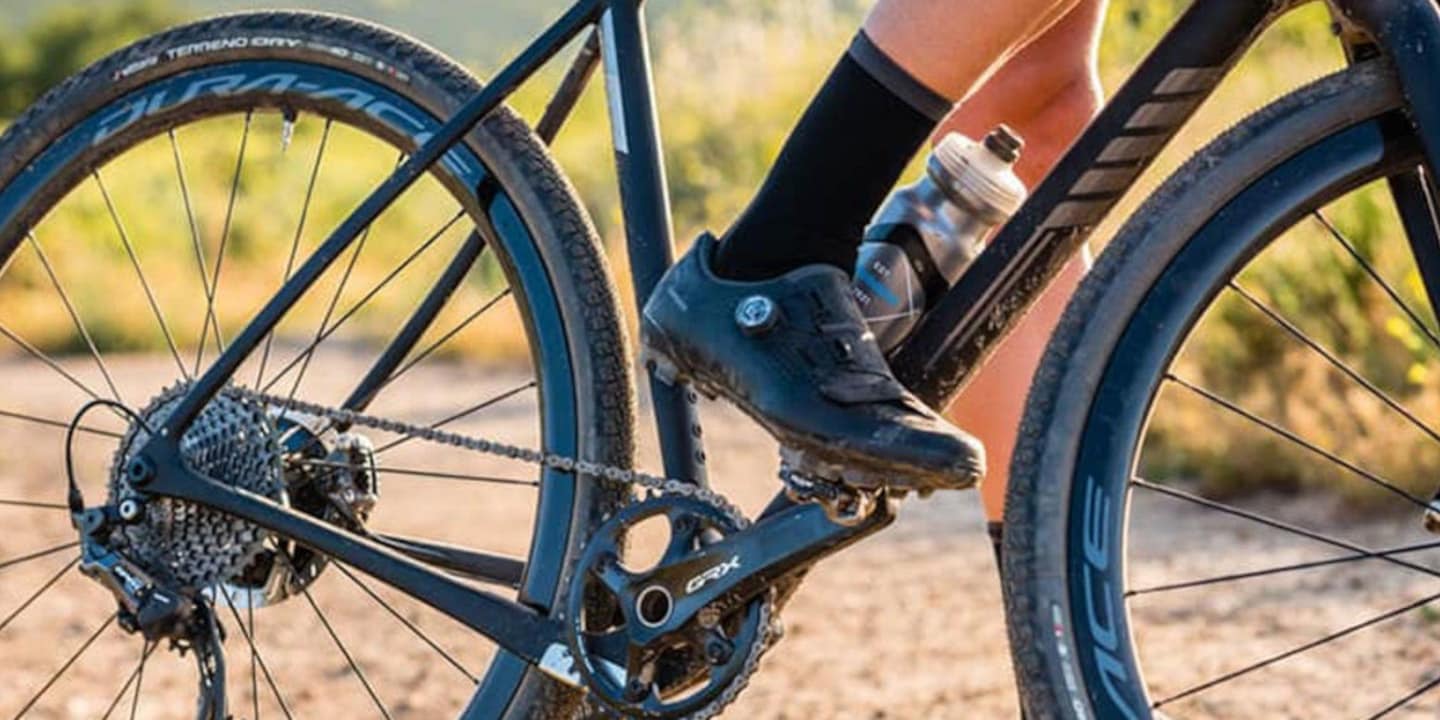
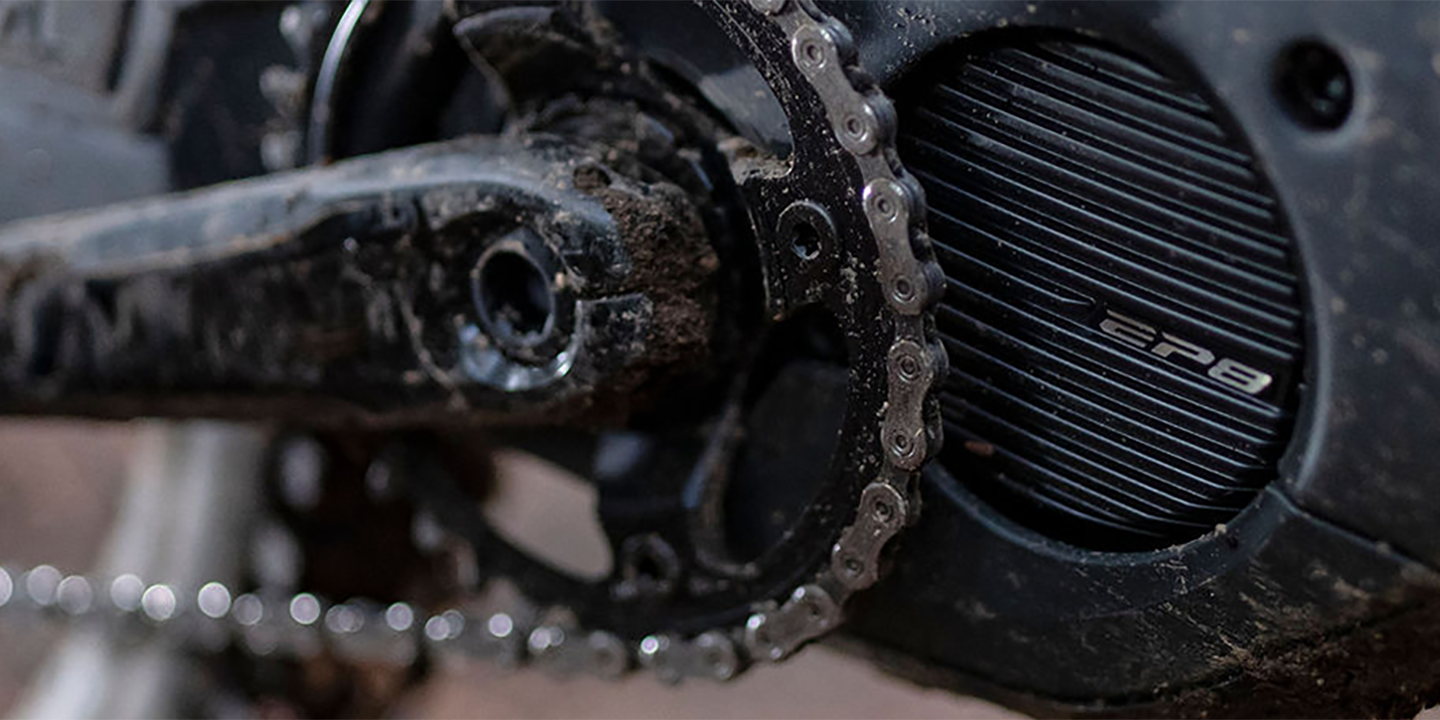
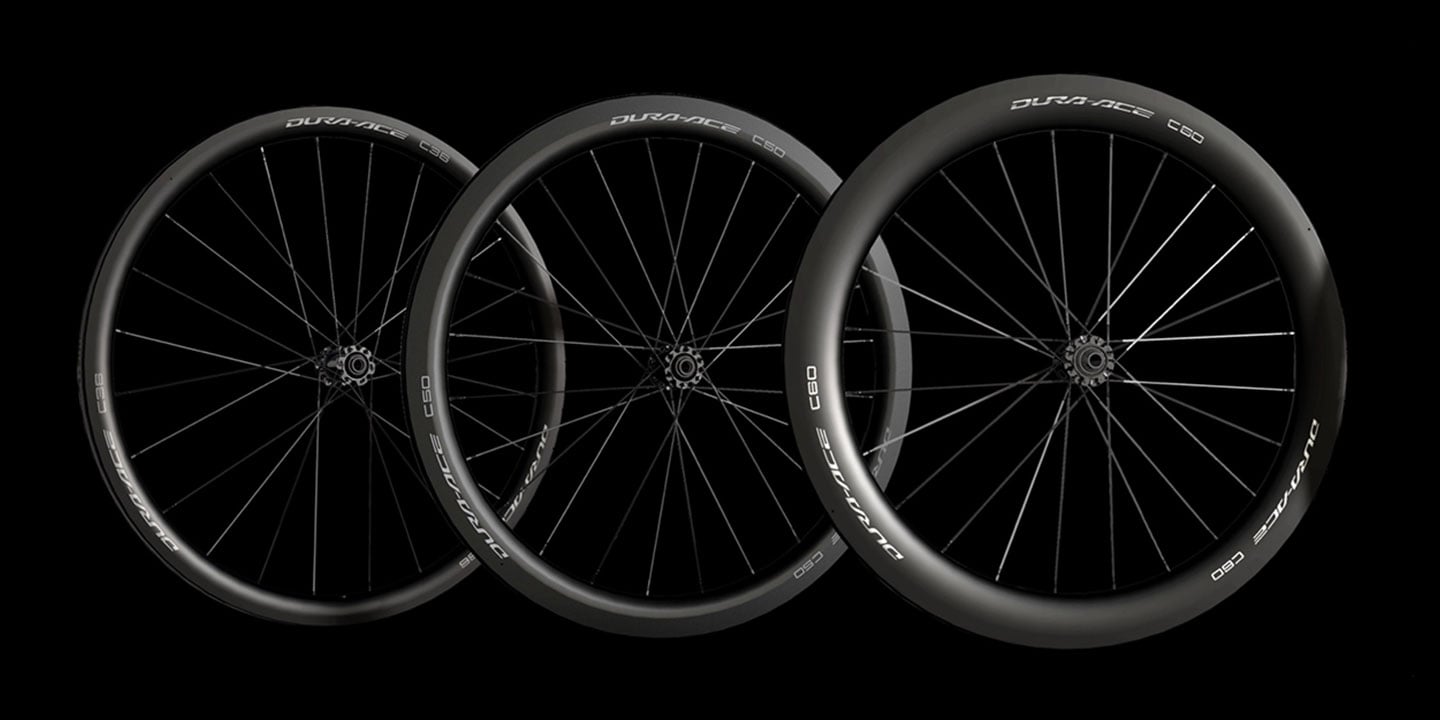
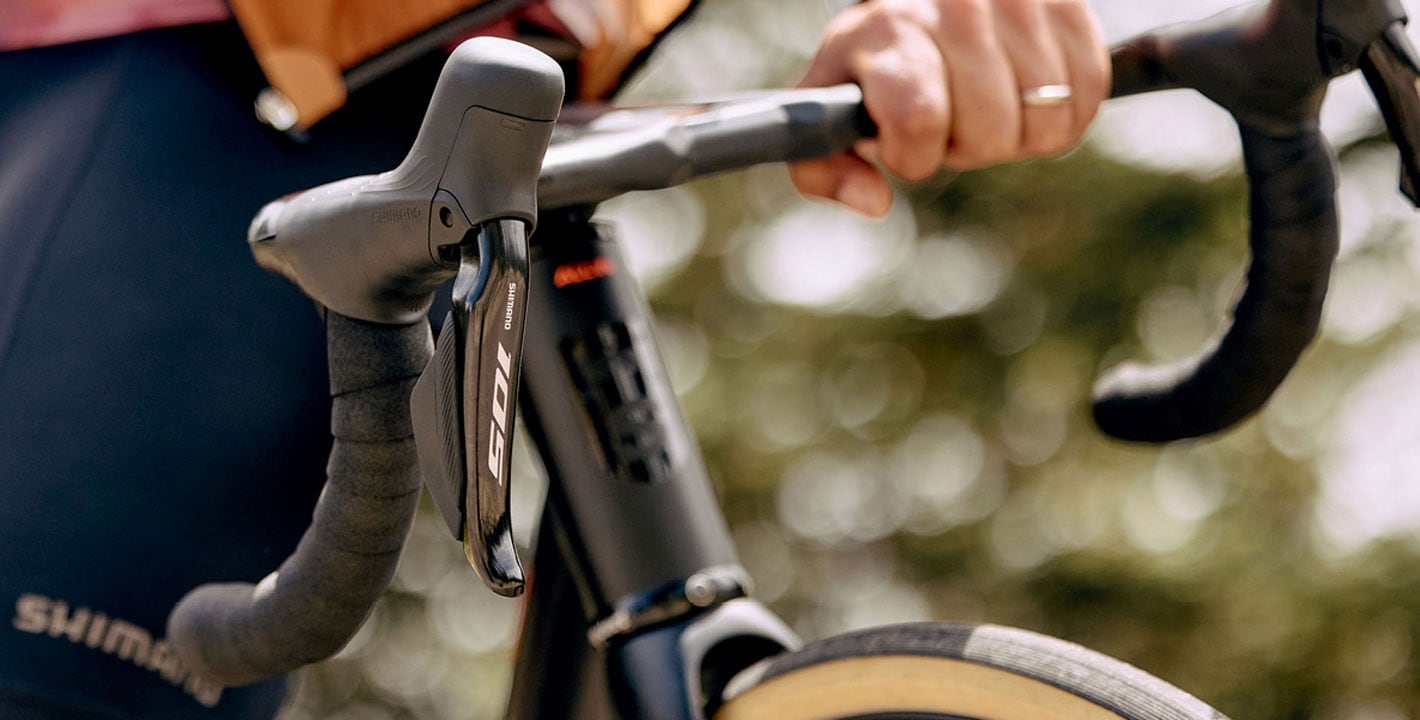
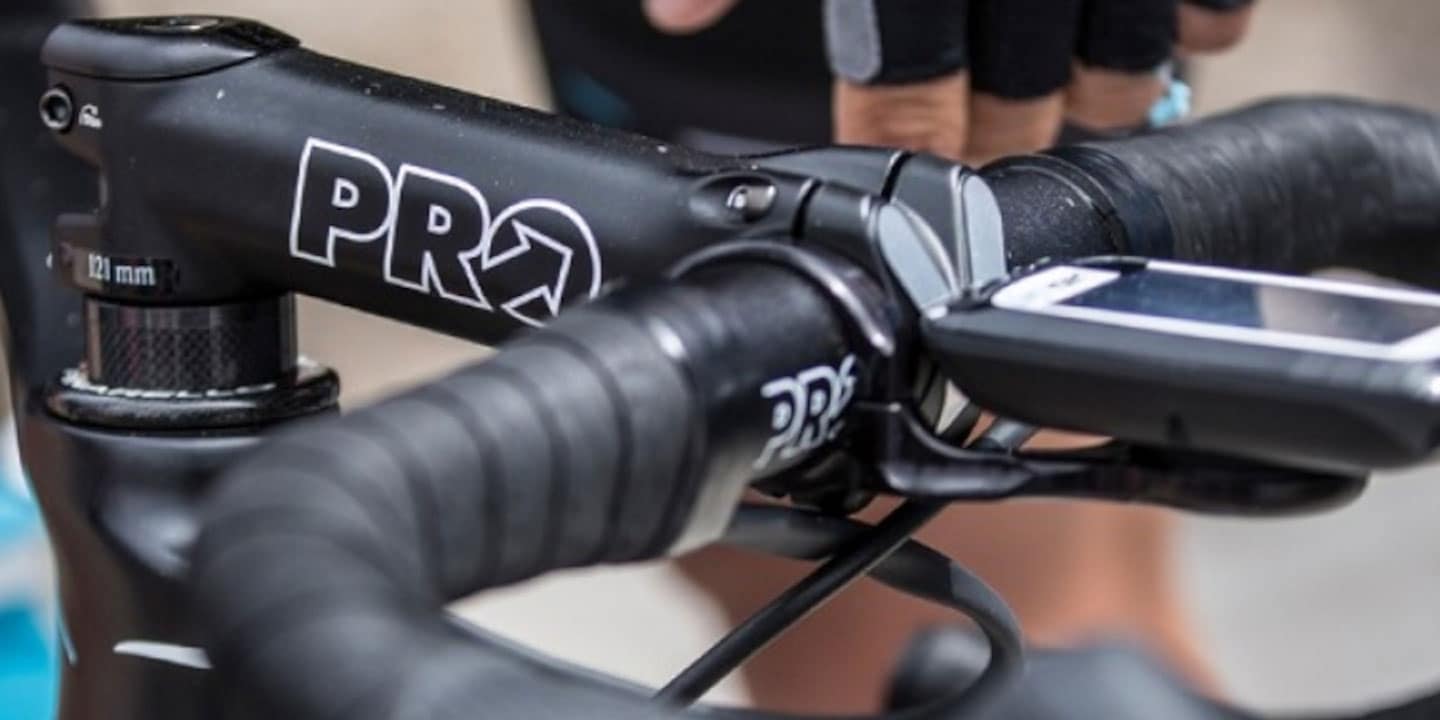
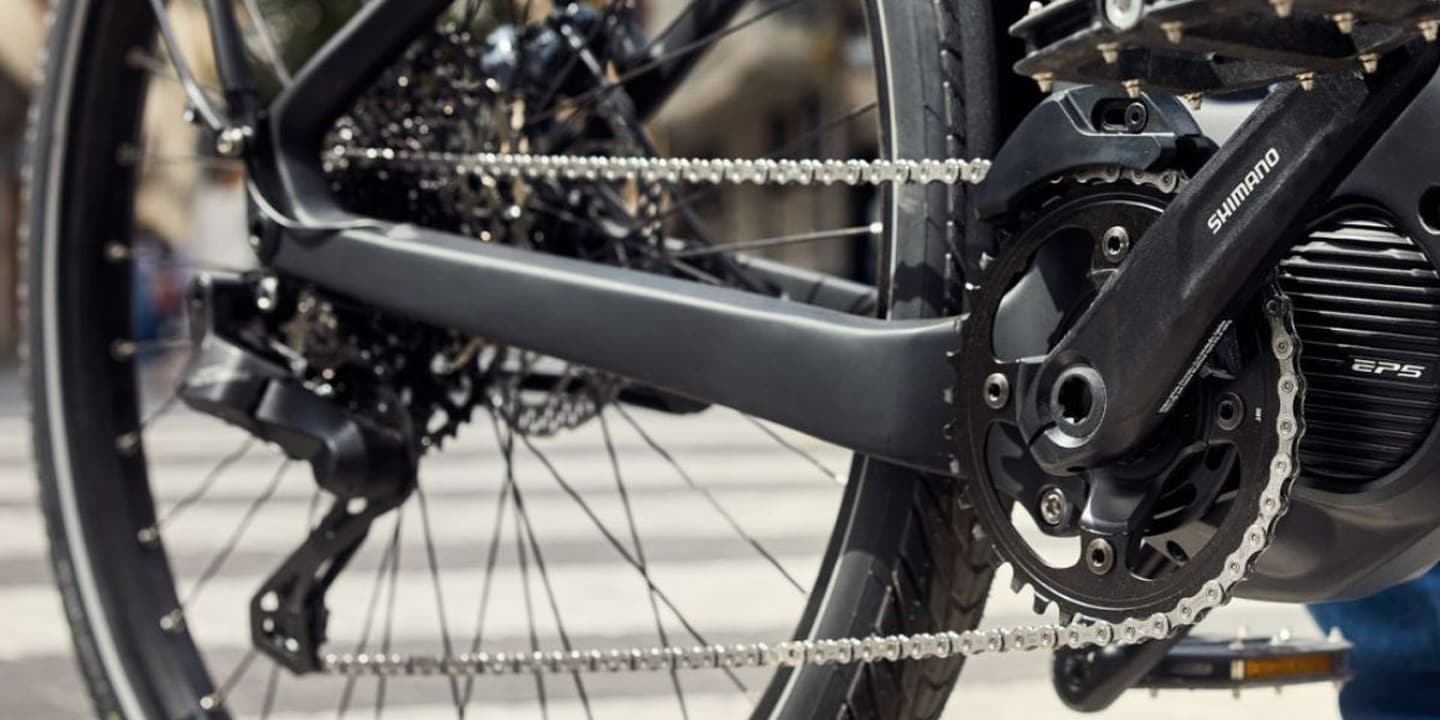
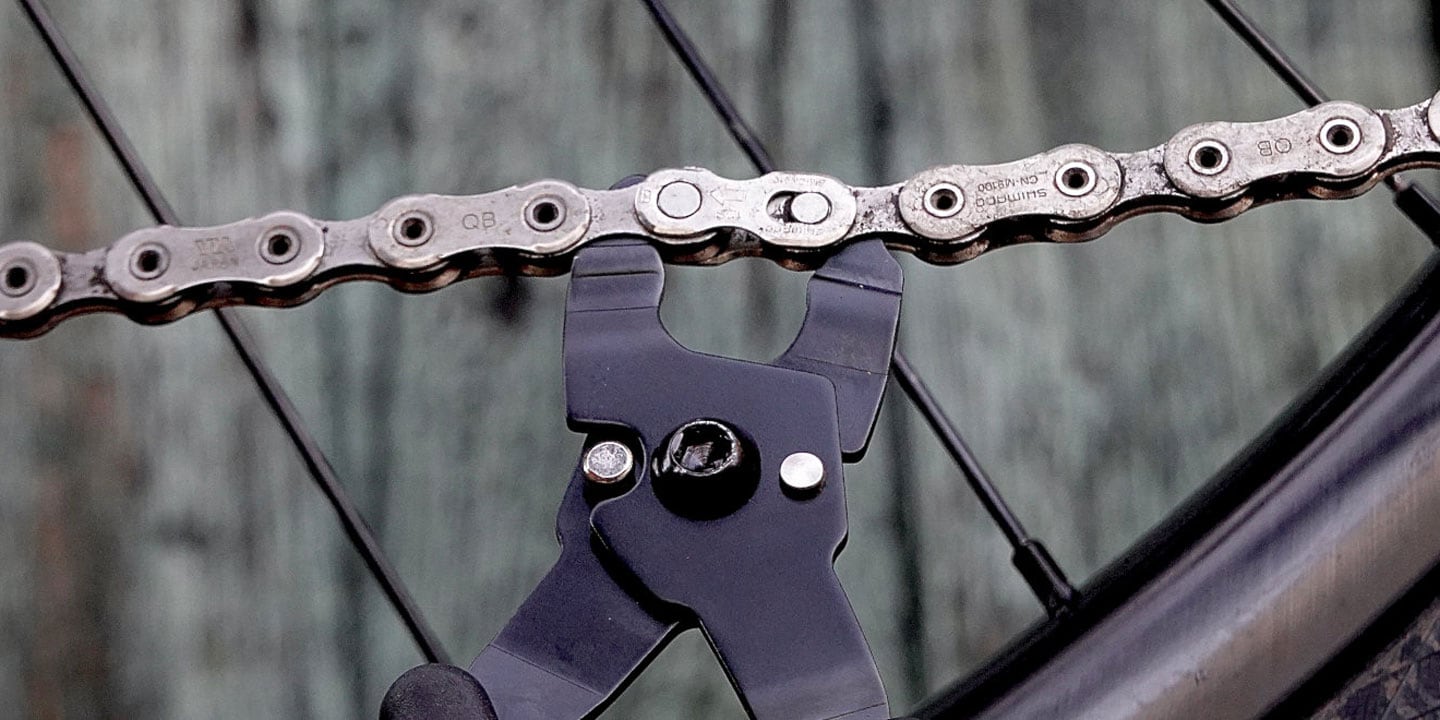
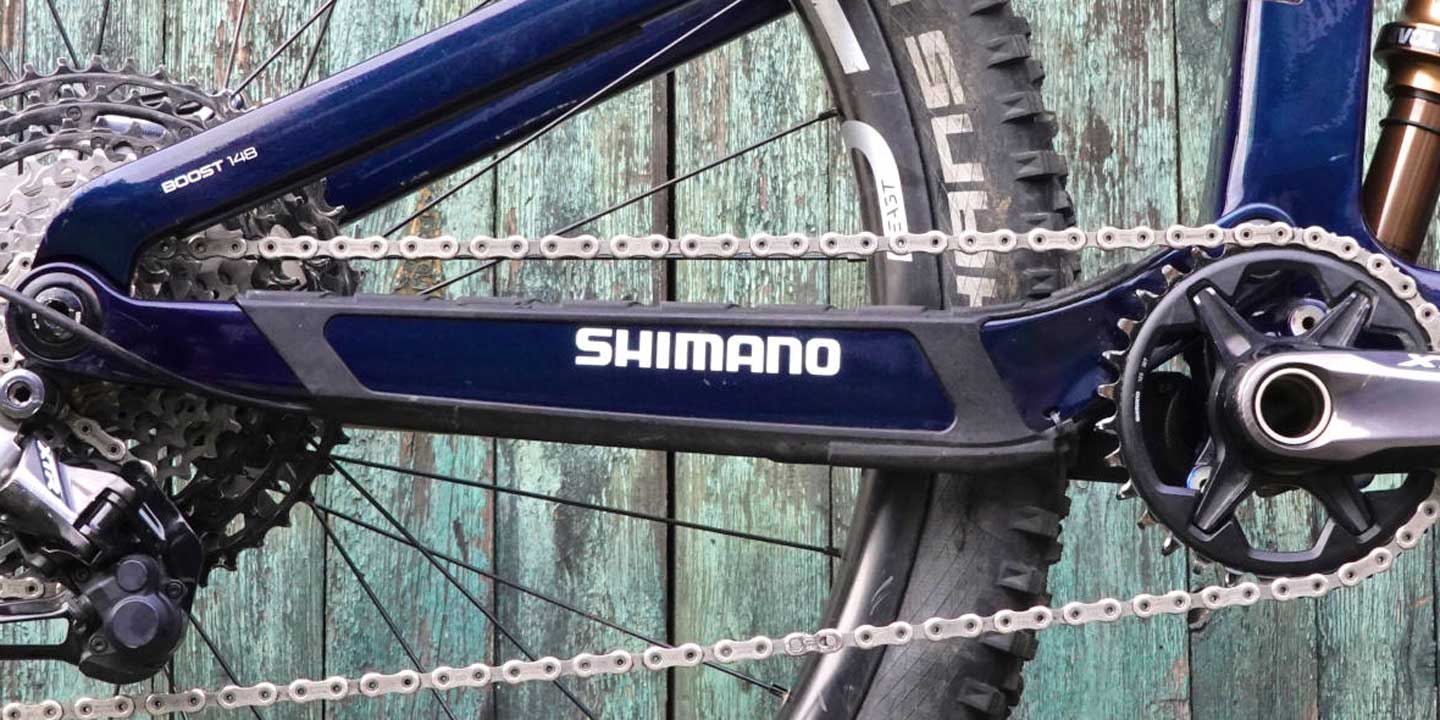
The following quick check guide of essential systems–brakes, shifting, chain, and tires– will ensure the bike is ready for everyday adventures this spring and summer. Take a little time now to check out your bike and make sure that little mechanicals don't cause any big problems down the road.


.jpg)